How to Put a Tube in a Dirt Bike Tire
Introduction
Dirt bikes are perfect for the off-road rider who wants to get their heart pumping. The bike is designed to take some serious bumps and jumps, giving riders a thrill unlike any other. Riding can be an exhilarating experience as you fly across hills, down trails, and over obstacles with the wind in your face. It’s almost like flying! And if you’re ready to step up your game, there’s nothing better than racing on a dirt track against other riders.

You’ll feel that adrenaline rush when you see everyone else behind you in the distance (or ahead of you) as they race around the track at breakneck speeds just inches from one another. But before heading out onto the course or doing anything else, it’s important to check the tires of your bike. For this reason, today, I will discuss a process on how to put a tube in a dirt bike tire. So let us get started.
Importance of Tube for A Dirt Bike Tire
A dirt bike tire & tube are all important for a dirt bike since it is the only medium between dirt and rider. You should not ignore this fact even if you use tubeless tires on your motorcycle. It is always better to install tubes that come with the tires rather than using tubes of another brand as it will create trouble ahead.
A Process on How to Put a Tube in a Dirt Bike Tire
Step 1 – Put the Dirt Bike on its Side
If you have access to an air compressor or are on a track, start by putting the dirt bike on its side. You can put it on the right-hand side, maintain balance with your left foot and lean against it as needed for support and leverage. If you have done this in an emergency without any related tools (like a stand), prop up one side of the bike carefully using wood blocks so that you may finish the procedure. Just be careful not to damage your frame or swing arm.
Step 2 – Remove Bolt from Rim
Remove the bolt going through your center rim to make it easier to take off the tire later. Make sure that this bolt does not fall into the spokes of the wheel. If it does, you will have to fish for it with a magnet or by removing the tire from the rim entirely.
Step 3 – Remove Wheel from Bike
Unscrew your front brake caliper and loosen your chain guard so that you can remove your wheel easily. Unscrew any Allen bolts on your axle as well, if possible. Please take off your rim lock next so that you may remove the entire wheel simply by pulling back once it is detached from everything else!
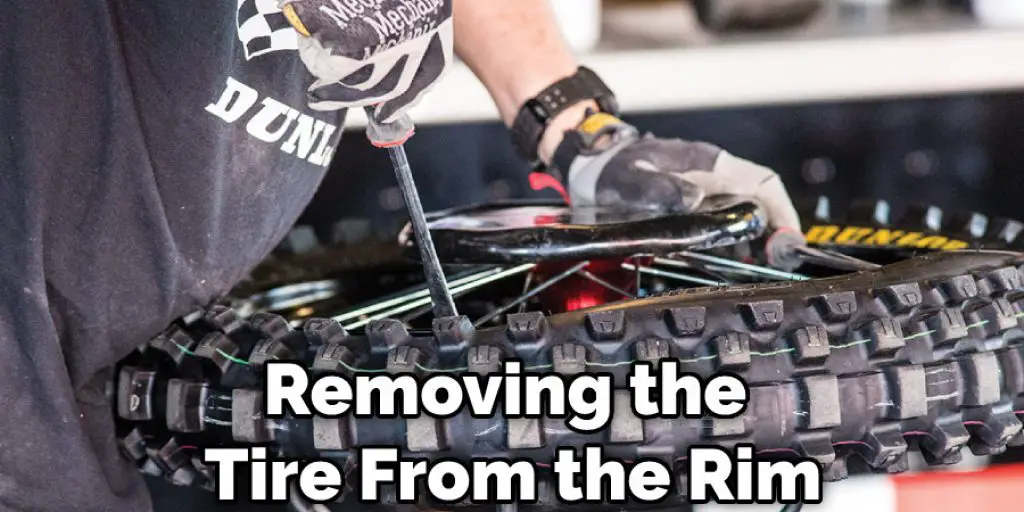
Step 4 – Remove Tire from Rim
Remove one-half of your tire from one side of your rim to expose enough space for inserting a tube into the hole. Then, slowly stretch out either side randomly until one half is easier to loosen than the other. Ensure that you do not damage your rim by pulling too hard or twisting, as this could lead to permanent damage!
Step 5 – Insert Tube in Hole
After removing one-half of your tire from your rim, it is time to slide in a tube. Start with the valve and slowly insert all sections of the dirt bike inner tube into one side before doing so on the next. After getting the first half inserted, remove any remaining air from the hole by using an air compressor if possible.
If there are no holes for compressors near you, use an alternate method such as straw or just blowing into it yourself for now until you can get access to compressed air at a later time. That way, you can avoid having a blown tube until you have time to fix it. Also, make sure that your hole is not too stretched out and lay flat along the rim, as this could result in sudden deflation while riding!
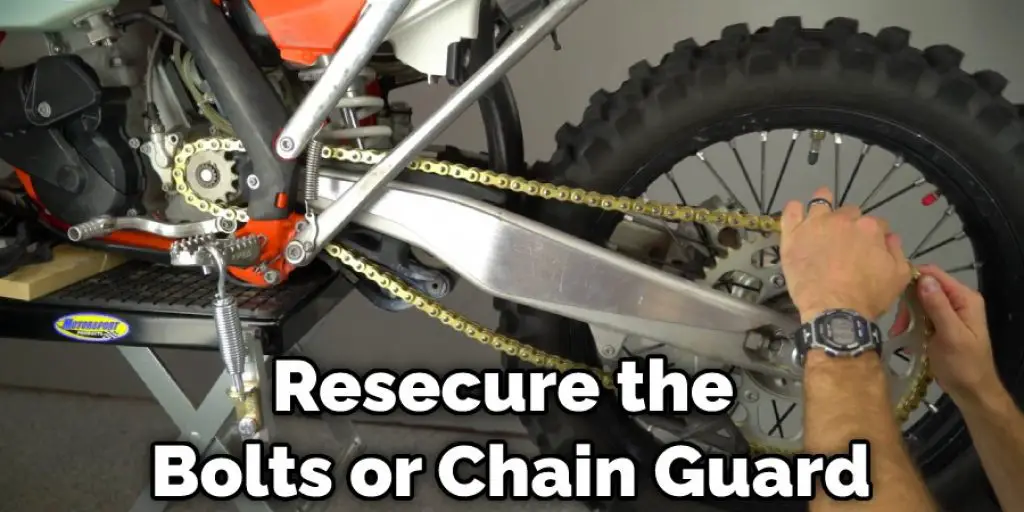
Step 6 – Re-insert Tire on Rim
After pushing the remaining part of the tire back onto the rim with its inner tube, ensure no air bubbles are left inside before continuing. After confirming this by looking into your bike tire from above, resecure the bolts or chain guard and then place your tire on top again. If you need to adjust anything to get it back fully seated on the wheel, feel free to do so at this point!
Step 7 – Tighten Wheel Back Onto Bike
After making sure that your rim and tire are secure, lock everything back into place and tighten it with all of the tools, you have available. If you do not have a stand or air compressor, this process may be more difficult for you.
In fact, if you cannot get your wheel back onto your dirt bike at all using table leverage alone (or if you can but will need to use an alternate method due to potential frame damage), consider finding professional help the next time that you are near a repair shop! However, this is unlikely for most people on their own, so I am assuming this won’t be an issue.
Step 8 – Put Bike Back on Ground
When your wheel is tight and ready to go again, gently put the rest of your dirt bike back on the ground for riding. If there is any shaking or wobbling, adjust your wheel as necessary and re-tighten it. Sometimes a bent rim can prevent you from properly tightening everything back down, in which case you will need to replace it – but this is unlikely for most riders out there. After making sure that your bike is ready to ride again, you should be good to go!
Step 9 – Test Ride Your Bike
After putting air in your tires again and taking off all of the tools holding things up around your frame and chain, take your dirt bike for a quick test run so that you may verify that everything works correctly. You should not experience any further problems, but always take help from the professionals if something does come up.
Why Change Tube In Tires?
A tubing kit is the most common way to repair a flat tire. However, if you have been riding for any length of time, the chances are that you have had to replace the tube in your tires more than once. You will also find yourself changing out the tube when switching from knobbies to a slick tire and back again.
Whether it be for punctures or other disasters, like rock strikes, nails, etc., they can happen at any time. Luckily enough for us riders, flat tires can be easily fixed with nothing more than a patch kit and some basic mechanical know-how. Changing out a tube is not something new riders should feel intimated by either.
Things to Consider While Learning How to Put a Tube in a Dirt Bike Tire
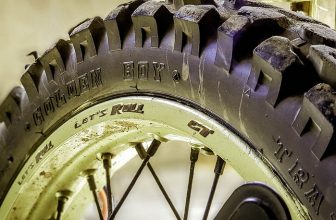
The tube should have a valve stem that is attached to the rubber portion of the tube. The valve stem can be adjusted from side to side with bikes, but it generally goes on top (freewheel) side of the tire.
When pumping up a dirt bike tire, a less common problem is having the valve stem pop out during inflation or even bind in one position and not allow you to put air into the tire easily. If this happens, your first step should ensure that the end cap is tight and free from dirt or contamination. Then grab a small screwdriver and give it a little twist while pumping air into it. This will loosen up any buildups inside of the tire or, if needed, remove any burrs at the hole itself.
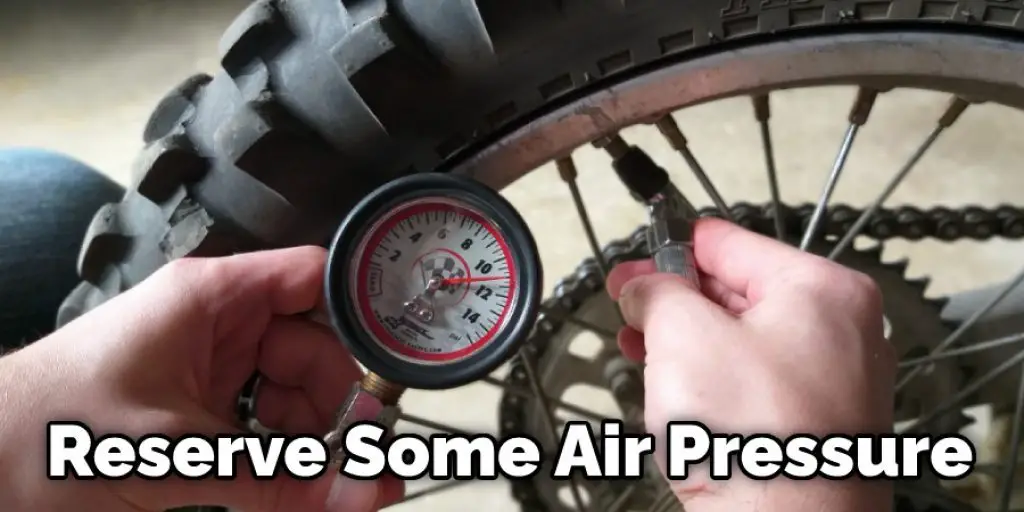
If you can still pump air easily into the tube, it will be best to remove it from the tire. Reserve some air pressure in your pump so when you replace the tube it will hold air if there is any leakage from the tire to the rim or inner tube (valve).
This is very important, especially if you’re using an old bike with a track down through the center of its tires and on both sides of the tread rubber.
This is where most likely all of your problems lie, with a valve stem having been pushed through practically new tubes by people who didn’t know this information.
How to Keep the Dirt Bike Tire in Good Shape?
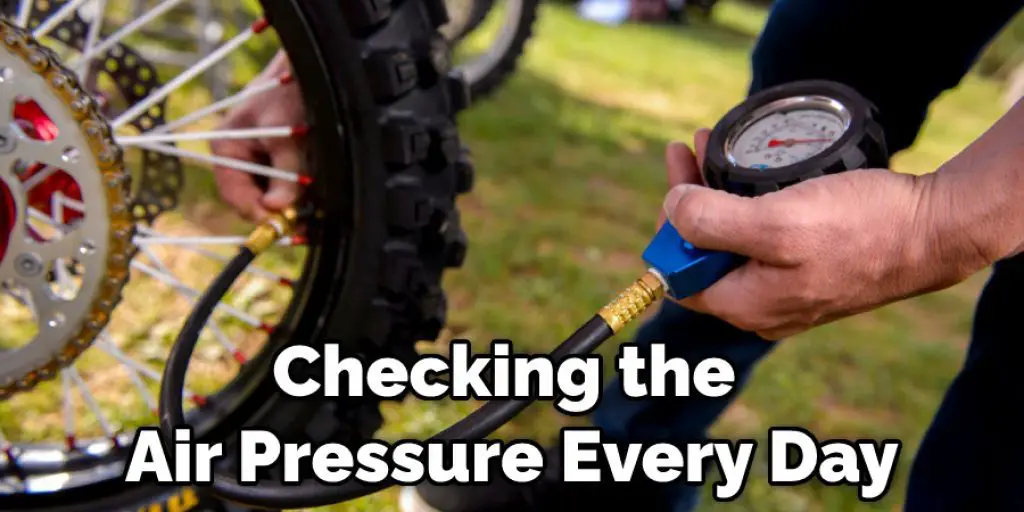
Always check your tire regularly and ensure that the air pressure is good. An under-pressure dirt bike tire causes many problems, including poor handling, overheating, higher wear, and poorer traction. So every day before you leave for any trail trip, please always inspect your tires first. And then make sure they are filled with enough amount of air or pumped up again if necessary.
How to Keep My Tube From Getting Punctured?
It’s more likely to happen when you ride on some open land trails where there are lots of branches lying around on the ground – it might be easy for those sharp things to poke through your tube while kicking up rocks or something. Also, try not to drag the tubes against anything rough like gravel to get punctured. Also, if you can help it, try not to run over any debris with the tire without a tube in there – like rocks or sticks (that can easily poke a hole into your tube).
Conclusion
Always remember that to keep your dirt bike tire in shape and run at its best performance, it is vital to have a good set of tires and regularly inspect them for any possible punctures. Checking the air pressure every day will also ensure that your tires are always ready for use.
And if you do find a leak on one of your tubes, make sure you replace it right away before it ruins the whole tire. But with proper maintenance, there’s no reason why you can’t ride all year long without stopping. I hope that you have obtained a proper idea about how to put a tube in a dirt bike tire. Thank you, and have a good day!
Darren Matlock
Hi, I'm Darren. I love dirt bikes and everything about the off-road lifestyle. I'm passionate about motorbikes, cars, racing sports and going on adventures. If you're like me and enjoy extreme sports, you've come to the right place! I like to write articles about dirt bikes to help beginners get started. Whether you're interested in buying a dirt bike, ATV, motorcycle or want to ride for hobby, I hope my articles will inspire you to learn more about how this machine can be used to ride.