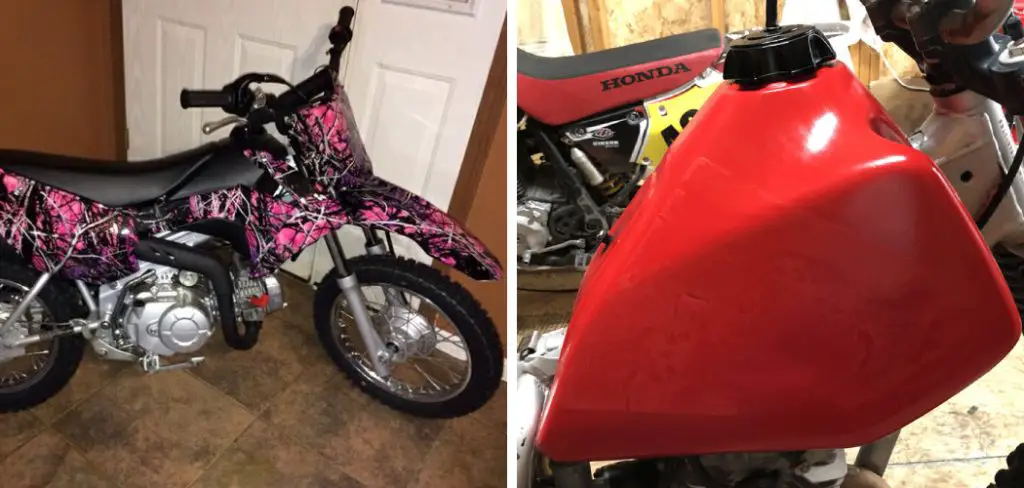
How to Paint Dirt Bike Plastics
There’s nothing quite like taking your dirt bike out for a spin on a sunny day. But if your bike looks a little worse for wear, it might be time for a new paint job. Luckily, painting your dirt bike plastics is a relatively simple process that you can do at home with just a few supplies. In this article, we’ll show you how to paint dirt bike plastics in just a few easy steps. So break out the painting supplies and give your bike a fresh new look.
What Are the Dirt Bike Plastics?
Plastics are an important material used in dirt bike manufacturing. Many different types of plastics are used, each with its own set of benefits and drawbacks. For example, ABS plastic is commonly used for its strength and durability. However, it is also susceptible to cracking and chipping. Polycarbonate is another common type of plastic known for its shatter-resistant properties.
However, it can become scratched and yellowed over time. PVC plastic is the third type of plastic often used in dirt bike manufacturing. It is lightweight and flexible, making it ideal for use in areas where weight is concerned. However, it is not as durable as some other types of plastics.
Why Should You Paint Dirt Bike Plastics?
You’re out on the trail, ripping through berms and flowing through whoops when suddenly, you hear a hissing noise. You pull in the clutch and coast to a stop to discover that your radiator has sprung a leak. Luckily, you have some radiator sealant with you and can make a temporary repair. But as you survey the damage, you realize that your plastic radiator shroud is shredded and your plastics are covered in mud. This is where paint comes in.
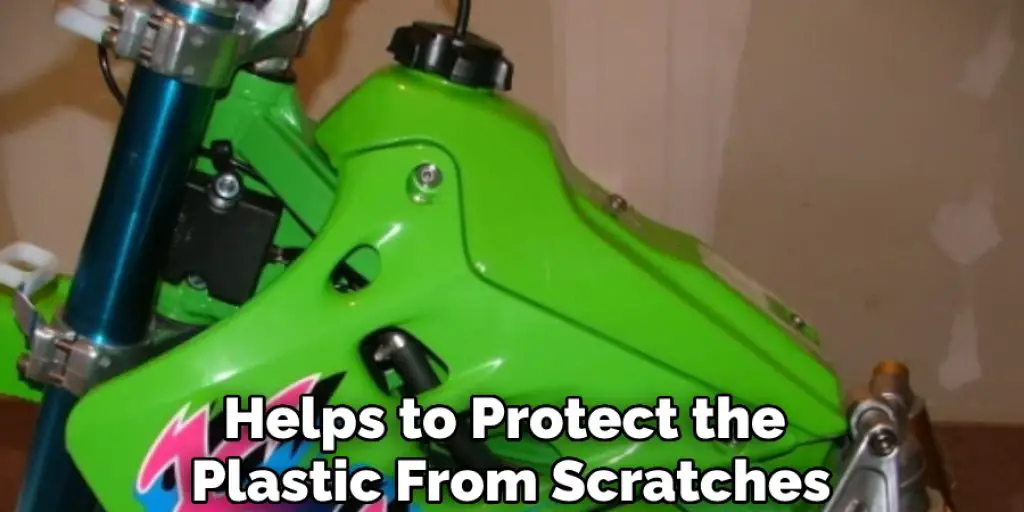
A fresh coat of paint makes your bike look good, protects your plastics from UV damage, and helps prevent premature wear and tear. In addition, paint can help prevent moisture from seeping into cracks and crevices, leaving your plastics looking new for much longer. So next time you’re out on the trails, be sure to keep an eye on your plastics and give them a fresh coat of paint when necessary. Your bike will thank you for it.

How to Paint Dirt Bike Plastics: A Step-By-Step Guide
Step One: Clean the Surface
The first step to painting your dirt bike plastics is to clean the surface. You’ll want to remove any dirt, grease, or debris that could prevent the paint from properly adhering to the plastic. The best way to do this is to use a detergent and water solution and scrub the surface with a sponge or brush. Once you’ve removed all the dirt and grime, rinse the area with clean water and allow it to dry completely.
Step Two: Apply Primer and Paint
Now it’s time to apply the primer and paint. You’ll want to use a plastic primer specifically designed for motorcycles, which you can find at most auto parts stores. Apply the primer with a brush or spray can according to the manufacturer’s instructions and allow it to dry completely. Once the primer is dry, you can similarly apply your desired paint color. Again, make sure to follow the manufacturer’s instructions for the best results.
*Note: If you’re planning on using multiple colors, you’ll need to apply a base coat of white before adding any additional colors.*
Step Three: Allow the Paint to Dry Completely
After you’ve applied the paint, it’s important to allow it ample time to dry completely before using or touching the area. Depending on the type of paint you used, this could take anywhere from 24 hours to several days. Once the paint is dry, enjoy your newly painted dirt bike plastics!
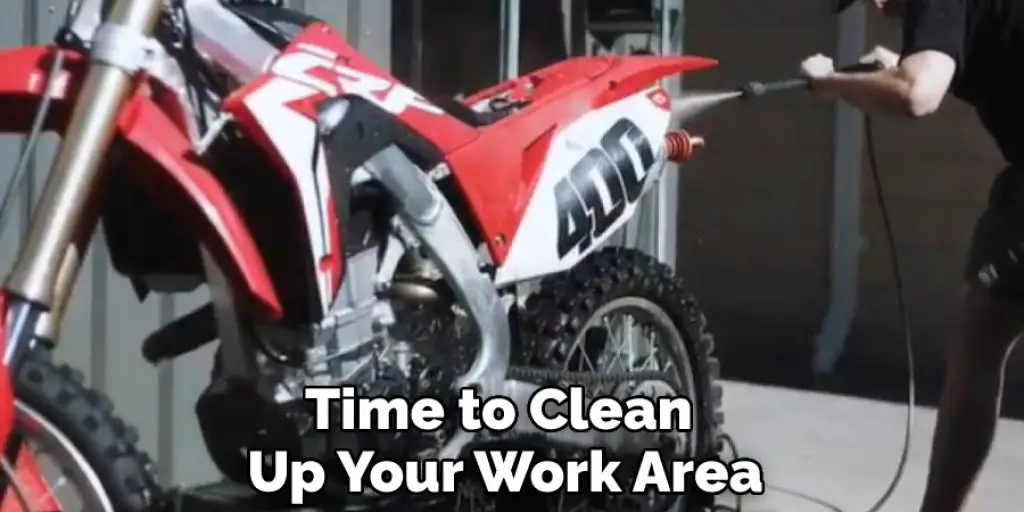
Step Four: Clean Up Your Work Area
Now that your project is complete, it’s time to clean up your work area. This includes removing any paint, primer, or other materials you used during the painting process. Make sure to dispose of these items properly according to local regulations.
Step Five: Touch Up Any Areas as Needed
Once the paint is dry, you may notice any areas that need touch-ups. This could be due to surface imperfections or insufficient paint being applied in certain areas. If this is the case, simply repeat steps two through four until you’re satisfied with the results.
Step Six: Enjoy Your Newly Painted Dirt Bike Plastics!
Congratulations, you’ve successfully painted your dirt bike plastics! Now it’s time to enjoy the fruits of your labor. Be sure to take extra care of your newly painted surfaces to prevent any chips or damage. Your paint job will last for many future rides with proper care and maintenance.
That’s it! You’ve now learned how to paint dirt bike plastics like a pro. Just follow these simple steps, and you’ll have great-looking plastics in no time. Thanks for reading, and happy painting!
How to Prepare Your Dirt Bike Plastic for Painting
Painting your dirt bike plastic is a great way to refresh its look and protect it from the elements. The key to a successful job is properly preparing the surface of the plastic. First, use a mild soap and water solution to clean the plastic and remove any dirt, grease, or grime. Next, sand the surface with fine-grit sandpaper to create a smooth base for the paint to adhere to.
Once you’ve sanded the plastic, wipe it down with a tack cloth or clean rag to remove any dust. Now you’re ready to prime and paint! Be sure to follow the instructions on your chosen primer and paint for the best results. With a little time and effort, you can give your dirt bike plastic a brand-new look!
How to Choose the Right Paint for Your Dirt Bike Plastics
When it comes to dirt bike plastics, there are a few things to consider when choosing the right paint. The first is the type of plastic. ABS plastic is common on production bikes and is best suited for solid colors. For a more custom look, you can choose from a variety of other plastics that can be color matched or clear-coated. The second consideration is the riding environment. If you ride in dry, dusty conditions, you’ll want to choose a paint that can withstand fading and chipping.
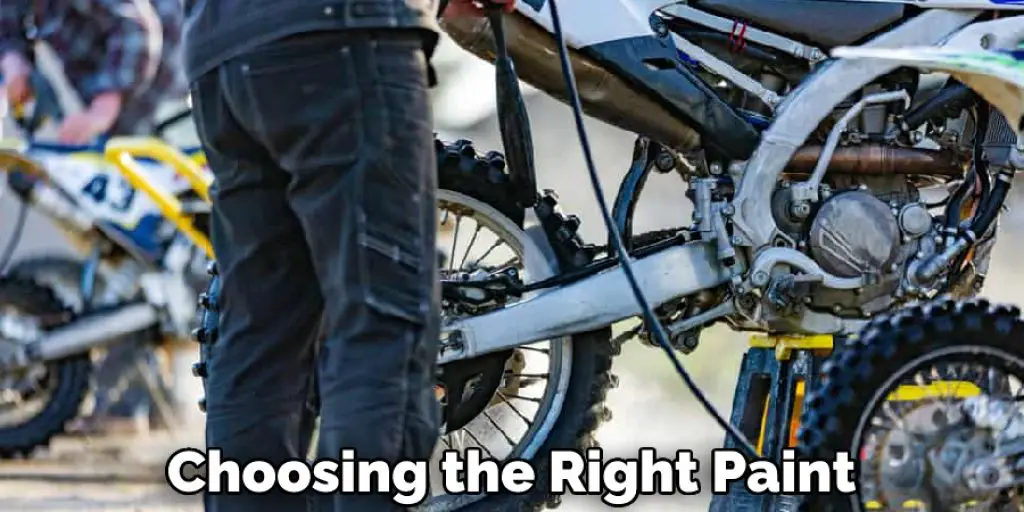
If you ride in muddy conditions, you’ll want paint that won’t absorb too much mud and become heavy and difficult to clean. Finally, you’ll need to decide on a finish. A glossy finish will make your bike stand out, but it will also show scratches more easily. A matte finish is more durable and easier to keep clean, but it may not have the same visual impact. With so many options available, take the time to find the right paint for your dirt bike plastics.
The Dos and Don’ts of Painting Dirt Bike Plastics
If you’ve just purchased a new dirt bike, you’re probably eager to make it your own. One of the best ways to do this is by customizing the plastics. Painting the plastics is a relatively simple process, whether you want to give your bike a new color or just protect the original plastics from wear and tear. However, there are a few things you need to keep in mind to ensure a successful paint job.
First, it’s important to clean the plastics thoroughly before painting. Any dirt, grease, or other contaminants will prevent the paint from adhering properly. Next, be sure to use a plastic-friendly primer and paint. Many types of paint will interact badly with plastics, so it’s important to choose products that are specifically designed for use on plastic surfaces.
Finally, make sure to apply several thin coats of paint rather than one thick coat. This will help to prevent bubbling and ensure a smooth, even finish. By following these simple tips, you’ll be able to give your dirt bike a unique look that will last for years to come. Keep reading for more information about how to paint dirt bike plastics.
What Type of Finish Should I Use on Dirt Bike Plastics?
Several different types of finishes can be used on dirt bike plastics. The most popular option is a clear coat, which helps to protect the plastic from scratches and UV radiation. Another popular choice is a color-matched finish, which can help to make your bike look more consistent. However, some finishes can actually improve the performance of your dirt bike.
For example, a textured finish can help to provide a better grip, and a hard-coated finish can help to resist wear and tear. Ultimately, the best type of finish for your dirt bike plastics will depend on your personal preferences and riding style.
Conclusion
A fresh coat of paint can do wonders for your dirt bike plastics—and thanks to these three easy steps, it’s simple enough to do yourself at home. Just make sure to take your time and allow the paint plenty of time to dry before hitting the trails again. And before you know it, you’ll be zooming around on a dirt bike that looks good as new. Thanks for reading our post about how to paint dirt bike plastics.
Darren Matlock
Hi, I'm Darren. I love dirt bikes and everything about the off-road lifestyle. I'm passionate about motorbikes, cars, racing sports and going on adventures. If you're like me and enjoy extreme sports, you've come to the right place! I like to write articles about dirt bikes to help beginners get started. Whether you're interested in buying a dirt bike, ATV, motorcycle or want to ride for hobby, I hope my articles will inspire you to learn more about how this machine can be used to ride.