How to Make a Electric Dirt Bike
If you’re looking for a way to get around that’s more fun and exciting than driving a car, you may want to consider making an electric dirt bike. This is a great option if you live in an area with lots of unpaved roads or trails, and it’s also a lot of fun. Making an electric dirt bike is a great way to have some fun while getting some exercise. It’s also a great way to save money on gas. In this blog post, we’re going to show you how to make a electric dirt bike. We’ll provide you with the necessary materials and instructions. So let’s get started!
Why Should You Make an Electric Dirt Bike?
There are many reasons why you should make an electric dirt bike. For one, they’re a lot of fun. They’re also great for getting around in areas without many paved roads or trails. Additionally, electric dirt bikes are more environmentally friendly than gas-powered bikes. Another great reason to make an electric dirt bike is that they’re much cheaper to operate than gas-powered bikes. The average cost of a gallon of gas is about $3.50, while the cost of a kilowatt-hour of electricity is only about $0.10. That means that you can save a lot of money on fuel costs by making an electric dirt bike. The other great thing about electric dirt bikes is that they’re very low maintenance. There’s no need to change the oil or tune the engine. All you need to do is charge the battery, and you’re good to go. Finally, electric dirt bikes are very quiet. This is great if you live in an area where noise pollution is a concerns.
What You’ll Need
To make an electric dirt bike, you’ll need the following materials:
- A motorcycle or ATV frame
- An electric motor
- A battery
- A charger
- A controller
- Wiring
- A throttle
- A kill switch
- Brakes
- A chain
- Tires
- Wheels
Step by Step How to Make a Electric Dirt Bike:
1. Find a Suitable Frame
The first step is to find a suitable frame. You can use an old motorcycle or ATV frame. If you don’t have one of these, you can also purchase a new frame. Try to find a frame that’s made of steel or aluminum. These materials are strong and lightweight. If you’re using an old frame, make sure to inspect it for damage. You don’t want to use a frame that’s been damaged in a crash. Avoid using a frame that’s more than 20 years old. The older the frame, the more likely it is to be damaged.
2. Attach the Electric Motor
The next step is to attach the electric motor. There are many different types of electric motors available. Try to find a powerful motor that’s rated for at least 1,000 watts. You can purchase an electric motor online or at a local hardware store. Once you have the motor, bolt it to the frame. Make sure that the motor is securely attached to the frame. Avoid using a motor that’s too small. A small motor will make it difficult to ride on hills or rough terrain.

3. Install the Battery
The next step is to install the battery. You’ll need a battery that’s rated for at least 24 volts. Try to find a battery that’s lightweight and easy to install. You can purchase a battery online or at a local hardware store. To install the battery, first, remove the seat. Then, locate the battery compartment and open it up. Place the battery inside the compartment and close it. Next, attach the positive and negative wires to the battery. Finally, reattach the seat and screw it in place.
4. Attach the Controller
The next step is to attach the controller. The controller is what regulates the flow of electricity to the motor. It’s important to choose a controller that’s rated for the same voltage as the battery. You can purchase a controller online or at a local hardware store. First, remove the covers from the battery terminals to attach the controller. Then, using wire strippers, remove about ½ inch of insulation from the end of each wire. Wrap the exposed wire around the corresponding terminal on the controller and replace the cover. If the controller has a power switch, ensure it’s in the “off” position.
5. Install the Throttle
The next step is to install the throttle. The throttle controls how much power is sent to the motor. It is important to get the throttle installed correctly so that it is easy to use and safe. There are two types of throttles: twist and thumb. Twist throttles are the most common and are operated by twisting the grip on the handlebar. Thumb throttles are less common but are operated by pressing a button on the handlebar. First, connect the throttle cable to the motor to install a throttle. Next, route the throttle cable through the frame and to the handlebar. Finally, twist the grip onto the handlebar and tighten it in place.
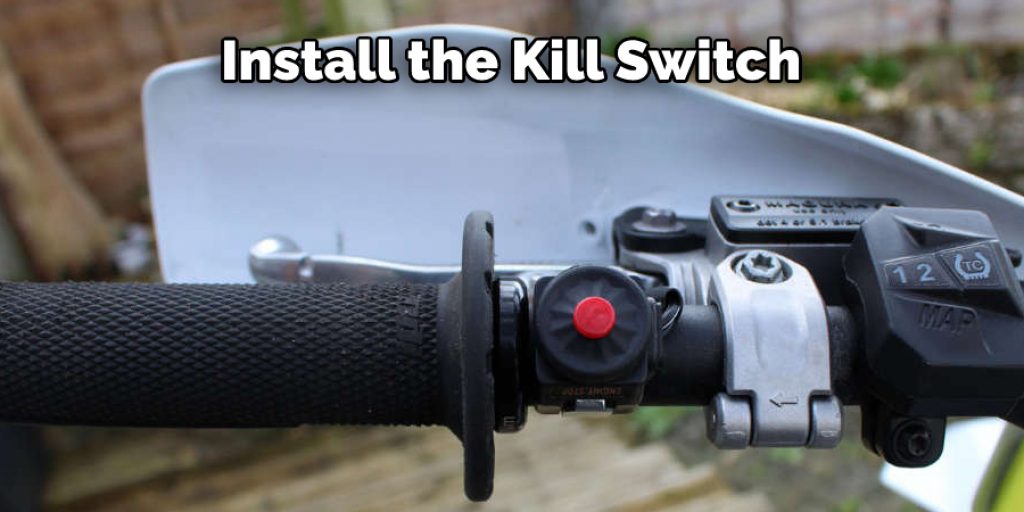
6. Install the Kill Switch
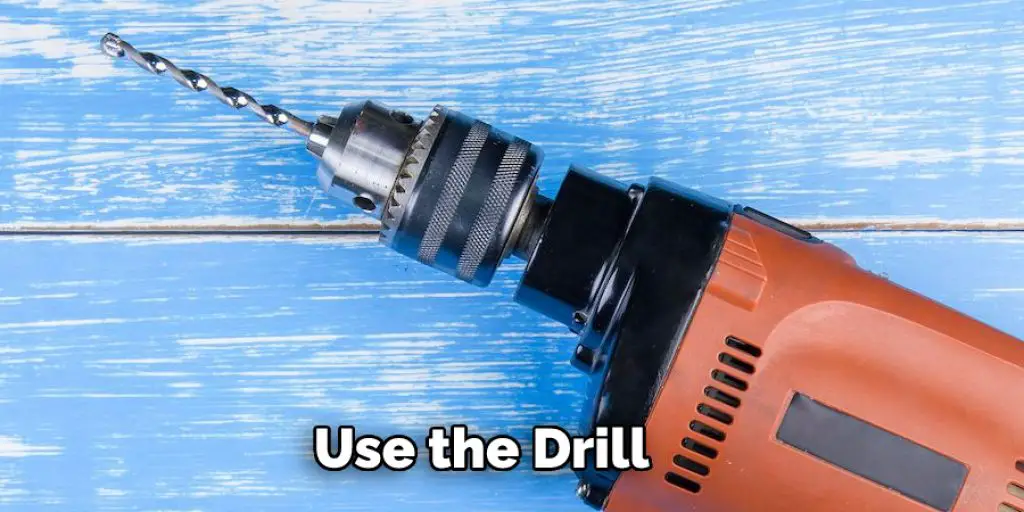
The next step is to install the kill switch. The kill switch is a safety feature that allows you to turn the power off to the motor instantly in case of an emergency. To install the kill switch, find a spot on the bike’s frame where you can mount it. Once you have found a spot, use the drill to make a hole for the kill switch wire to pass through. Next, take the kill switch and thread the wire through the hole you just made. Then, use the zip ties to secure the kill switch in place. Finally, connect the kill switch wire to the positive terminal on the battery. Ensure the connection is secure, and there is no chance of the wire coming loose. Now, flip the kill switch when you need to turn the power off to the motor, and the motor will shut down immediately.
7. Install the Brakes
The next step is to install the brakes. Electric dirt bikes typically have two brakes: a front brake and a rear brake. The front brake is usually operated by a hand lever, while a foot pedal usually operates the rear brake. First, locate the brake mounting holes on the front fork to install the brake. Then, insert the brake lever into the mounting holes and secure it with the bolts supplied with the kit. Finally, connect the brake cable to the brake lever and route it through the frame to the front wheel.
8. Attach the Chain
The next step is to attach the chain. First, clean the inside of the chain with a rag to remove any dirt or debris. Next, lubricate the inside of the chain with chain lube. Then, route the chain around the sprockets and through the derailleur. Make sure the chain is tight, and there is no slack. Finally, use a chain tool to connect the two ends of the chain together.
9. Mount the Tires and Wheels
The next step is to mount the tires and wheels. Using the correct size tires and wheels for your bike is important. Check the owner’s manual for the recommended size. Once you have the correct size, you can inflate the tires to the recommended psi. First, put the wheels on the bike. You will likely need a wrench to do this. Make sure that the axle nuts are tight. Once the wheels are on, you can put the tires on. Start by putting the valve stem through the hole in the wheel. Then, work your way around the tire, pulling it tight as you go. You may need to use a tire lever to help get the tire on.
10. Test It Out!
After you have put the electric dirt bike together, it is time to test it out! Make sure that you are wearing all of the proper safety gear before you get on the bike. Start by testing the brakes. Pump the brakes a few times to ensure they are working properly. Then, take the bike for a spin around the block. If everything seems to be working properly, you are ready to hit the trails! Just remember to take it slow at first and always wear your safety gear.
You Can Check It Out To Jet a Dirt Bike Carburetor
How Much Does It Cost and Time to Build an Electric Dirt Bike?
The cost of building an electric dirt bike will vary depending on the materials you use and the size of the bike. However, you can expect to spend around $600 on the project. This includes the cost of the motor, battery, charger, and other necessary parts. Again, the time it takes to build an electric dirt bike will also vary depending on your experience level. However, it should take you around 10 hours to complete the project from start to finish.
Conclusion
So there you have it! Now you know how to make a electric dirt bike. Just remember to take your time and be careful when working with electricity. If you follow the steps above, you should have no problem putting together a great bike that will provide you with hours of fun. Thanks for reading, and happy building!
Darren Matlock
Hi, I'm Darren. I love dirt bikes and everything about the off-road lifestyle. I'm passionate about motorbikes, cars, racing sports and going on adventures. If you're like me and enjoy extreme sports, you've come to the right place! I like to write articles about dirt bikes to help beginners get started. Whether you're interested in buying a dirt bike, ATV, motorcycle or want to ride for hobby, I hope my articles will inspire you to learn more about how this machine can be used to ride.