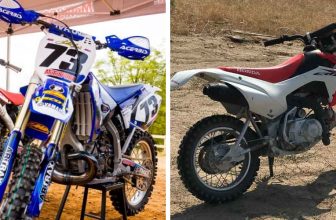
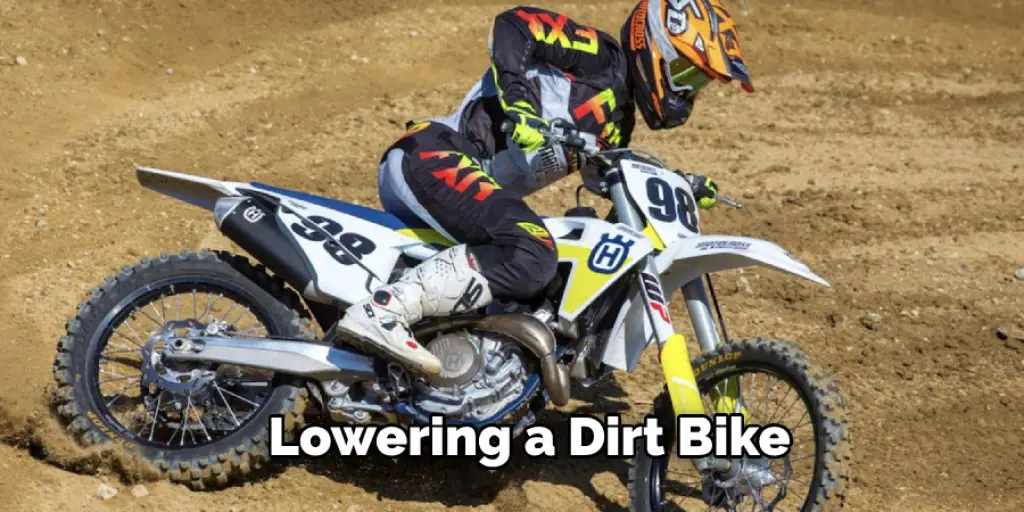
How to Lower a Dirt Bike
There are a few reasons you may want to lower your dirt bike. Maybe you’re just getting started in motocross and need to make the bike fit you better, or maybe you’ve been riding for a while but want to tweak the bike to match your current riding style. Either way, lowering a dirt bike is a relatively simple process that anyone can do with just a few basic tools. In this blog post, we’ll show you how to lower a dirt bike step by step.

Why Should You Lower a Dirt Bike?
When it comes to dirt biking, one of the most important things to consider is the height of your bike. Many people think that a taller bike is better because it provides more ground clearance. However, a taller bike can actually be more difficult to control, especially in tight turns. It can also be more dangerous in the event of a spill.
That’s why it’s often best to lower a dirt bike, improving maneuverability and decreasing the risk of injuries. In addition, a lower bike is less likely to get stuck in deep ruts or mud pits. So, lowering your bike may be the best place to start if you’re looking to improve your dirt biking skills.
What You’ll Need
Before you get started, there are a few things you’ll need to have on hand. First, you’ll need an adjustable wrench or socket set. Second, you’ll need a pair of pliers. Finally, it’s always a good idea to have some old rags or shop towels handy to catch any grease or grime that might fall on your floor as you work.
How to Lower a Dirt Bike in 6 Easy Steps
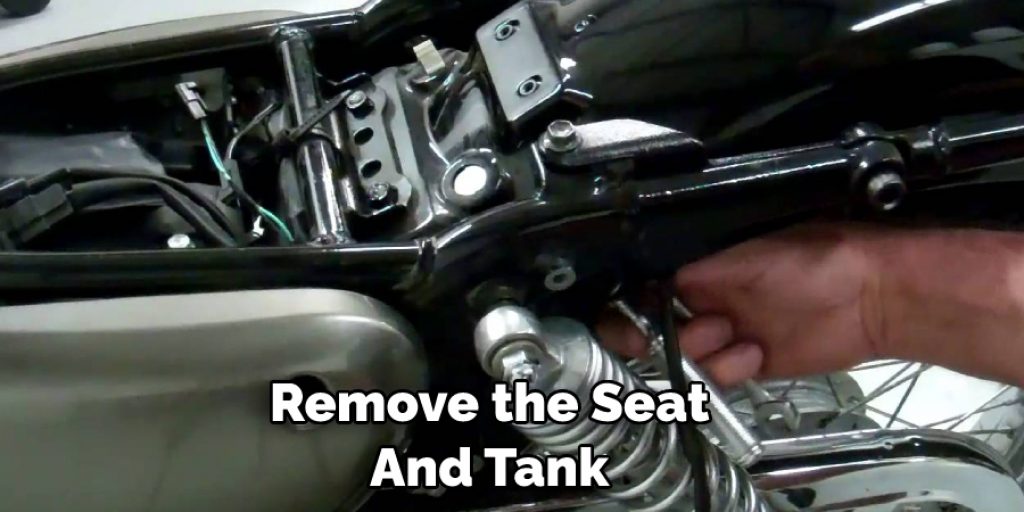
Step 1: Remove the Seat and Tank
The first step is to remove the seat and gas tank so that you have easy access to the shock absorbers. Next, use the adjustable wrench or socket set to remove the seat’s bolts, then lift the seat off the bike. Next, use the wrench or socket set to remove the gas tank’s bolts.
Be careful when removing the gas tank—there may be some fuel left in it, so it’s best to put an old rag underneath it as you work in case of any fuel spills out. With the seat and gas tank removed, you should now be able to see the two shock absorbers on either side of the bike frame.
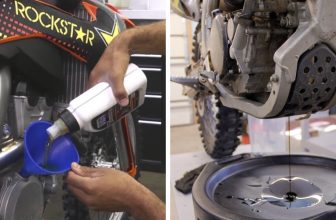
Step 2: Adjust The Shock Absorbers
The next step is adjusting the preload on each shock absorber. The preload is simply a measure of the tension on the springs inside the shock absorber assembly. The higher the preload, the stiffer the ride; conversely, the lower the preload, the softer the ride.
To adjust the preload on each shock absorber, use an adjustable wrench or socket set to turn each of the large nuts at either end of each shock clockwise or counterclockwise until you’ve achieved your desired setting.
As a general rule of thumb, beginners should start with a low preload setting to get used to riding their bikes before making any major adjustments. More experienced riders can experiment with higher preload settings to fine-tune their bikes for specific riding conditions or terrain.
Step 3: Lower The Forks
The next step is to lower the forks in the front of the bike. This can be done by loosening the bolts that hold the forks in place, then sliding them down through the triple clamps until they’re at your desired height. Again, as with the preload on the shock absorbers, beginners should start with a low setting for the forks to get used to how their bike handles before making any major adjustments.
Step 4: Adjust The Rear Suspension
The next step is to adjust the rear suspension. This can be done by turning the preload adjusters on the shock absorbers clockwise or counterclockwise until you’ve achieved your desired setting. Again, beginners should start with a low preload setting to get used to how their bike handles before making any major adjustments.

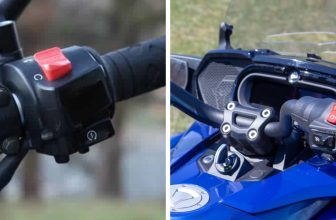
Step 5: Adjust The Brakes
The next step is to adjust the front and rear brakes. First, use an adjustable wrench or socket set to loosen the bolts that hold the brake calipers in place. Next, use a Phillips head screwdriver to adjust the tension on the brake cables so that they’re snug but not too tight. Once you’ve adjusted the brakes, test them by lightly pressing on the levers to make sure that they’re working properly.
Step 6: Test Ride The Bike And Enjoy!
Once you’ve finished adjusting the preload on both shock absorbers, it’s time for a test ride! Put the seat and gas tank back on (being careful not to spill any fuel), start up your bike, and take it for a spin around your block or neighborhood. If everything feels good and you’re happy with how your bike handles, congratulations—you’ve successfully lowered your dirt bike! If not, simply adjust one or both of your shocks until you achieve your desired results, then enjoy your newly lowered bike!
That’s it! You’ve now learned how to lower a dirt bike. You can customize your bike to suit your riding style and preferences better with a few simple adjustments. So get out there and enjoy the ride!
What You Need to Know Before Lowering Your Dirt Bike
You just bought a new dirt bike and can’t wait to start riding. But before you hit the trails, there are a few things you need to know about lowering your bike. First, it’s important to understand that lowering your bike will affect its handling. The lower the center of gravity, the easier it will be to make turns. However, keeping the bike upright in rough terrain will also be more difficult. You’ll also need to take extra care when going over jumps and obstacles.
Second, lowering your bike will increase its ground clearance. This can be beneficial if you ride in rocky or root-filled areas, but it can also make it more difficult to maneuver in tight spaces. Finally, remember that adjusting your suspension is an important part of lowering your bike. You’ll need to experiment with different settings to find what works best for you and your riding style.
With a little bit of knowledge and preparation, you’ll be ready to hit the trails on your new lowered dirt bike. Keep reading for more information about how to lower a dirt bike.
The Dos and Don’ts of Lowering a Dirt Bike
Lowering your dirt bike to give it a “cool” look may be tempting, but there are several good reasons why you shouldn’t. First of all, lowering the bike will reduce ground clearance, making it more likely to bottom out on bumps and obstacles. Additionally, the lowered center of gravity will make the bike less stable, making it more difficult to control at high speeds. Finally, lowering the suspension will also reduce the amount of travel, making it less able to absorb bumps and jumps.
In short, while lowering your dirt bike may give it a stylish look, it’s not worth the performance tradeoffs. If you’re looking to improve your bike’s handling, there are far better ways to do it. For example, you could try changing the tires or adjusting the suspension settings. Just remember: when it comes to dirt bikes, function should always take precedence over form.
What Are the Benefits of Lowering a Dirt Bike?
For many dirt bike riders, the question of whether or not to lower their bike is personal. Some riders feel that a lowered bike gives them better control and stability on the trails, while others worry that it may make the bike more difficult to handle. There are, however, some clear benefits to lowering a dirt bike. Perhaps the most obvious benefit is that it makes the bike lighter and easier to maneuver. This can be a big advantage when riding on tight, twisting trails.
In addition, a lower center of gravity can help to improve cornering performance and reduce the risk of tipping over. Finally, lowering a dirt bike can also make it easier to get your feet on the ground when stopped, which can be helpful when starting off on steep inclines. Whether or not to lower a dirt bike is ultimately a matter of personal preference, but there are some clear advantages to doing so.
Are There Any Dangers to Lowering a Dirt Bike?
Many dirt bike riders enjoy the thrill of going off-road, but there are some dangers to consider before taking your bike off the beaten path. One of the biggest dangers is getting stuck in mud or sand. If you ride in an area with a lot of mud or sand, it’s important to know how to get your bike unstuck quickly and safely. Additionally, riding in rough terrain can put strain on your bike’s suspension and frame, so it’s important to inspect your bike regularly for any damage.
Finally, before you head out for a ride, be sure to tell someone where you’re going and when you’ll be back. That way, someone will know where to look for you if something happens. By being aware of the dangers and taking some basic precautionary measures, you can ensure that your next off-road adventure is safe and fun.

Conclusion
Lowering your dirt bike is a great way to make it fit you better or improve its handling characteristics. Whether you’re just getting started in motocross or looking for ways to take your riding to the next level, lowering your bike is a simple yet effective way.
All you need are a few basic tools and some patience while you experiment with different settings until you find what works best for you and your riding style. So what are you waiting for? Get out there and start lowering those bikes! Thanks for reading our post about how to lower a dirt bike.
Darren Matlock
Hi, I'm Darren. I love dirt bikes and everything about the off-road lifestyle. I'm passionate about motorbikes, cars, racing sports and going on adventures. If you're like me and enjoy extreme sports, you've come to the right place! I like to write articles about dirt bikes to help beginners get started. Whether you're interested in buying a dirt bike, ATV, motorcycle or want to ride for hobby, I hope my articles will inspire you to learn more about how this machine can be used to ride.