How to Clean a Dirt Bike Carb without Taking It Off
If you ride a dirt bike, chances are good that you’ll get some dirt and grime in your carb. Over time, this can cause your bike to run less efficiently and can even lead to engine problems. Luckily, there’s an easy way to clean your carb without having to remove it from the bike. In this blog post, we’ll show you how to clean a dirt bike carb without taking it off.
What Is a Dirt Bike Carb?
Any motorcycle or ATV that’s equipped with a carburetor has what’s called a “dirt bike carb.” These types of carbs are specially designed to function in off-road conditions where there’s a lot of dust and dirt in the air. The main difference between a dirt bike carb and a regular carb is how they draw in air. Regular carbs have an air filter that cleans the air before it enters the engine.
However, dirtbike carbs don’t have an air filter. This means that they’re more likely to get clogged with dirt and debris. As a result, they need to be cleaned more often than regular carbs. Fortunately, most dirt bike carbs can be easily disassembled for cleaning. So regularly cleaning your carburetor can keep your dirt bike running smoothly for years to come.
Why Should You Clean a Dirt Bike Carb without Taking It Off?
A dirt bike is a perfect way to explore off-road terrain for anyone who loves spending time outdoors. However, like any vehicle, a dirt bike requires regular maintenance to keep it running smoothly. One of the most important maintenance tasks is cleaning the carburetor, which helps ensure that the engine gets the correct mix of air and fuel.

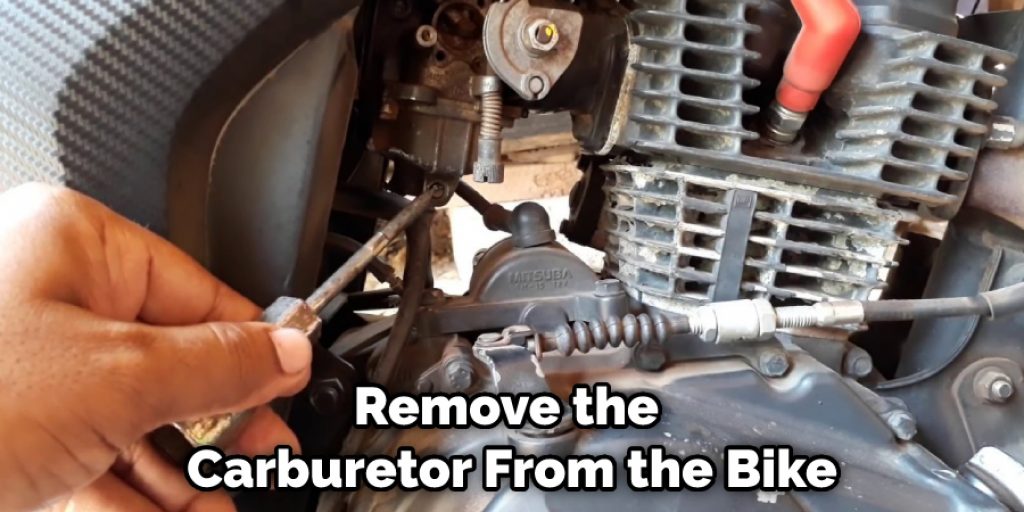
While it is possible to remove the carburetor from the bike to clean it, this is not always necessary. With a little time and effort, it is usually possible to clean a carburetor without taking it off the bike. The key is to be careful and take your time, so you do not damage any delicate parts. With a bit of patience, you can keep your dirt bike running like new without ever having to remove the carburetor.
What You’ll Need
- A small bowl or cup
- A toothbrush
- A can of compressed air (optional)
- Cleaning solution (we recommend Simple Green diluted with water)
- A clean cloth or towel
- Gloves (optional)
8 Steps to Follow on How to Clean a Dirt Bike Carb Without Taking It Off
Step 1: Prepare Your Work Area
Make sure you have everything you need within easy reach. For example, if you’re working in a garage or other enclosed space, open the door or windows to ensure that there’s plenty of ventilation.
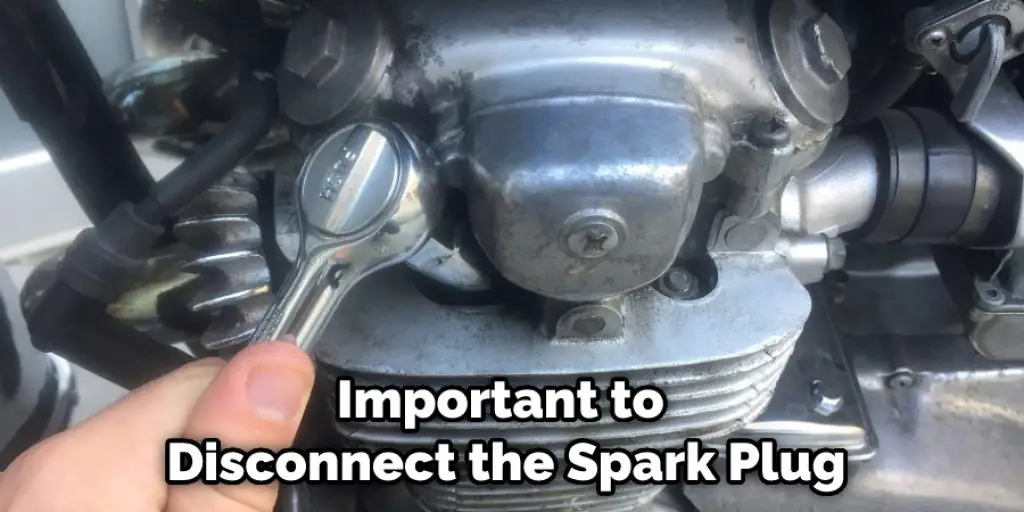
Step 2: Disconnect the Spark Plug
Before you start working on the carburetor, it’s important to disconnect the spark plug. This will prevent the engine from accidentally starting while you’re cleaning it.
Step 3: Remove the Air Filter
The air filter is located between the carburetor and the engine. You’ll most likely need to remove the carburetor to access the air filter. However, depending on the make and model of your dirt bike, it may be possible to clean the carburetor without removing the air filter.
Step 4: Spray Carb Cleaner Into the Carburetor
Once you have access to the carburetor, you can start spraying carb cleaner into it. But, again, be sure to use a carb cleaner specifically designed for motorcycles.
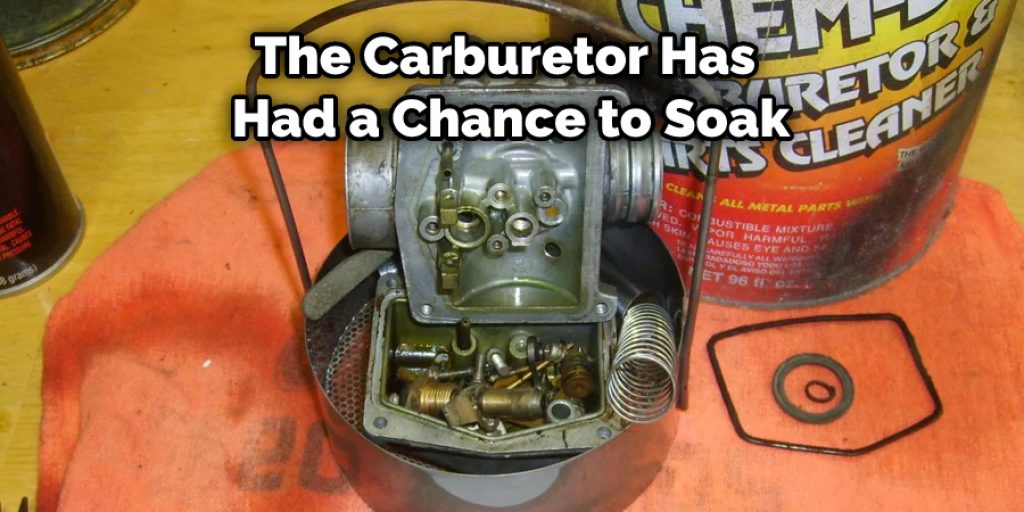
Step 5: Allow the Carburetor to Soak
After you’ve sprayed the carburetor with cleaner, let it soak for at least 15 minutes. This will give the cleaner time to break down the dirt and grime built inside the carburetor.
Step 6: Scrub the Carburetor
Once the carburetor has had a chance to soak, use a stiff brush to scrub away any remaining dirt and grime. Be sure to pay special attention to the jets, as these are often the most difficult to clean.
Step 7: Rinse the Carburetor With Water
After you’ve scrubbed the carburetor clean, rinse it with water to remove any residual cleaner. Make sure you’re using clean water, as dirty water can worsen the problem.
Step 8: Reassemble and Test the Carburetor
Once you’ve cleaned the carburetor, it’s time to reassemble everything. Start by reconnecting the spark plug, then replace the air filter and Carburetor. Once everything is back in place, start the engine and let it idle for a few minutes. If the engine runs smoothly, you’re done! If not, you may need to adjust the carburetor’s idle mixture screws.
That’s it! You’ve now learned how to clean a dirt bike carb without taking it off. By following these simple steps, you can keep your carburetor in good working condition and extend the life of your engine.
What You Need to Know Before Cleaning Your Dirt Bike Carb
Cleaning your dirt bike carb may seem daunting, but it’s not that difficult as long as you have the right tools and know-how. First, you’ll need to remove the carburetor from the bike (consult your owner’s manual for instructions on how to do this). Once the carburetor is removed, disassemble it so that all of the parts are easily accessible.
Next, use a brush to remove any dirt or debris that may be clinging to the carburetor parts. Once you’ve given the carburetor a good cleaning, reassemble it and then reinstall it on your bike. Be sure to double-check that all of the bolts are tightened before taking it out for a spin! With a little care and effort, you can keep your dirt bike running smoothly by regularly cleaning the carburetor.
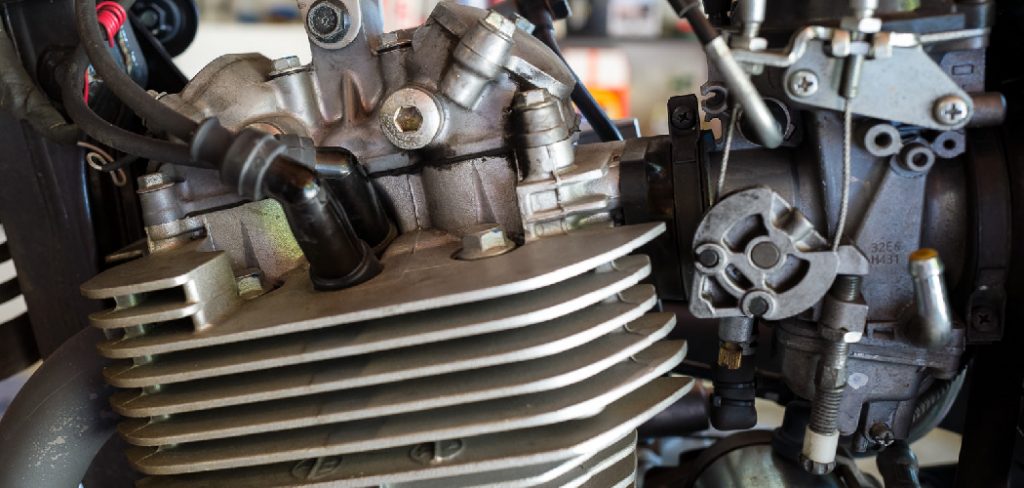
How to Inspect the Carburetor for Problems
As your car ages, it’s important to start paying attention to basic maintenance tasks that will keep it running smoothly. One such task is inspecting the carburetor for problems. The carburetor is responsible for mixing fuel and air correctly and sending it to the engine. Over time, dirt and debris can build up in the carburetor, causing problems with efficiency and performance.
Fortunately, inspecting the carburetor is a relatively simple task that can be done at home with just a few tools. First, remove the air filter and cover to access the carburetor. Then, use a small brush or screwdriver to clean out any dirt or debris that has built up inside. Be sure to pay special attention to the jets, as these are especially prone to clogging.
Once you’re finished cleaning, reassemble everything and take your car for a test drive. If you notice any performance improvement, then you know your carburetor is in good working order. But if you notice any further deterioration, then it’s time to take your car to a mechanic for a more comprehensive inspection.
What Not to Do When Cleaning your Dirt Bike Carburetor
As any dirt bike enthusiast knows, keeping your bike clean is essential to maintaining peak performance. However, when it comes to cleaning the carburetor, there are a few things you should avoid. First, never use a pressure washer to clean the carburetor. The high-pressure water can damage delicate parts and force grit and grime into places where it can cause problems.
Second, don’t use harsh chemicals or solvents to clean the carburetor. These can also damage parts and leave behind harmful residues. Finally, don’t use a wire brush or abrasive pad to scrub the carburetor. These can scratch surfaces and create places for dirt and grime to build up. With a little care and attention, you can keep your dirt bike’s carburetor clean and running smoothly for years to come.
How to Keep Your Dirt Bike Running Smooth
As any rider knows, a dirt bike is a demanding machine. Not only do you have to keep it clean, but you also need to perform regular maintenance to ensure that it runs smoothly. One of the most important things you can do is to change the oil regularly. Depending on how often you ride, you may need to change the oil as frequently as every few weeks.
In addition, you should check the air filter regularly and clean or replace it as needed. It’s also important to check the chain and adjust it as necessary. By keeping your bike well-maintained, you can help prolong its life and ensure that it continues to provide years of riding enjoyment.
How to Prevent Dirt Bike Carburetor Problems?
A carburetor is an essential component of a dirt bike and is responsible for mixing the air and fuel before entering the engine. Unfortunately, carburetors can be susceptible to various problems, leading to engine damage and decreased performance. One common issue is dirt build-up, which can restrict the flow of air and fuel and cause the engine to run lean. To prevent this problem, it is important to clean the carburetor regularly.
Another common issue is incorrect jetting, which occurs when the main jet and pilot jet are not properly calibrated. This can cause the engine to run too rich or too lean, leading to backfiring. To prevent this problem, it is important to have the carburetor jetted by a professional before each ride. These simple steps can help ensure that your carburetor will provide optimal performance for years to come.
Conclusion
Regular cleaning of your dirt bike carb is essential to running your bike smoothly. By following these simple steps, you can easily do it yourself without removing the carb from the bike. As always, be sure to take safety precautions when working on your bike and consult your owner’s manual if you have any questions about specific maintenance tasks. Thanks for reading our post about how to clean a dirt bike carb without taking it off.
Darren Matlock
Hi, I'm Darren. I love dirt bikes and everything about the off-road lifestyle. I'm passionate about motorbikes, cars, racing sports and going on adventures. If you're like me and enjoy extreme sports, you've come to the right place! I like to write articles about dirt bikes to help beginners get started. Whether you're interested in buying a dirt bike, ATV, motorcycle or want to ride for hobby, I hope my articles will inspire you to learn more about how this machine can be used to ride.