How to Clean a 4 Stroke Dirt Bike Carb
A four-stroke dirt bike is a great hobby to have. They are fast, they’re fun, and they provide many hours of entertainment. But the upkeep can be difficult if you do not know what you’re doing. One thing that must be done regularly is cleaning the carburetor. This can make or break your ride!
If you don’t clean it out, gunk will accumulate and cause problems like poor performance, slow acceleration, hard starting, etc. This blog post will show how to clean a 4 stroke dirt bike carb safely and effectively so that you can enjoy riding again!
10 Reasons Why You Need To Clean The Carb of Your
Dirt Bike
Here are the 10 major reasons that tells why to clean a carburetor on dirt bike.
1. Poor Performance
If your bike bogs down and does not accelerate properly, then the carb is most likely clogged.
2. Rough Idling
If you can feel the bike revving while you are stopped, then this means that there are still remnants in the carburetor which need to be cleaned out.
3. Hard Starting
If your bike won’t start, something is wrong with the carburetor.
4. Smelly Engine
If you have a motorcycle that smells from the exhaust side, then it could be because your bike hasn’t been started in a while and needs to be cleaned out.
5. Stalling at High RPMs
This usually means that there’s too much fuel in the carburetor, and it needs to be cleaned out.
6. Lack of Power
If your bike lacks horsepower, then there’s a good chance that the carb needs to be cleaned.
7. Bad Idle
If your bike’s idle is rough or it sounds like a lawnmower, then most likely, this means that the carb needs to be cleaned.
8. Engine Misses
If you notice your bike backs firing or it has a miss, then this would probably lead one to believe that the carburetor is clogged and in need of being rebuilt or cleaned out.
9. Poor Throttle Response
This means there is too much dirt or oil in the carburetor and needs to be cleaned.
10. Risk of Engine Damage
If you don’t clean your bike’s carb, then there is a risk of engine burns or not starting at all!
Instructions: How to Clean a 4 Stroke Dirt Bike Carb
Here is the step-by-step instructions that how to clean carb on dirt bike. By following these steps you can easily clean a carb on a dirt bike.
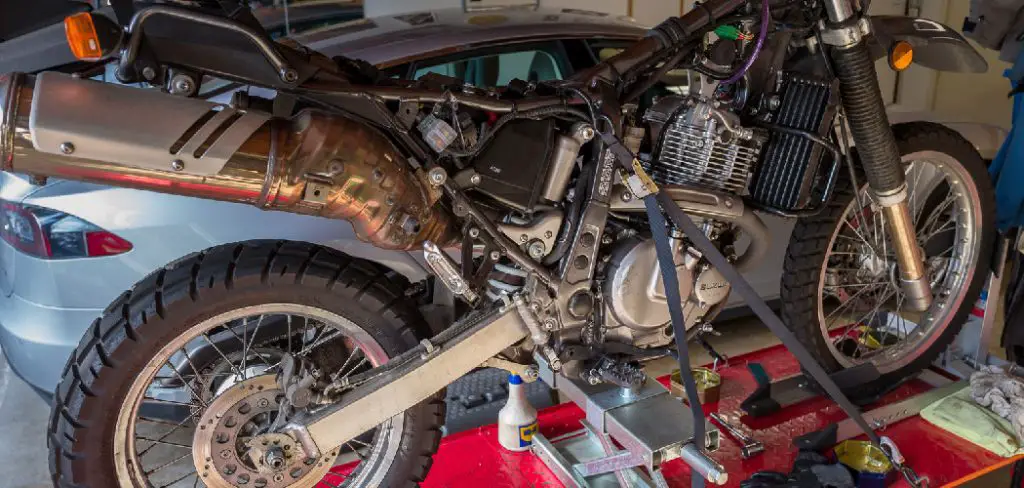
Step 1 – Remove the Carburetor From Your Bike
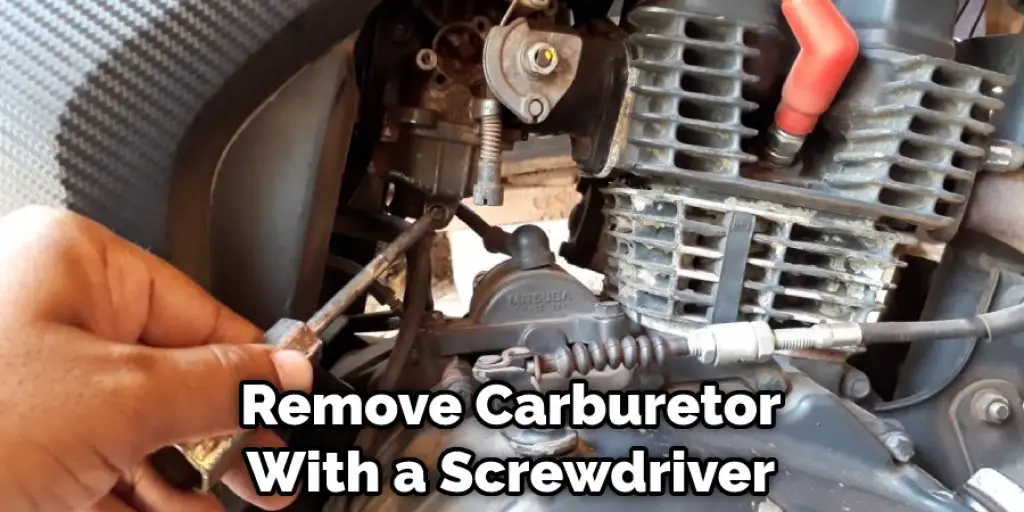
To remove the carburetor from your dirt bike, you will first need to drain the fuel tank. Next, locate all of the screws that hold the cover in place on your carburetor and remove these with a screwdriver.
You should now find that you can lift off the top part of your engine casing, and there should be a few more screws that secure the carburetor. Remove these, and you can now pull the carb out of its casing. If any other screws may be holding it in place, remove these to allow you full access to this part.
Step 2 – Clean the Outside of the Carburetor
Now you’ll want to begin by giving the outside of your carburetor carb a nice clean. To start cleaning your dirty carb throat, you will need some form of the automatic spray carb cleaner device. This could be a power washer or a pressure washer, but ideally, you will use warm water and soap to clean it, as this tends to work best. The carburetor body must be completely dry before the next step of reassembly.
Step 3 – De-rust The Carburetor
To remove the rust from your dirt bike carburetor, you will need to invest in a chemical solution. You can buy this as an aerosol or use a liquid form of the product, but either way, these products will effectively aid you in removing the rust. However, without using one of these chemicals, you may find that you can’t remove all of the surface rust from your dirty carburetor.
Step 4 – Clean The Choke Assembly
To clean your choke assembly, you will need to completely remove it from the carb body. How this is done will depend on which type of dirt bike you have but in most cases, it’s simply removing a few float bowl screws and then pulling out the assembly. Once you’ve got the choke assembly out, you’ll want to spray down all of its pieces with the automatic cleaning device.
Step 5 – Remove All the Pilot Jet
Once you have cleaned all of the other parts of your carburetor, you will need to remove each jet from its corresponding hole. How many jets will vary depending on which type of dirt bike you own, but there are about one or two dozen that need to be removed in most cases.
How these are removed will also vary depending on which type of bike you own and may require a little bit of force, so just ensure that you do not start pulling too hard as it may make the whole jet fall off or get damaged.
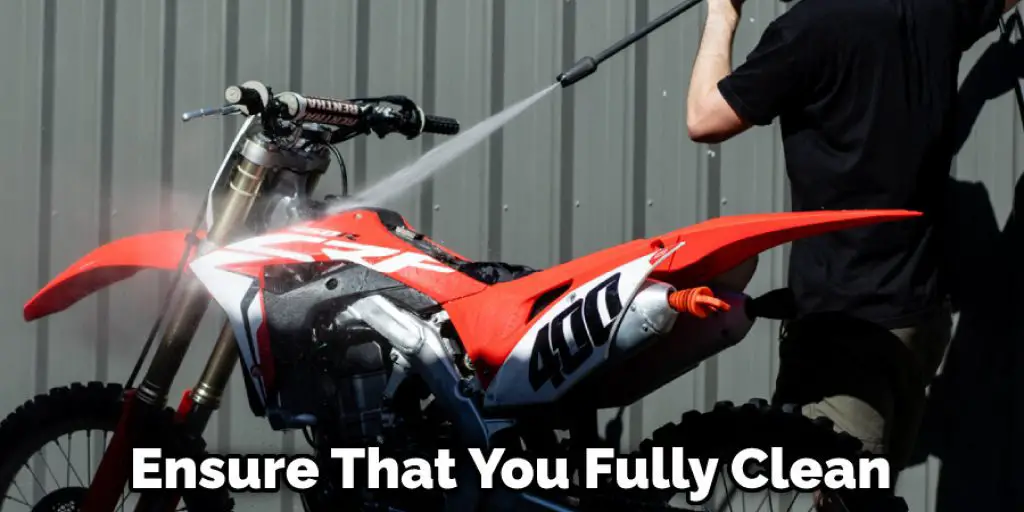
Step 6 – Clean Out Each Jet
To remove any residue build-up in the jets, you will need to invest in some solvent. How strong of a solvent depends on the type of dirt bike you own but typically, something fairly mild is sufficient for this step. Ensure that you fully clean out each jet and don’t progress until you are satisfied with its condition
Step 7 – Reassemble the Carburetor
Once you’ve cleaned your carburetor and had a chance to inspect all of the parts that came out, you will now need to reassemble them. How this is done depends on which type of dirt bike you own, but in most cases, it involves putting each jet back into its respective hole.
You should plug the fuel tank back up and then begin to put the carb back into its casing, taking care to fuel screw it back in. Once you’ve got the carburetor screwed back into place, you can now adjust the jets using a wrench that comes with your bike. How far in or out they are adjusted will depend on which type of dirt bike you have.
Step 8 – Adjust the Jets
To begin adjusting your carburetor, you will need to unscrew one of the screws from it until you can see that fuel is starting to flow out of the vent at the top. You don’t want too much or too little so just continue this process of removing and screwing back in a different hole until you get the right amount of flow.
How many turns it takes to reach a good level will depend on what type of dirt bike you own, but typically, this process should not take more than a few minutes.
Step 9 – Spray Off All Parts With Compressed Air
Once you have the jets adjusted correctly, you will want to spray off all of the parts. How to do this effectively depends on what type of dirt bike you own but typically, using a compressor with some sort of pipe attachment and carb needle clip is sufficient for this task.
You should use about 70 PSI and ensure that your compressor has a good air filter oil to last you the whole time. How long this process should take depends on how much air your compressor can produce but typically, it’s not more than five minutes.

Step 10 – Reinstall the Remaining Carburetor Components
Now that the choke assembly, the leak jet, and all of your carburetor’s main components have been cleaned or adjusted, you are now ready to go ahead and reassemble everything. How this is done will depend on exactly what type of dirt bike you have, but in most cases, it involves screwing these parts back into place.
You Can Check It Out to Fix a Kickstart on a Dirt Bike
FAQs about how to clean carb on dirt bike
Q: Can You Use WD40 To Clean A Carb?
A: No, you shouldn’t use WD40 to clean a carb. It is not recommended because it can damage internal parts of the carb. That is one of the reasons you should never use WD40 on a carburetor. Gasoline with ethanol can also damage your 2 stroke carb adjustment, and that is another reason not to use it. If you want a good cleaning agent, look for some stuff called carburetor cleaner or something similar like 2 stroke carb overhaul.
This type of carb cleaner will get all the old varnish off the inside of your carb and make it run like rich condition again. How you use the carburetor cleaner depends on what kind of bike you have. If you have a Two-stroke dirt bikes, just spray some in there while your engine is running and idle for 5 minutes. You can also pour some into each excess fuel bowl tank after you have drained it into a container to remove all the varnish.
Q: How Do I Keep The Carb Clean Long-term?
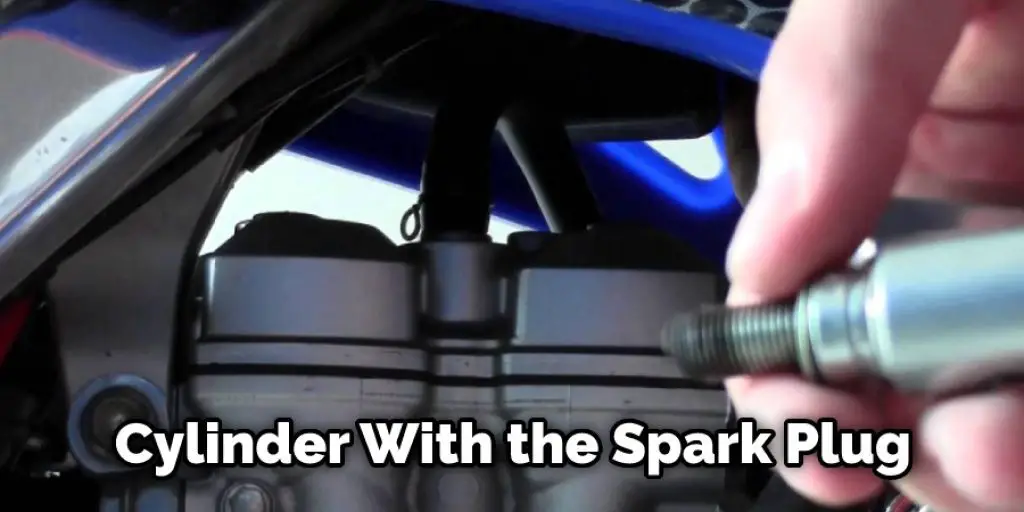
A: If you want to keep the carburetor clean for a longer period of time, then remove it and leave it out. You should also steam clean your cylinder every week or so. You just have to pour water into your cylinder with the spark plug in place, put on eye protection, and then start the engine.
Let it run for about five minutes, then let it cool down and repeat one more time. The steam cleaning will keep the piston and cylinder nice and clean so that gas doesn’t gunk up the carburetor as fast.
You Can Check It Out To There Automatic Dirt Bikes
Conclusion
If you’re looking to clean your dirt bike carb, it’s best if you know a little bit about the process beforehand. In this blog post, we discussed a few different options for how to clean a four stroke dirt bike carb; You can remove the entire throttle shaft and all of its components to access the inside of the carburetor, or simply disconnect one end from one side of the engine while keeping everything else intact.
Either way will require some basic tools like screwdrivers, pliers, and wrenches, as well as plenty of patience! For more information on cleaning your four stroke dirt bike carb, let us know in the comment section below! No matter what type of vehicle you have, we’ll be happy to help with any automotive-related questions that may arise.
I think now you understand how to clean carburetor on dirt bike because here I provide you the complete step-by-step guide about how to clean dirty carburetor.
Darren Matlock
Hi, I'm Darren. I love dirt bikes and everything about the off-road lifestyle. I'm passionate about motorbikes, cars, racing sports and going on adventures. If you're like me and enjoy extreme sports, you've come to the right place! I like to write articles about dirt bikes to help beginners get started. Whether you're interested in buying a dirt bike, ATV, motorcycle or want to ride for hobby, I hope my articles will inspire you to learn more about how this machine can be used to ride.