How to Test a Cdi Box on a Dirt Bike
When your dirt bike starts to sputter and lose power, it might be time to test the CDI box. It is important to know how to test a cdi box on a dirt bike. Testing a CDI Box on a dirt bike is something that can be done with just a few tools.
The CDI box is responsible for providing electricity to the ignition system, so if it’s not working properly, your bike will not run correctly. Luckily, testing the CDI box is a relatively easy process that can be done at home. In this article, we will outline how to test a CDI box on a dirt bike. Stay safe and have fun out there!
Materials You Will Need
- A multimeter
- A test light
Importance of Testing a Cdi Box on a Dirt Bike
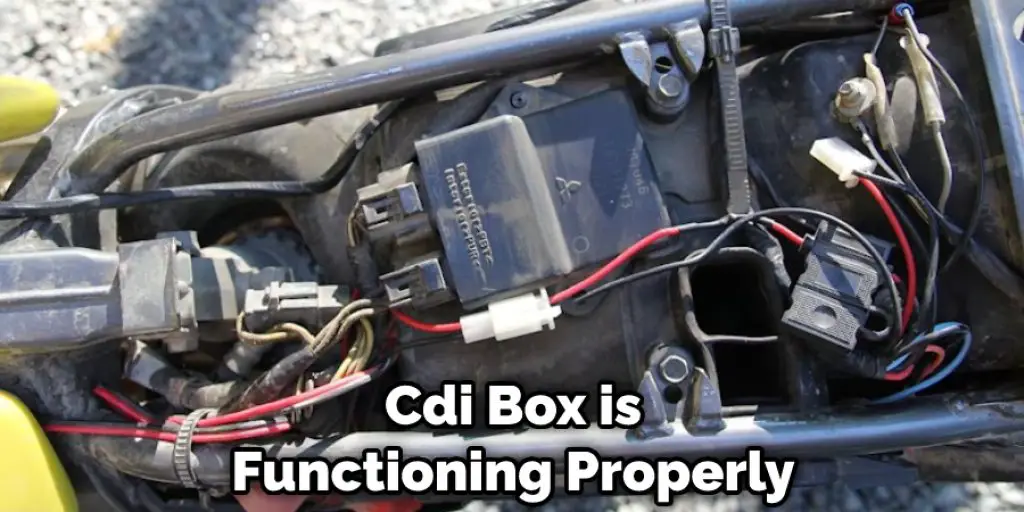
Ensures the Cdi Box is Functioning Properly
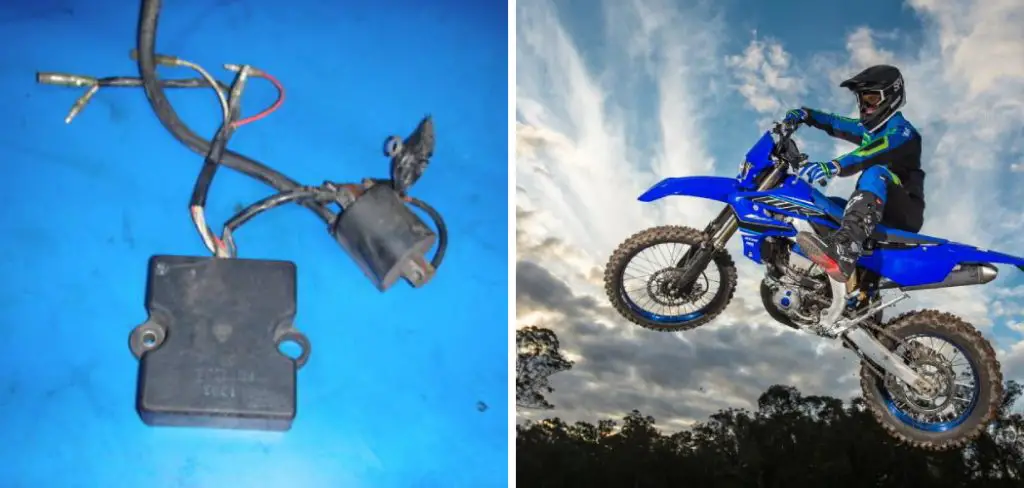
The CDI box on a motorcycle contains the Capacitor Discharge Ignition system, which is responsible for providing the spark that ignites the fuel-air mixture in the engine cylinder.
This system consists of a stator, which contains coils of wire that generate an electromotive force; a capacitor, which stores electrical energy; and a trigger coil, which provides a high-voltage pulse to the spark plug.
To ensure that the CDI box is functioning properly, it is important to check the stator for continuity and to inspect the trigger coil for signs of damage. The capacitor should also be tested for proper voltage levels. If any of these components are not working properly, it can result in poor engine performance or even engine failure.
Prevents Damage to Other Parts of the Bike
Dirt bikes are designed to withstand a lot of wear and tear, but that doesn’t mean they’re indestructible. Over time, the components of the bike will start to show signs of wear, and if they’re not properly maintained, they can fail.
One of the most vulnerable parts of the bike is the suspension. The suspension consists of a series of springs and shock absorbers that help to cushion the ride. Over time, these components can become worn down, and if they’re not replaced, they can eventually break.
Another vulnerable part of the bike is the chain.
The chain is what transfers power from the engine to the wheels, and if it’s not properly lubricated, it can snap. If you want to avoid costly repairs, it’s important to take care of your dirt bike and keep an eye on any potential problems.
Helps to Diagnose Problems With the Bike
CDI is an electronic ignition system that is widely used in motorcycles. Many riders believe that testing the CDI can help to diagnose problems with the bike. However, some experts argue that this is not an effective way to troubleshoot motorcycle problems.
While testing the CDI may help to identify certain issues, it is not a comprehensive diagnostic tool. To properly diagnose motorcycle problems, it is important to consult with a qualified technician who has experience with troubleshooting these types of issues.
It Saves Time and Money in the Long Run
Testing CDI saves time and money in the long run. That’s because you can avoid the cost of having to re-print and ship products that don’t meet customer expectations due to a design flaw.
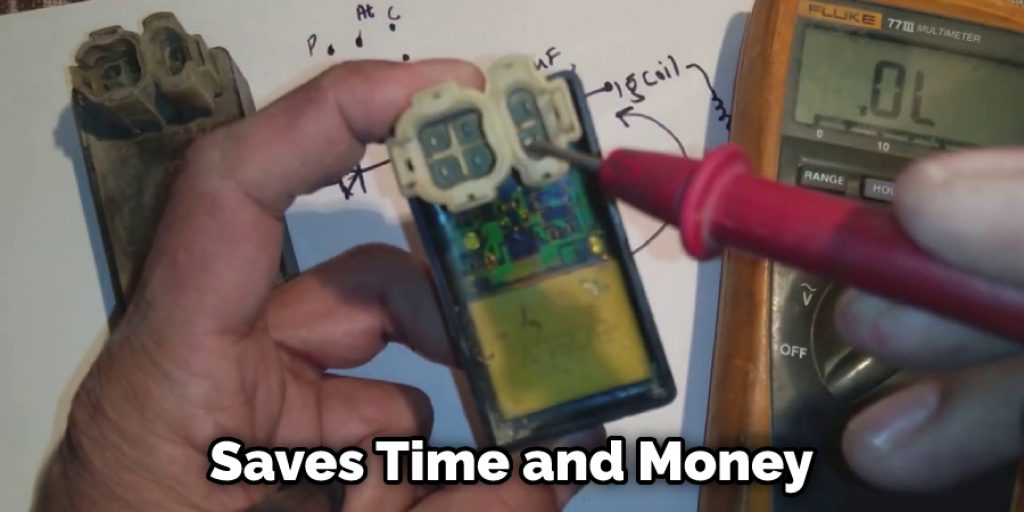
In some cases, you might even be able to salvage the product by redesigning it before it goes to production. Plus, it’s always better to catch problems early on so that you can fix them before they cause too much damage.
In the end, doing things right the first time around will save you a lot of time, money, and aggravation.
Keeps You Safe While Riding
According to the National Highway Traffic Safety Administration (NHTSA), over 37,000 people were killed in motor vehicle crashes in the United States in 2017. This is an alarming statistic, and it can be significantly reduced by testing CDI before getting behind the wheel.
CDI is an acronym for ConsumerDriven Intelligence, and it’s a system that uses data analytics to help improve safety on the road. By testing CDI, you can get real-time feedback on your driving habits, identify potential risks, and make adjustments to your behavior accordingly.
In other words, CDI keeps you safe while riding by helping you to be a more aware and responsible driver. What’s more, CDI is affordable and easy to use, making it a smart investment for any driver who wants to stay safe on the road.
Makes for a More Enjoyable Ride
By testing CDI makes for a more enjoyable ride. When it comes to making the most of your horseback riding experience, proper cinching is key. If your cinch is too loose, you’ll be constantly readjusting yourself in the saddle and feeling like you’re going to slip off.
Conversely, if your cinch is too tight, you’ll be incredibly uncomfortable and may even injure yourself or your horse. The key is finding that perfect balance, and the only way to do that is through trial and error.
Fortunately, at Cinches by Design, we make it easy for you to find the perfect cinch for both you and your horse. Our innovative Cinch Dial Indexing system lets you quickly and easily adjust the tightness of your cinch, so you can get just the right amount of support without sacrificing comfort.
What’s more, our CDI system also helps to evenly distribute the pressure around your horse’s belly, which can help to prevent chafing and sores. So if you’re looking for a smarter, more comfortable way to enjoy horseback riding, be sure to try out our CDI system today!
8 Steps Guide on How to Test a Cdi Box on a Dirt Bike
Step 1: Get Ahold of the Wiring Harness and Unplug It From the Box
The first and foremost step is to get ahold of the wiring harness and unplug it from the box. This will help you gain access to the internals of the CDI unit. The most important part of a dirt bike is the wiring harness.
It is responsible for delivering power to the engine and other parts of the bike. Without it, the bike will not be able to function. The wiring harness is located in the engine bay, and it is connected to the battery box.
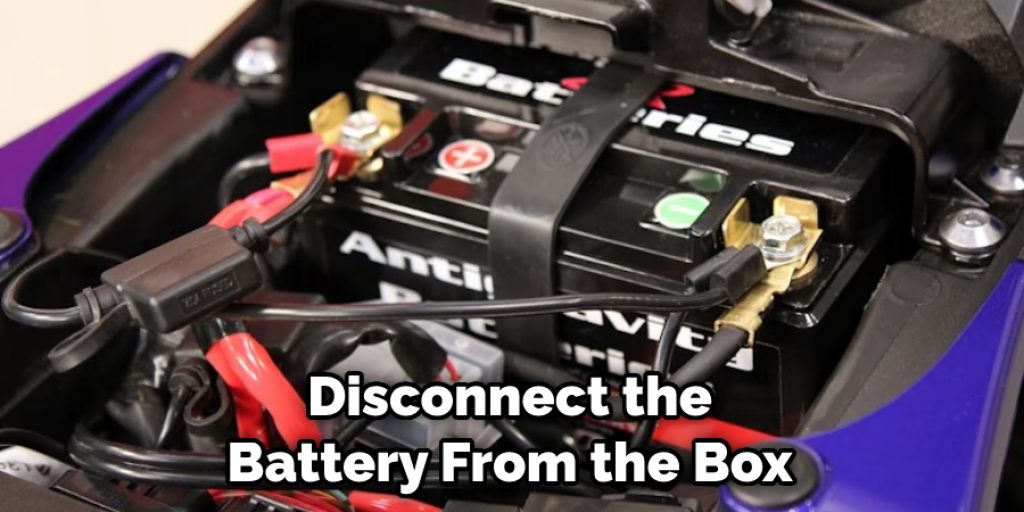
To remove the wiring harness, first, disconnect the battery from the box. Then, unplug the wiring harness from the box and remove it from the bike. Be careful not to damage the harness or any of the connections. Once the wiring harness is removed, you can clean it and inspect it for damage. If it is damaged, you will need to replace it before you can ride again.
Step 2: Get Ahold of the Kill Switch and Disconnect It From the Rest of the Bike
Most new bikes come with a kill switch as a standard feature. If your bike doesn’t have one, you can usually get one installed by a qualified mechanic. The kill switch is located on the left handlebar and is used to shut off the engine in an emergency.
To use the kill switch, simply push the button in and hold it for a few seconds. This will kill the engine and prevent the bike from moving forward. If you need to stop the bike quickly, you can also use the front brake lever to disengage the engine.
However, this should only be done in an emergency as it can damage the engine. Once you’ve got the hang of using the kill switch, you’ll find that it’s a handy tool to have on your bike.
Step 3: Locate the Main Power Wire
Before beginning any work on your bike, it is important to disconnect the main power wire that goes to the battery. This will prevent you from accidentally electrocuting yourself or damaging the electrical system.
The main power wire can usually be found near the battery, and it will be clearly labeled. Once you have located it, simply disconnect it by unscrewing the terminal or removing the fuse. With the main power wire disconnected, you can now work on your bike without worry.
Step 4: Plug in a Voltmeter or Test Light Into the Main Power Wire
It is important to know how to properly test bike electrical circuits. Incorrectly testing a dirt bike’s electrical system can lead to serious damage to the vehicle. The main power wire is the thickest gauge wire in the bike’s electrical system and is usually red.
It is important to use a voltmeter or test light when testing this wire. First, connect the voltmeter or test light to the battery-positive terminal. Next, touch the voltmeter or test light probe to the main power wire.
The needle on the voltmeter should read 12 volts and the test light should light up. If neither happens, then there is a problem with the main power wire.
Step 5: Ground the Voltmeter or Test Light to the Frame of the Bike
Before starting any work on your bike’s electrical system, it’s important to ground the voltmeter or test light. This will prevent any accidental shocks and will help to ensure accurate readings.
To do this, simply attach the ground lead to the frame of the bike. Once you have a good connection, you can begin testing various components of the electrical system. By taking the time to properly ground your voltmeter or test light, you’ll be able to avoid any potential hazards and get accurate results.
Step 6: Turn on the Voltmeter or Test Light and Check for Power
No matter what type of electrical problem you’re trying to diagnose, the first step is always the same: check for power. Without power, there’s nothing for the other components to do, so you’ll just be wasting your time if you try to troubleshoot without checking for power first.
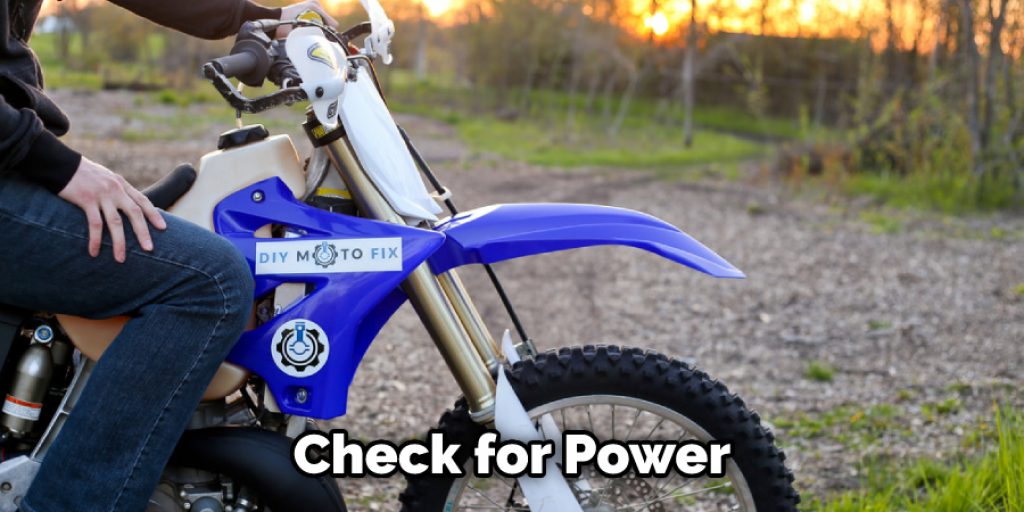
There are two ways to check for power: with a voltmeter or a test light. A voltmeter is more accurate, but a test light is easier to use if you’re not familiar with how to use a voltmeter.
To check for power with a voltmeter, connect the positive lead of the voltmeter to the positive terminal of the component you’re testing, and the negative lead of the voltmeter to the negative terminal. If there’s power present, the voltmeter will register a voltage. If there’s no power, it will read 0 volts.
To check for power with a test light, touch the tip of the test light to the positive terminal of the component you’re testing. If there’s power present, the test light will light up. If there’s no power, it will stay dark.
Once you’ve determined whether there is power present (or not), you can move on to troubleshooting the actual problem. But without checking for power first, you’ll never know where to start!
Step 7: Monitor the Cdi Box
If your bike won’t start and you suspect the problem is with the CDI box, there are a few ways to test it. First, check for power at the CDI box. If there is no power, then the problem is likely with the CDI box.
There are a few possible reasons for this: a blown fuse, a bad ground connection, or a faulty ignition switch. Another way to test the CDI box is to check for continuity between the ground and power terminals. If there is no continuity, then the problem is likely with the CDI box.
Step 8: Monitor the Kill Switch or Wiring Harness
If your outboard motor won’t start, the first thing to check is the kill switch. The kill switch is designed to cut off power to the engine in the event of an accident, so if it’s not working properly, the engine won’t start. The next thing to check is the wiring harness.
The wiring harness connects the kill switch to the engine, and if it’s damaged or frayed, it can prevent the engine from starting. If you’re still having trouble, the problem may be with the spark plugs or fuel line. However, if all of those things are working properly, then the problem is likely with the engine itself.
If you’re having trouble with your dirt bike’s CDI box, follow these steps to test it and see if it’s the cause of the problem. These steps will help you determine if the box is defective and needs to be replaced.
Tips on How to Test a Cdi Box on a Dirt Bike
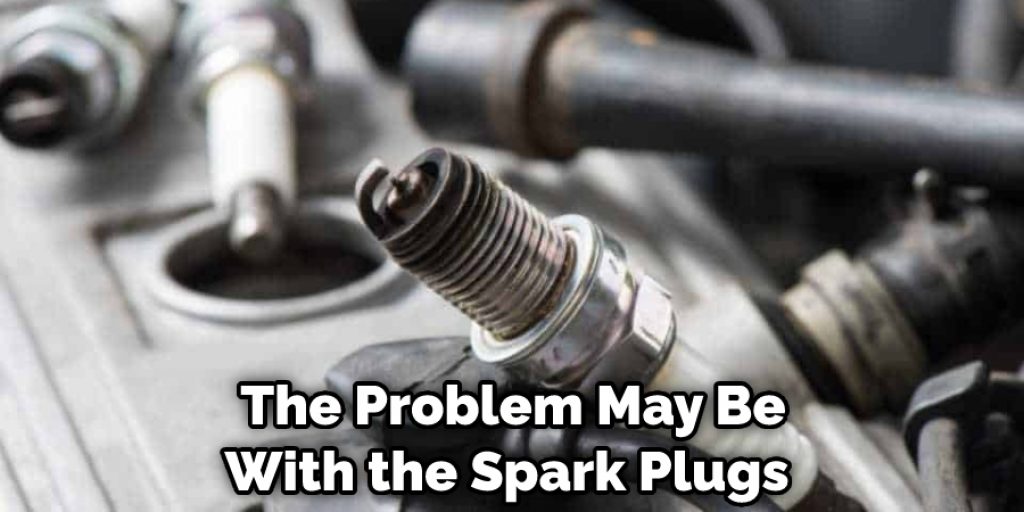
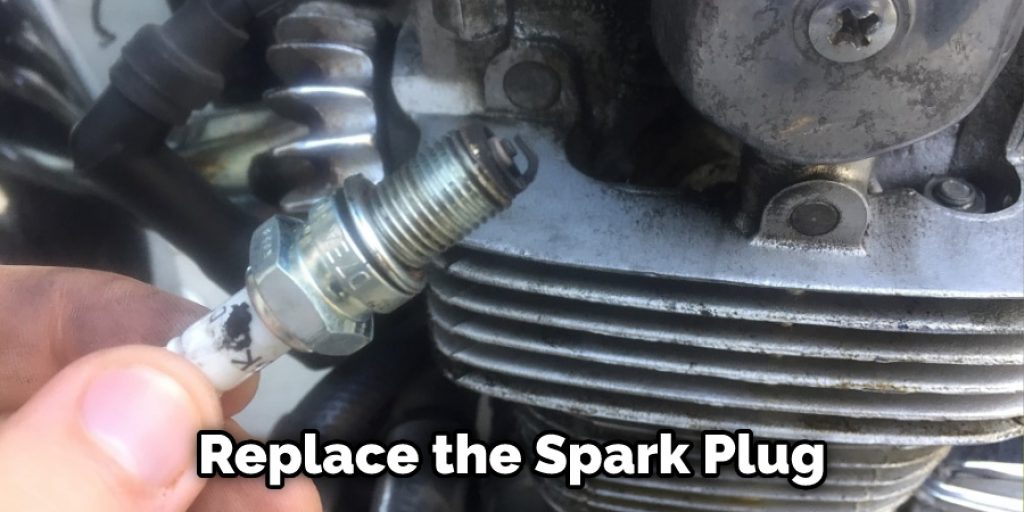
- Check the bike’s spark plug. If it is fouled or damaged, likely, the CDI box is not working properly.
- Visually inspect the CDI box for any physical damage. If there are any cracks or other damage, likely, the box is not working properly.
- Check all of the connections to the CDI box for tightness and corrosion. If any of the connections are loose or corroded, likely, the box is not working properly.
- Test the ground connection to the CDI box. The ground connection should be tested with a multimeter to ensure that it is good.
- Test the power connection to the CDI box. The power connection should be tested with a multimeter to ensure that it is good.
- Check the stator for continuity. The stator should be tested with a multimeter to ensure that there is continuity between the winding’s leads.
- Check the trigger coil for continuity. The trigger coil should be tested with a multimeter to ensure that there is continuity between its leads.
- Test the capacitor inside the CDI box. The capacitor should be tested with a multimeter to ensure that it is good.
- Replace the spark plug if necessary. If the spark plug is fouled or damaged, it should be replaced with a new one.
Frequently Asked Questions
What Are the Symptoms of a Bad Cdi Box?
A bad CDI box can cause all sorts of problems with your ATV or dirt bike. The most common symptom is that the engine will run erratically, or it will stall altogether.
You might also notice that the spark plugs are fouled or that the engine is running hotter than usual. If you suspect that your CDI box is going bad, it’s important to take it to a mechanic for diagnosis and repair. Otherwise, you could be in for some serious (and expensive) problems down the road.
How Do You Replace a Cdi Box on a Dirt Bike?
The CDI box on a dirt bike controls the timing and intensity of the spark that ignites the fuel-air mixture in the engine cylinders. Over time, exposure to extreme temperatures and vibration can cause the CDI box to fail.
When this happens, the bike will often run erratically or stall completely. Replacing the CDI box is relatively simple, and in most cases can be done with just a few tools.
The first step is to locate the box, which is usually mounted near the engine. Once you have found it, disconnect the battery and any other wiring that is connected to it.
Next, remove the old box and install the new one in its place. Be sure to reconnect all of the wires and cables before starting the engine. With a new CDI box in place, your dirt bike should run like new.
Conclusion
Now that you know how to test a cdi box on your dirt bike, you can check it before every ride to make sure it’s in good working order. Be sure to take precautionary measures when testing your CDI box. You should determine carefully how to test a cdi box on a dirt bike. Check the wiring and connections before testing the unit.
If you are unsure about how to test a cdi box, consult with a professional mechanic or electriician. By following these steps, you can be sure that you will safely and effectively test your CDI box. Do you have any other tips for maintaining a dirt bike? Share them with us in the comments below!
Darren Matlock
Hi, I'm Darren. I love dirt bikes and everything about the off-road lifestyle. I'm passionate about motorbikes, cars, racing sports and going on adventures. If you're like me and enjoy extreme sports, you've come to the right place! I like to write articles about dirt bikes to help beginners get started. Whether you're interested in buying a dirt bike, ATV, motorcycle or want to ride for hobby, I hope my articles will inspire you to learn more about how this machine can be used to ride.