
How to Replace Fork Seals on a Dirt Bike
If you ride a dirt bike, you will eventually have to replace the fork seals. This is a relatively easy job that anyone with basic mechanical skills can do. In this article, we will show you how to replace fork seals on a dirt bike step by step. With just a few tools and some time, you’ll have your bike back on the trails in no time!
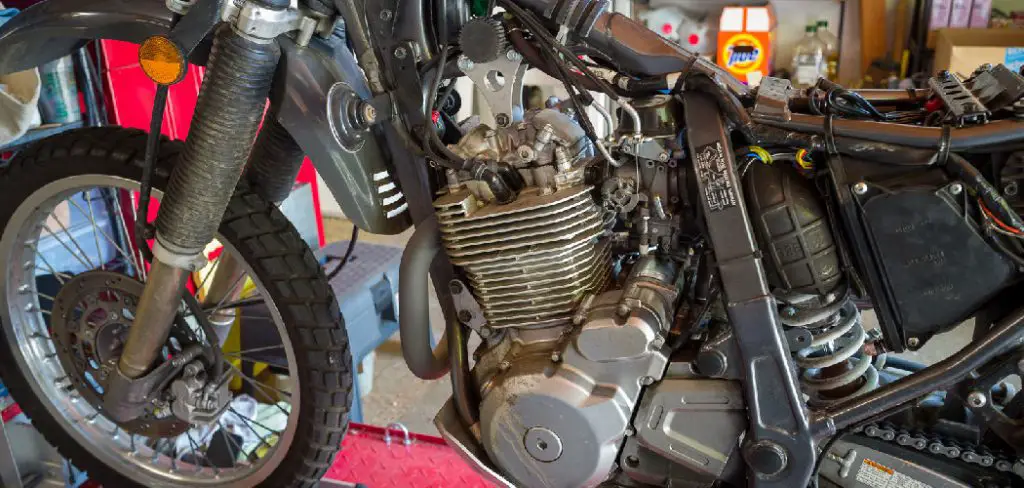
A dirt bike is a type of motorcycle designed for off-road riding. It has a heavier frame and tires than a street bike, and it usually has more suspension travel. Unfortunately, fork seals keep the oil in the fork tubes, and they eventually wear out and need to be replaced. Unfortunately, many dirt bike riders do not realize that they need to replace their fork seals until it is too late and their forks start leaking oil.
What You’ll Need
- Socket wrench – remove the bolts that hold the forks in place.
- Flathead screwdriver – to pry off the old seals.
- Crowbar – to help pry off the old seals if they’re stubborn.
- Gasket sealant – to apply a new gasket to the top of the fork tube.
- Fork oil – lubricate the new seals.
- Rags – to clean off any old sealant or dirt.
- Shop towels – to catch any drips of fork oil.
A Step by Step Guide on How to Replace Fork Seals on a Dirt Bike
Step 1: Determine if the fork seal needs to be replaced.
The first step is to determine if the fork seal needs to be replaced. There are a few signs that indicate a fork seal may need to be replaced, such as:
- Fork oil leaking from around the stanchions
- A visible gap between the stanchions and the seals
- Damage to the seals themselves
If you notice any of these signs, it’s time to replace the fork seals.
Step 2: Prepare the Area and Bike
Before you get started, it’s essential to prepare the area where you’ll be working. This means making sure the area is clean and free of any debris or tools that could get in the way.
You’ll also want to make sure the bike is stable so that it doesn’t fall over while you’re working on it.
Step 3: Removing the Front Wheel
The next step is to remove the front wheel. This is so that you can have more access to the forks and make the entire process easier.
To do this, first, loosen the axle bolts with a socket wrench. Once these are loose, you should be able to pull the wheel off by hand. If not, gently tap it with a mallet until it comes free.
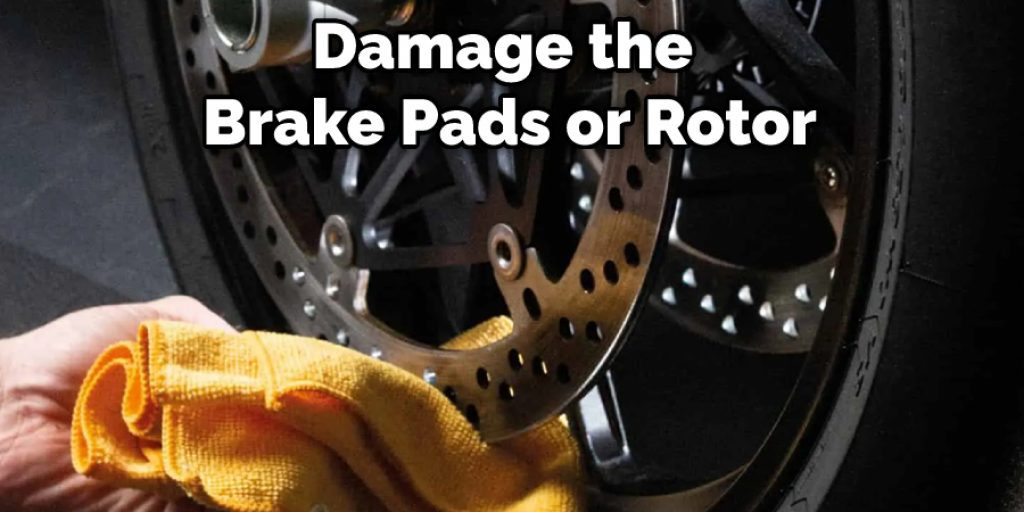
Step 4: Removing the Brake Calipers
The next step is to remove the brake calipers. This can be done by removing the two bolts that hold them in place.
Once these are removed, you can slide the caliper off the fork and set it aside. But, again, be sure not to damage the brake pads or rotor.
Step 5: Draining the Fork Oil
Before replacing the seals, you need to get all of the old oil out of the forks. To do this, you’ll need to:
- Remove the cap from the top of each fork (this will be located at the top of the triple tree).
- Use a syringe or turkey baster to remove as much oil as possible from each fork.
- Place a drain pan under each fork and loosen the drain bolt at the bottom of the fork. Be sure to catch any oil that comes out in your pan.
- Once all of the old oil has drained out, replace the drain bolts and tighten them securely.
Step 6: Removing the Forks From the Triple Tree
Now that the seals are replaced, it’s time to put the forks back together. First, remove them from the triple tree. Next, loosen the pinch bolts on the top and bottom of the fork tubes and pull them out. Be careful not to lose the elastomer bushings between the fork tubes and triple tree.
Once the forks are out, slide the new upper seal over the tube and install the elastomer bushing. Put a little grease on the outside of the seal before sliding it into place. Similarly, install the new lower seal. Make sure both seals are appropriately seated before moving on to Step 7.
Step 7: Installing the Forks
To install the forks, reverse the process you used to remove them. First, slide the fork tubes through the bottom of the triple tree and then thread on the top pinch bolts. Be sure not to overtighten these bolts as this can damage the seals.
Next, add a little fork oil to each fork before screwing on the cap at the top of the triple tree. Once both forks are installed, you can put the front wheel back on and screw in the axle bolts.
Step 8: Bleeding the Brakes
This step is to bleed the brakes. This is important because your bike’s brakes may not work correctly if you don’t do it.
To do this, first, locate the brake bleed screw on each brake caliper. It will be a small hole located on the back of the caliper.
Using a brake bleeder or vacuum pump, start by sucking all the air out of the line. Once there is no more air in the line, open the bleed screw and let the brake fluid flow until it comes out clean. Then, close the bleed screw and repeat on the other caliper. This is a crucial step in how to replace fork seals on a dirt bike.
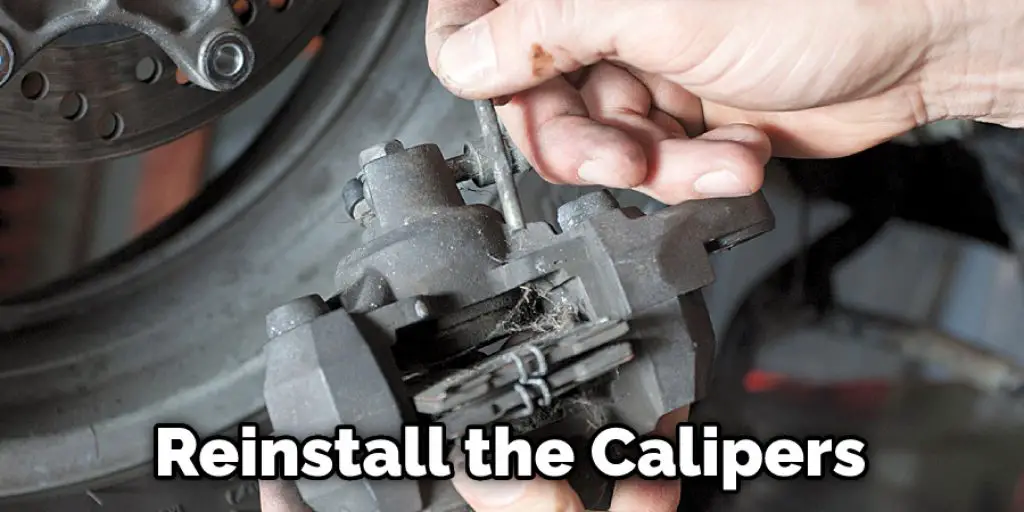
Step 9: Reinstalling the Brake Calipers
Once the brake lines are bled, it’s time to reinstall the calipers. First, bolt them in place using the two bolts you removed earlier. Next, ensure that the pads are correctly seated against the rotor and no air in the line.
Step 10: Checking for Proper Function
Now that everything is installed, it’s time to test your new fork seals. To do this, start by putting the bike on its stand or in a stable position. Then, gently squeeze the brake lever and hold it.
Next, push down on the front of the bike. The forks should compress, and the brakes should engage. If they don’t, there may be air in the line, or the pads may not be seated properly.
Once you’ve confirmed that everything is working correctly, you can take your bike out for a spin. Be sure to test the brakes and forks at slow speeds first before heading out on the trail. Congratulations! You’ve successfully replaced your fork seals.
Replacing the fork seals on a dirt bike can be intimidating, but with this guide, it’s a lot easier than you might think. First, ensure to clean the area well before getting started, and be careful not to damage the brake pads or rotor while removing the calipers. Then, once the old oil is drained out, it’s just a matter of reversing the process to install the new seals. And lastly, don’t forget to bleed the brakes!
Tips and Warnings
Tips:
- Be sure to use the correct seal size and type for your bike.
- If you are having trouble removing the seals, use a seal puller tool.
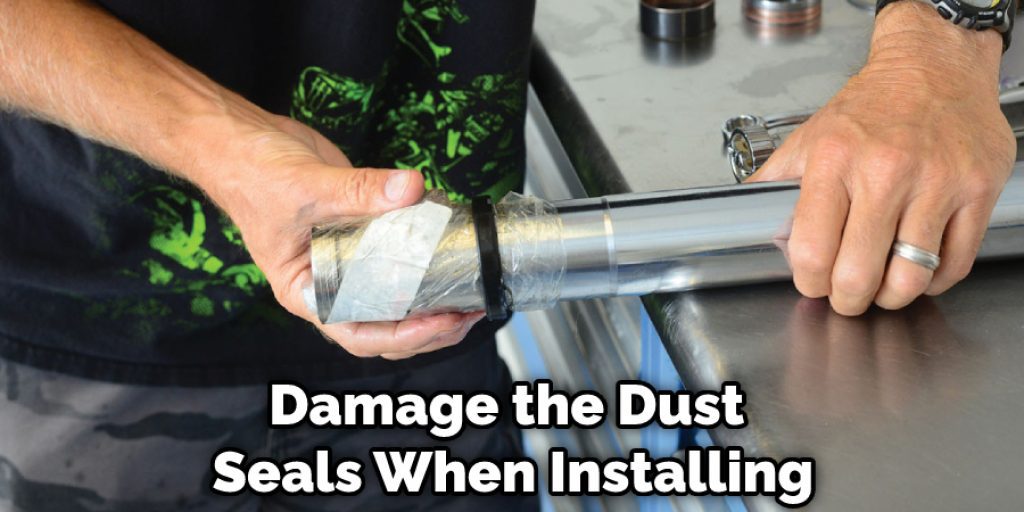
- Apply a light coat of oil to the new seals before installation.
- Be careful not to damage the dust seals when installing the new fork seals.
- Ensure that the fork tubes are fully extended and in position before tightening the top nut.
Warnings:
- Do not ride your bike until the fork seals have been replaced.
- If you are not comfortable performing this repair, take your bike to a qualified mechanic.
Replacing fork seals is a relatively simple task that can be completed in an afternoon with the right tools and parts.
You Can Check It Out To Catwalk a Dirt Bike
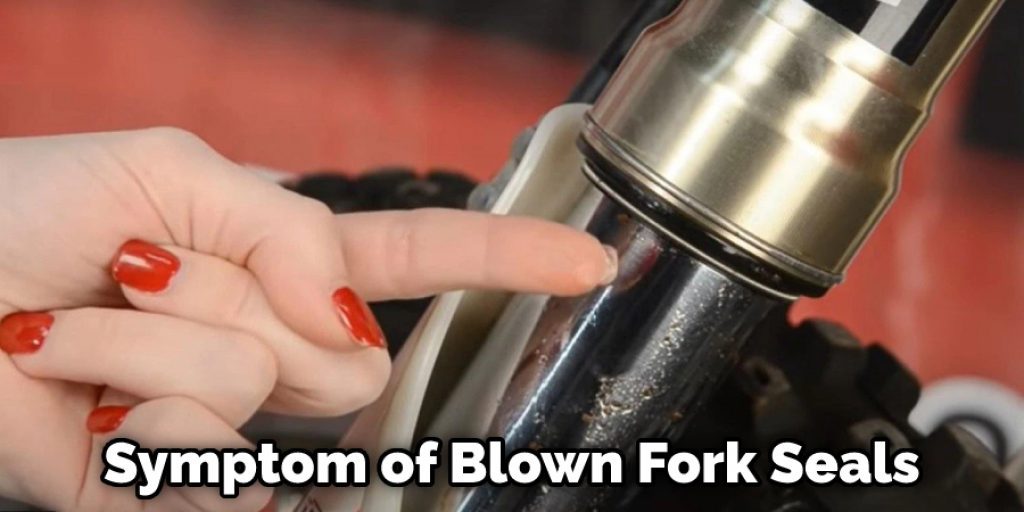
How Do You Tell if Your Fork Seals Are Blown?
There are a few tell-tale signs that your fork seals may be blown. First, if you notice any oil or grease leaking from around your fork tubes, that’s a good indication that your seals need to be replaced.
Another symptom of blown fork seals is if your forks feel soft or spongy when you’re riding, as this can be caused by air leaking past the seals. Finally, if you see any scoring, pitting, or other damage on the stanchions themselves (the part of the fork that extends into the tube), that’s another sign that the seals may need to be replaced.
If you’re not sure whether or not your fork seals are blown, it’s always best to err on the side of caution and replace them. Fork seals are relatively inexpensive, and replacing them is a fairly straightforward process that most riders can do at home with the proper tools.
How Do I Check My Forks?
The first step is to check your forks. You’ll want to remove the fork caps and look inside. If you see any oil leaks, you’ll need to replace the seals.
You’ll need a screwdriver or an Allen wrench to remove the fork caps. Once you have the caps off, take a look at the oil condition. If it’s dirty or smells burnt, it’s time to change it.
If you don’t see any leaks, your forks are probably OK. But if you’re not sure, it’s always a good idea to take them to a mechanic to have them checked out.
Conclusion
Replacing fork seals on a dirt bike is a job that can be completed by almost anyone with some basic mechanical knowledge. By following the steps in this article on how to replace fork seals on a dirt bike, you should be able to complete the task without any problems. If you have any questions or run into any difficulties, don’t hesitate to reach out to us for help. We hope you found this article helpful and that it allows you to get your dirt bike back up and running like new.
Darren Matlock
Hi, I'm Darren. I love dirt bikes and everything about the off-road lifestyle. I'm passionate about motorbikes, cars, racing sports and going on adventures. If you're like me and enjoy extreme sports, you've come to the right place! I like to write articles about dirt bikes to help beginners get started. Whether you're interested in buying a dirt bike, ATV, motorcycle or want to ride for hobby, I hope my articles will inspire you to learn more about how this machine can be used to ride.

