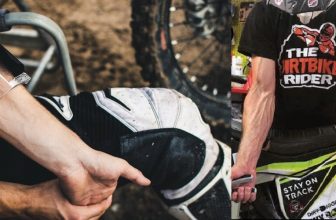
How to Rebuild Dirt Bike Forks
The fork is a crucial component of the dirt bike, and it’s one that you don’t want to ignore if it starts to break down. Many people think that they can just get new forks, but in reality, there are many steps involved in rebuilding them.
In this article, we will cover up the step on how to rebuild dirt bike forks and also share some tips and maintenance guides so you can learn about what your next course of action should be when something goes wrong with your fork.
Things You’ll Need
- New Fork Bearings
- Grease
- A Screwdriver or Hammer
- Something to Support the Lower End of the Forks
- New Fork Seals
- A Replacement Cap for the Capsule
- Dowel Pins to Secure the Upper and Lower Ends of the Forks
Instructions: How to Rebuild Dirt Bike Forks
Step One: Clean the Upper Fork
Cleaning the upper fork is crucial to rebuilding dirt bike forks. Cleaning off all of the old grease and oil will allow for a new, fresh coat that will last much longer than without it. There are many different ways to clean an upper fork, including blasting with water pressure or using other chemicals such as acetone; however, we recommend using soap and water.
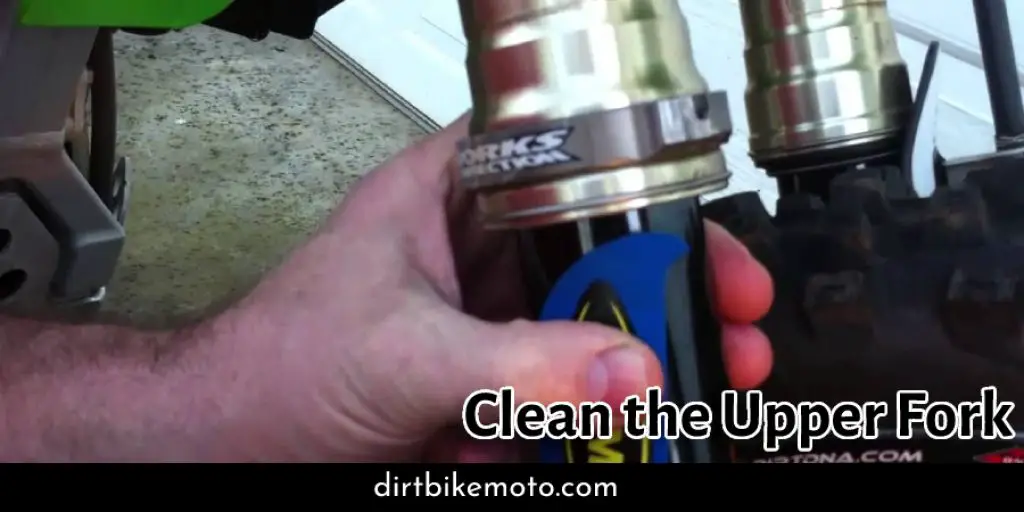
Just be sure not to use too hot of water because this can lead to warping, which would result in having to purchase another one! When you are finished washing your upper fork, go ahead and dry it off thoroughly before moving on with step two.
Step Two: Inspecting Lower Fork
Inspecting your lower fork may sound like a tedious task but it is actually quite important. Be sure to inspect the lower fork for any cracks or other major leaks of oil before continuing on with step three. If there are not any noticeable damages, then continue onto step three.
Step Three: Remove Dust Seal
Remove the dust seal that is located just below the top end of the fork assembly with a screwdriver or a hammer. Make sure not to damage it when removing it by using care and tapping lightly on either side. You do not want to tear this part as you will need it later for reassembly purposes. Once removed, set aside in an appropriate location where dirt cannot get into it and touch anything else in your surrounding space (i.e., table surface).
Step Four: Remove Capsule from Top End of Fork Assembly
To remove the capsule, use a screwdriver or hammer to tap it out at an angle and push it down on one side while pulling up on the other until it comes loose. Be sure not to crush any internal components when doing this! Now you should be able to see all of your fork’s internals, including new ones, if you have them laid out in front of you as well already.
If anything is left inside that needs to be removed, such as old seals or bearings, do so now with care and try not to damage anything else in the process. If everything looks to be in order, proceed to step three and start installing the new internal pieces.
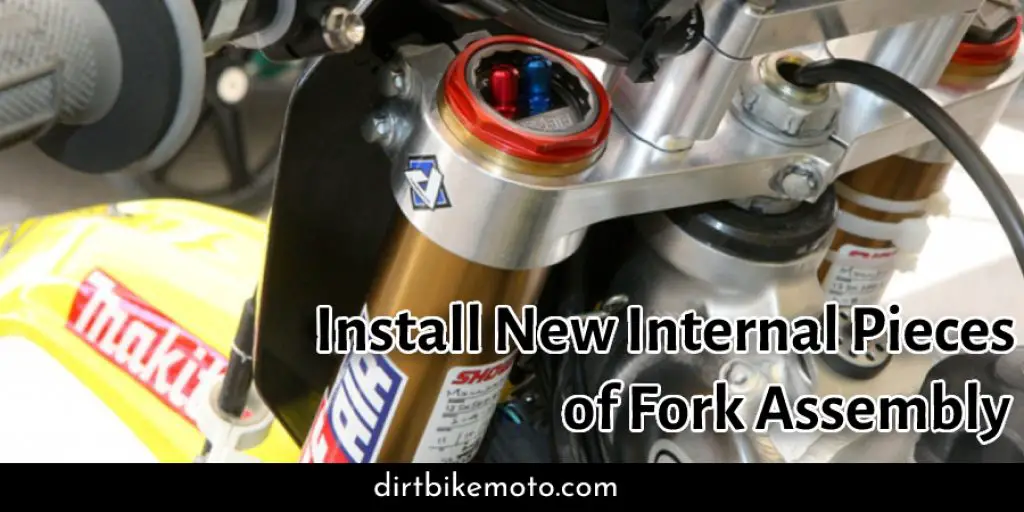
Step Five: Install New Internal Pieces of Fork Assembly
The first thing you want to do is install any parts that came with your kit–depending on what was said earlier, this could include a seal set or bearings as well as being mindful not to over-tighten anything during installation by using too much force or too little lubricant (both can lead to premature failure).
If you have done everything correctly up until now, then the capsule should slide right back into place without resistance from either side of the fork assembly; if it doesn’t seem like there’s enough space for it goes through because some components are sticking out at odd angles, try taking them out and re-doing the installation process.
Step Six: Fit Capsule into Fork Assembly
Once you have installed your new pieces, it’s time to fit the capsule back in place. Make sure that nothing is sticking out at an odd angle that could potentially interfere with mounting the assembly on a bike frame or keep tabs from being inserted correctly. This will cause several issues down the road because of improper installation (i.e., seals not sealing correctly).
Step Seven: Tighten the Capsule
It is essential to tighten the capsule in place by hand with a wrench. Place your finger on top of it and use the wrench to turn it clockwise until you feel that it’s snug enough (don’t overdo it).
Once everything looks good, use some grease all over both sides of the fork tube where they meet up with each other so things slide more easily, then put those long metal tabbed bolts through and tighten them as much as possible without stripping anything; this also ensures there aren’t any “slop” in the assembly. Once this step has been completed, re-installation can begin.
Step Eight: Re-install Fork Assembly
The last thing left would be installing the fork assembly back onto your dirt bike frame. Again, this process should go relatively smoothly if you followed all steps accurately so far.
If not, any number of problems could arise from incorrect installation procedures or improper fitting, such as seals not sealing correctly or tabs coming off too quickly because they were improperly positioned when inserted into slots inside fork caps.
Frequently Asked Questions
How Do You Fix a Leaky Fork on a Dirt Bike?
To fix a leaky fork, you will need to remove the top and bottom bolt on both sides of the bike. You can use WD-40 as an alternative if there are no bolts available. The next step is to find out where the oil has been leaking from or what part needs repairing by either removing it or applying more pressure at that location.
If your dirt bike has air shocks, as most do, then be sure to inflate them afterward; this forces any remaining bubbles in leftover oil back into place, so they don’t escape when the forks are reassembled.
How Do I Clean My Dirt Bike Forks?
Forks should be cleaned and lubricated every six months or after they have been in contact with the ground. Cleaning them will remove dirt, debris, moisture, and old oil built up on the seals, which could lead to a leaky fork.
How Long Do Dirt Bike Fork Bearings Last?
The length of time for how long fork bearings last depends on many factors, including what type of terrain you ride your bike over (e.g., sand vs. pavement), whether it is used for racing purposes or not, riding style (e.g., aggressive rider as opposed to a cruiser, etc. If ridden aggressively, then forks usually need replacing about once per year, while cruisers can get away with an additional year on top of that.
What Causes Fork Seals To Blow Out?
There are many reasons for when this happens but usually it’s because there was too much air inside them from the start or they have been overfilled with oil after being rebuilt so now they’re leaking out all the excess oil.
How Do You Check Fork Seals?
A quick way to check for fork seals leaking is to put the bike in a stand, lower it until it’s resting on its forks, and then pump the front brake lever. If there are any leaks, they will be immediately apparent as you’ll see oil from puddles on the ground.
You Can Check It Out to Replace Fork Seals on a Dirt Bike
Conclusion
If you’re looking for a way to get your dirt bike forks working like they used to, we have the perfect solution. After reading this blog post, you should now know how to rebuild dirt bike forks.
Follow these simple steps mentioned in our blog post and soon enough, your motorcycle will be back in tip-top shape. Don’t delay any longer; let’s see what needs to be done first!
You may read also: How to Build a Dirt Bike Stand
Darren Matlock
Hi, I'm Darren. I love dirt bikes and everything about the off-road lifestyle. I'm passionate about motorbikes, cars, racing sports and going on adventures. If you're like me and enjoy extreme sports, you've come to the right place! I like to write articles about dirt bikes to help beginners get started. Whether you're interested in buying a dirt bike, ATV, motorcycle or want to ride for hobby, I hope my articles will inspire you to learn more about how this machine can be used to ride.