
How to Disassemble Motorcycle Forks
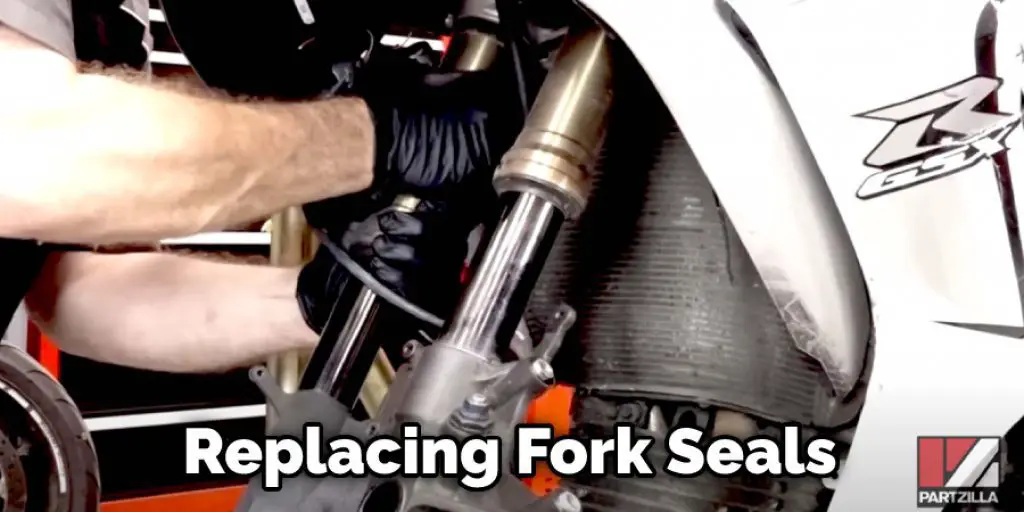
If you’re a dirt bike rider, you know that fork seals are essential for keeping your bike in good condition. Unfortunately, over time, they can start to leak, which can cause damage to your forks. Check out this article if you’re ready to replace your fork seals. We’ll walk you through the process how to disassemble motorcycle forks step-by-step so that you can get back on the trail as soon as possible. Keep reading!
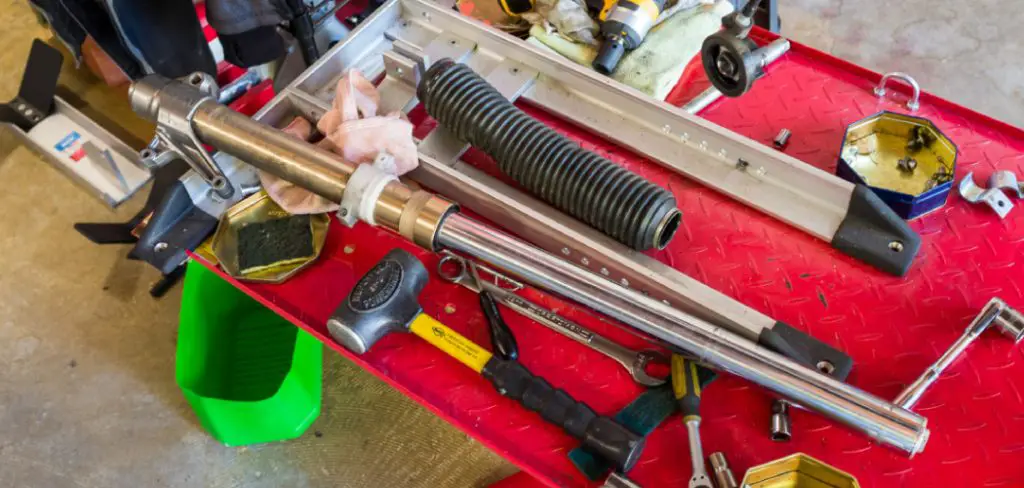
The motorcycle fork is the part of the front suspension that holds the wheel. The two forks in a motorcycle’s suspension are connected to the frame at the triple tree, which is the yoke that joins the forks together in front of the handlebars. The fork tubes contain hydraulic dampers and springs that compress and rebound to absorb shocks from bumps in the road.
What You’ll Need
- Socket wrench
- Hammer
- Flathead screwdriver
- Wire brush Penetrating oil
- Safety goggles
- Motorcycle fork
A Step by Step Guide on How to Disassemble Motorcycle Forks
Step 1: Determine Which Type of Motorcycle Fork You Have.
There are two types of motorcycle forks, cartridge, and damper-type.
With the cartridge-type fork, the damping mechanism is held in a sealed cartridge filled with oil. This type of fork does not require much maintenance.
The damper-type fork uses a piston that moves up and down in a cylinder to create the damping effect. These types of forks require more maintenance than cartridge-type forks.
Step 2: Prepare the Motorcycle Fork for Disassembly
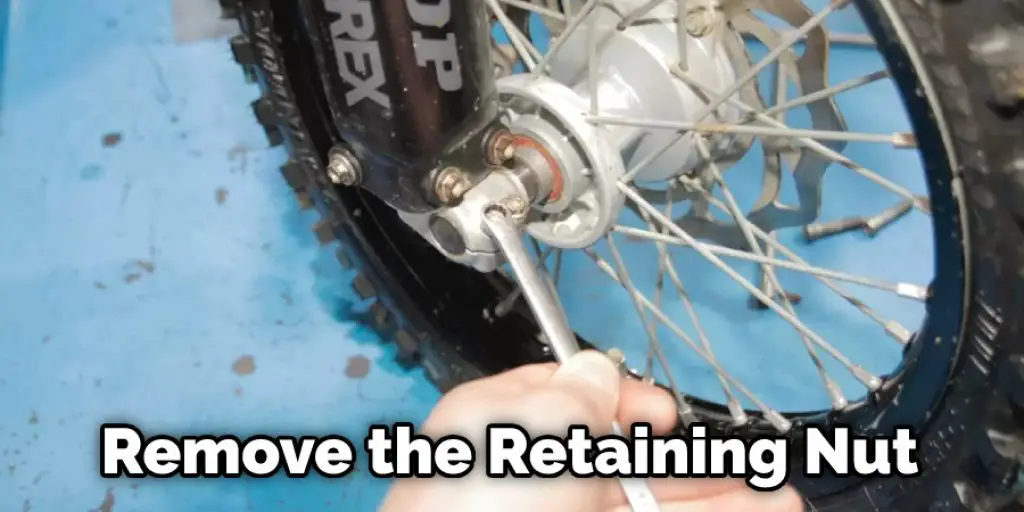
If your motorcycle is equipped with a damper-type fork, you will need to remove the piston from the cylinder. To do this, use a socket wrench to remove the retaining nut at the top of the cylinder.
Once the retaining nut is removed, you will be able to pull the piston out of the cylinder.
If your motorcycle is equipped with a cartridge-type fork, there is no need to remove the piston from the cylinder.
Step 3: Remove the Outer Tube
The outer tube is the part of the fork visible on the outside of the motorcycle. Two retaining rings are held in place, which can be removed with a screwdriver or a prybar. After the rings are removed, the outer tube can be pulled out of the fork.
The outer tube is typically held in place by two retaining rings. The rings can be removed with a screwdriver or prybar. After the retaining rings are removed, use your hands to pull the outer tube out of the fork. Be careful not to damage any components while removing the outer tube. Once removed, you can set it aside for further inspection or disposal.
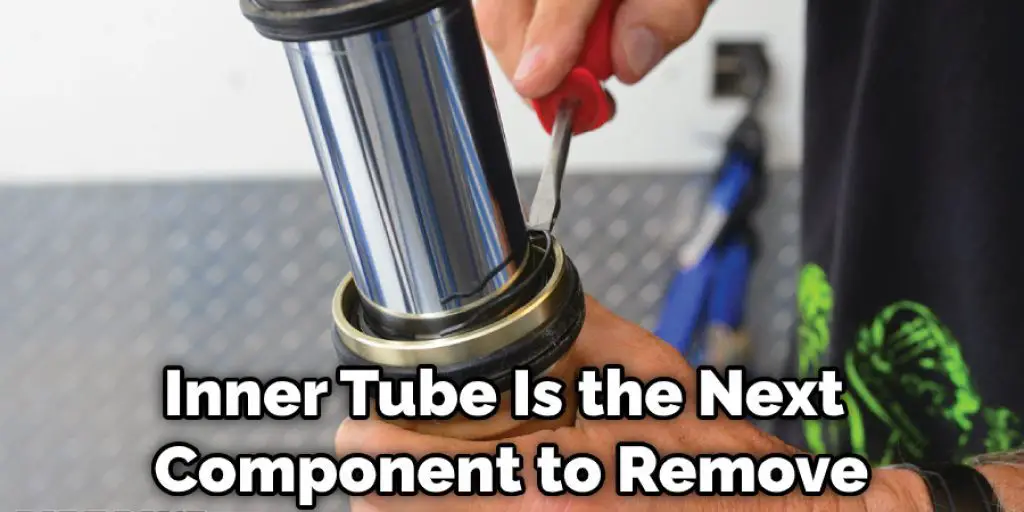
Step 4: Remove the Inner Tube
The inner tube is the next component to remove. It is held in place by two retaining rings at the top and bottom of the fork. Use a screwdriver or similarly sized object to pry the rings open. Be careful not to damage them, as they will need to be reused when reassembling the forks.
Once the retaining rings are open, use your hands to pull the inner tube out of the fork. Be careful not to damage it, as it may be needed for reassembly.
Step 5: Remove the Shims
Now that the fork tubes are separated, it’s time to remove the shims. These keep the tubes in alignment and must be removed before reassembling the fork. There is usually one on each side of the tube, just above where it meets the slider. If there are any spacers between the slider and the spring, these should also be removed.
Using a small screwdriver or another sharp tool, pry the shim(s) out of their recesses. Be careful not to damage them, as you’ll need them for reassembly. Set them aside in a safe place.
Step 6: Remove the Dust Seal
Now it is time to remove the dust seal. This can be tricky, as there is a lot of friction between it and the fork tube. You will need to use a blunt object to pry it off. A screwdriver or chisel can work, but a fork seal removal tool is ideal.
Make sure you keep track of where all the pieces go, as they can be easy to lose. Place them safely, so they don’t get dirty or damaged. When you are done, reassemble the parts in reverse order. Be careful not to over-tighten any of the screws or bolts.
Step 7: Remove the Fork Oil Seal
The fork oil seal is located at the bottom of the fork tube. It is held in place by a snap ring. Use a pair of pliers to remove the snap ring. Once removed, the oil seal can be pulled out of the tube.
Be careful not to damage the oil seal while removing it. If it is damaged, it will need to be replaced before reassembling the forks.
Step 8: Remove the Fork Spring
The fork spring is located at the bottom of the fork assembly. It is held in place by a retaining nut. Use a socket wrench to remove the retaining nut.
Once the retaining nut is removed, you can pull the spring out of the fork assembly. Be careful not to lose any of the spacers or washers that may be located between the spring and the slider.
The fork spring is held in place by a retaining nut. Use a socket wrench to remove the retaining nut. Once the retaining nut is removed, you can pull the spring out of the fork assembly. Be careful not to lose any of the spacers or washers that may be located between the spring and the slider.
Step 9: Remove the Slider
The slider is the last component to remove. It is held in place by two bolts at the top and bottom of the fork tube. Use a socket wrench to remove these bolts.
Once removed, you can slide the slider out of the fork tube. Be careful not to lose any of the spacers or washers that may be located between the slider and the spring. These steps will help in how to disassemble motorcycle forks.
There you have it! You have now successfully disassembled your motorcycle forks. Be sure to inspect all of the components for wear or damage. If any parts are damaged, they will need to be replaced before reassembling the forks.
Additional Tips
- Be sure to have the correct tools for the job. This includes a torque wrench and sockets and wrenches of the correct size.
- Consult your motorcycle’s manual for instructions on disassembly, as there may be slight variations from model to model.
- When removing bolts, always loosen them in a crisscross pattern to avoid warping or damaging the components.
- Be careful not to damage any of the parts as you disassemble them. If anything is damaged, it will need to be replaced before reassembling the forks.
- With the proper tools and patience, anyone can successfully disassemble their motorcycle forks! Just be sure to take your time and refer to your manual for specific instructions.
Can You Change Fork Seals Without Removing Forks?
Many people want to change their fork seals but don’t want to go through the trouble of removing the forks from their motorcycle. Unfortunately, this is not an option. The seals on a motorcycle fork are meant to keep the oil in and contaminants out, and they will eventually wear out. If you do not regularly change your fork seals, the oil will leak out, and the bike will begin to feel ‘sloppy.’ In addition, dirt and other contaminants will start to get into the fork’s internals can cause damage.
That said, you can do a few things to make the process a little easier. First, remove any wheel or brake components in your way. Second, use a seal puller to remove the old seals. This tool can be purchased at most automotive stores. Finally, use a light oil or grease to lubricate the new seals before installing them. Be sure to follow the manufacturer’s instructions closely when replacing fork seals.
If you have any questions or concerns, please consult a professional mechanic. Thanks for reading!
How Do You Remove Stubborn Fork Seals?
There are a few different ways that you can remove stubborn fork seals. The first is to use a seal puller. This tool is specifically designed to remove seals without damaging them. If you do not have a seal puller, you can try using a flathead screwdriver or a piece of metal tubing. Be sure to use caution when trying to remove the seals, as you do not want to damage them.
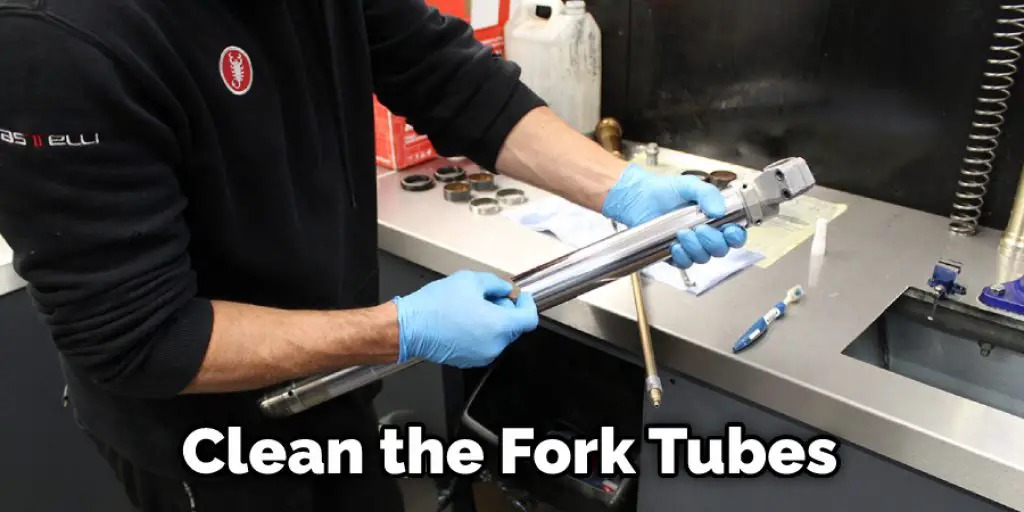
Once the seals have been removed, you will need to clean the fork tubes. First, use a degreaser to clean any built-up grease and dirt from the tubes. Once they are clean, apply a coat of fork oil to help protect them from corrosion. Next, reinstall the seals and tighten the bolts that hold them. Finally, check the seals regularly to ensure they function correctly.
Conclusion
In this article, we’ve shown you how to disassemble motorcycle forks. It is essential to be aware of the steps involved in this process so that you can adequately maintain and repair your bike’s suspension system. Remember, always take care when working with sharp tools and heavy machinery! Now that you know how to do it, go ahead and try. We would love to hear about your experience in the comments section below. Have fun and stay safe out there!
You May Also Read: How to Clean Dirt Bike Air Filter
Darren Matlock
Hi, I'm Darren. I love dirt bikes and everything about the off-road lifestyle. I'm passionate about motorbikes, cars, racing sports and going on adventures. If you're like me and enjoy extreme sports, you've come to the right place! I like to write articles about dirt bikes to help beginners get started. Whether you're interested in buying a dirt bike, ATV, motorcycle or want to ride for hobby, I hope my articles will inspire you to learn more about how this machine can be used to ride.


