How to Change a Dirt Bike Tube
Changing a dirt bike tube may seem daunting, but it’s not that difficult. In this article, we’ll walk you through the process step-by-step on how to change a dirt bike tube. If you’re a dirt bike enthusiast, then you know that having a way to change a dirt bike tube is essential. That’s why we’ve put together this guide on how to do just that.

If you’re a dirt biker, then you know that flats are just part of the game. Changing a dirt bike tube can seem daunting, but it’s not difficult. Whether you’re a beginner or an experienced rider, follow these steps, and you’ll be back up and riding in no time!
10 Steps on How to Change a Dirt Bike Tube:
1. Remove the Wheel From the Bike:
The first step is to remove the wheel from the bike. This can be done by loosening the axle bolts with a wrench. Once they are loose, remove the axle bolts and washers. The wheel can now be removed from the bike. When removing the wheel, avoid damaging the brake rotor or disc.
2. Remove the Tire From the Wheel:
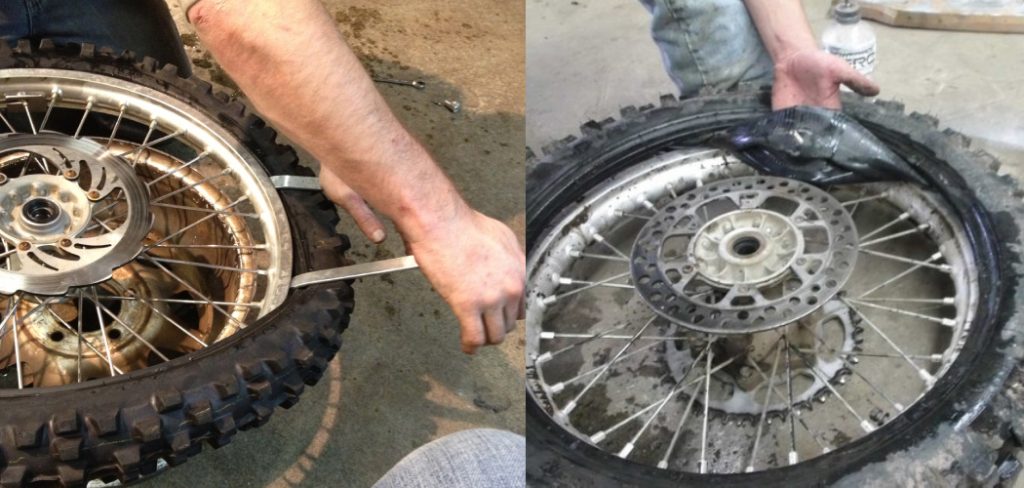
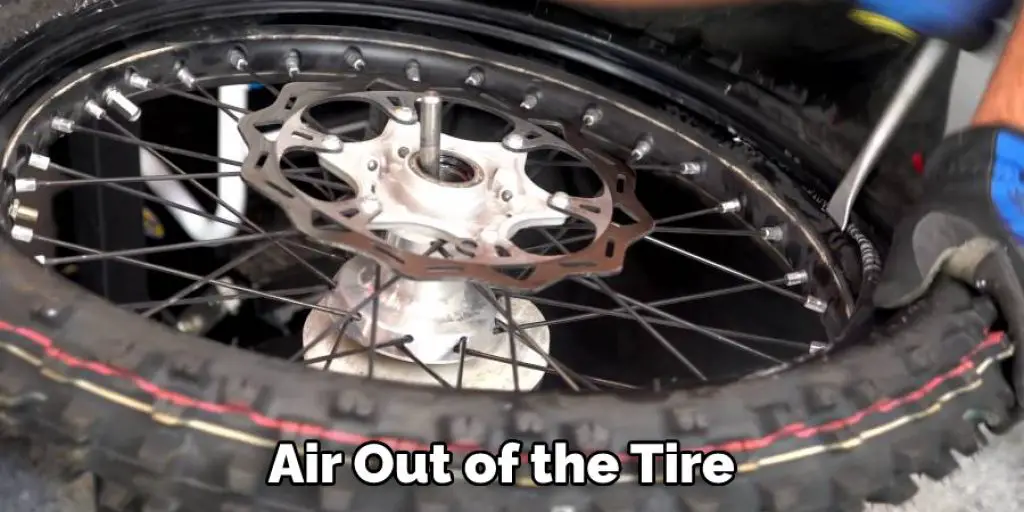
The next step is to remove the tire from the wheel. Start by removing the valve stem cap and deflating the tire. Use a tire lever to pry the edge of the tire away from the rim. Work your way around the tire until it is completely off the rim.
3. Inspect the Rim for Damage:
Once the tire is off the rim, inspect the rim for damage. Look for any cracks, gouges, or bends in the rim. If there is any damage, the rim will need to be replaced before a new tire can be mounted. Be careful when inspecting the rim, as the spoke nipples can be sharp.
4. Remove the Old Tire:
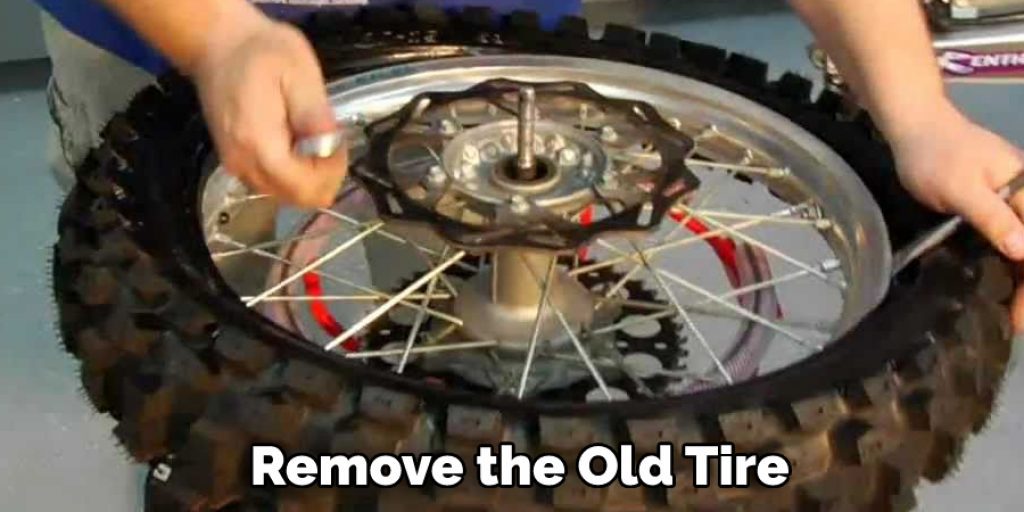
Once the rim is inspected, the old tire can be removed. Start by breaking the bead of the tire away from the rim. The bead is the lip that holds the tire on the rim. To break the bead, insert a tire lever between the bead and the rim and pry the bead over the edge of the rim. Once one side is broken, work your way around the tire until the entire bead is free.

5. Inspect the Tire for Damage:
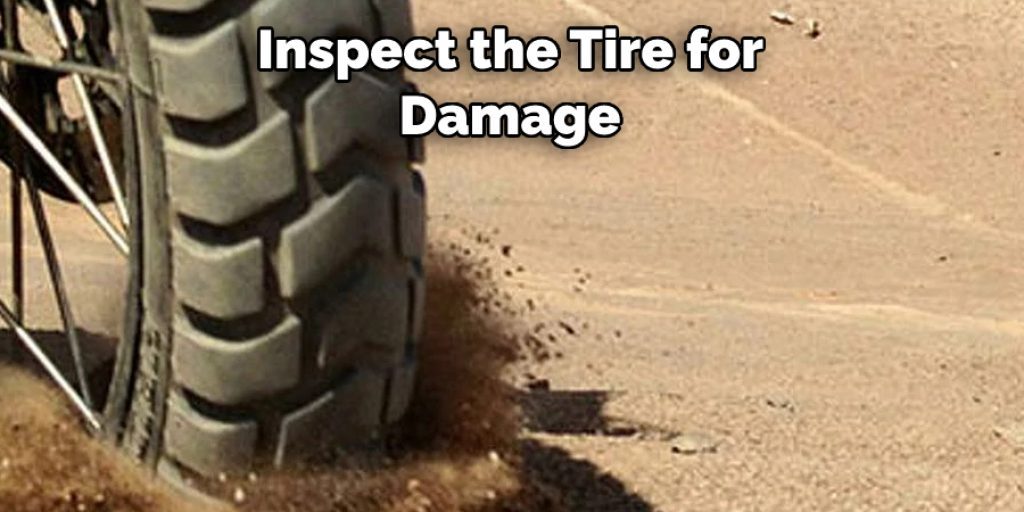
Now that the tube is out, it’s a good idea to inspect the inside of the tire for any damage that may have caused the puncture. If you see anything sharp still embedded in the tire, carefully remove it with a pair of pliers. Also, check the tire walls for any cracks or cuts. If you find any damage to the tire, it will need to be replaced.
6. Insert the New Tube:
Once you have inspected and repaired the tire (if necessary), you can now insert the new tube. Start by inserting one end of the tube into the tire. Then work around the tire, gradually pushing the tube in until it is fully seated. If the tube is not fully seated, it may get pinched when you put the tire back on, which can cause another flat.
7. Put the Tire Back On:
Before turning the tire on, it’s a good idea to put some soap or lubricant on the rim. This will help the tire slip on more easily. Start by putting the tire on the rim at the valve stem. Then work your way around, pushing the tire onto the rim until it’s on.
8. Inflate the Tire:
Once the tire is back on, use a pump to inflate it to the correct pressure. If you don’t have a pump, you can take it to a gas station or bike shop, and they will usually do it for free. If you don’t know what the correct pressure is, consult your owner’s manual or the tire’s sidewall.
9. Put the Wheel Back on:
Put the wheel back on and make sure that the axle is tight. You may need to use a wrench to get it tight enough. If the axle is too loose, the wheel will come off while you’re riding, and you could get injured. So make sure that the nut is tight, but don’t overtighten it. You should be able to move the wheel back and forth a little bit, but it shouldn’t come off easily.

10. Let Some Air Out of the Tire:
Use a tire gauge to release some air from the tire. You don’t want to let all of the air out, just enough so that the tire is soft to the touch. Be sure to check your owner’s manual to see what the recommended tire pressure is for your specific bike. If you want to be extra careful, you can release air from both tires.
Some Helpful Tips and Suggestions:
1. Make sure you have the right tools. You’ll need a wrench to loosen the bolts, a screwdriver to remove the valve stem cap, and a tire lever to help get the old tire off. You might also need some compressed air to help seat the new tube.
2. Loosen the bolts that hold the wheel in place. You don’t need to remove them completely; just loosen them enough so that you can remove the wheel.
3. Remove the valve stem cap and deflate the tire completely. This will make it easier to remove the tire.
4. Use the tire lever to pry the edge of the tire away from the rim. Work your way around the tire until it’s completely removed.
5. Inspect the inside of the tire for any sharp objects that might have punctured the old tube. If you find anything, remove it from the tire.
6. Look at the rim to ensure there aren’t any sharp edges that could puncture the new tube.
7. Find the valve hole in the rim and insert the new tube valve. Make sure the valve is fully seated in the hole.
8. Inflate the new tube a little bit, enough to hold its shape but isn’t too full.
Few Things to Consider Before Changing a Dirt Bike Tube:
1. The Size of Your Wheels:
You’ll need to know your wheels’ size before purchasing new tubes. The most common sizes are 12″, 14″, and 16″. It would be best if you also ensured the tubes you purchase are the correct size for your rims. If the rims are too small, the tube will be difficult to install. If the rims are too large, the tube may not fit.
2. The Type of Tire You Have:
There are two types of tires that you can have on your dirt bike- tubed or tubeless. If you have a tubed tire, then you will need to purchase a tube that is compatible with your tire. If you have a tubeless tire, you will not need a tube. Make sure the tube you purchase is compatible with your tire.

3. The Valve Type:
Two types of valves are used on dirt bike tubes- Presta and Schrader. Presta valves are typically narrower than Schrader valves and have a cap that unscrews from the top of the valve stem. Schrader valves are wider than Presta valves and have a small pin in the center of the valve stem that must be depressed to deflate the tire. Make sure you know your type of valve before purchasing a new tube.
4. The Condition of Your Rim:
If your rim is bent or damaged, installing a new tube won’t be easy. You may need to replace your rim before you can replace your tube. Make sure the rim is in good condition before moving on. If the rim has any damage, it’s best to replace it.
5. Types of Tubes:
There are two types of tubes that you can buy, butyl and latex. Butyl is the cheaper of the two, but it doesn’t hold air as well as latex. If you’re just riding around your neighborhood or on some easy trails, then butyl will be fine. If you’re doing any serious riding, though, you should get latex.
How Long Does it Take to Change a Dirt Bike Tube?
It should take about 15 minutes to change a dirt bike tube. This includes removing the old tube, finding the puncture in the new tube and properly installing the new tube.
If you have never changed a tire before, or if you are working with a particularly stubborn tire, it could take up to 30 minutes. However, if you are working with a spare tube that is already patched, you can expect the entire process to take about 10 minutes.

Final Thoughts
Tube changing is essential for any dirt biker, as it allows you to continue riding when a flat occurs. Although it may seem daunting the first time you change a tube, with practice, it becomes easy and can be completed in just a few minutes.
In this article, we have provided step-by-step instructions on how to change a dirt bike tube and tips to make the process easier. So whether you’re a beginner or an experienced rider, this blog post will help you learn how to change that pesky tube like a pro! If you have any questions feel free to comment below!


