How to Build a Dirt Bike Track
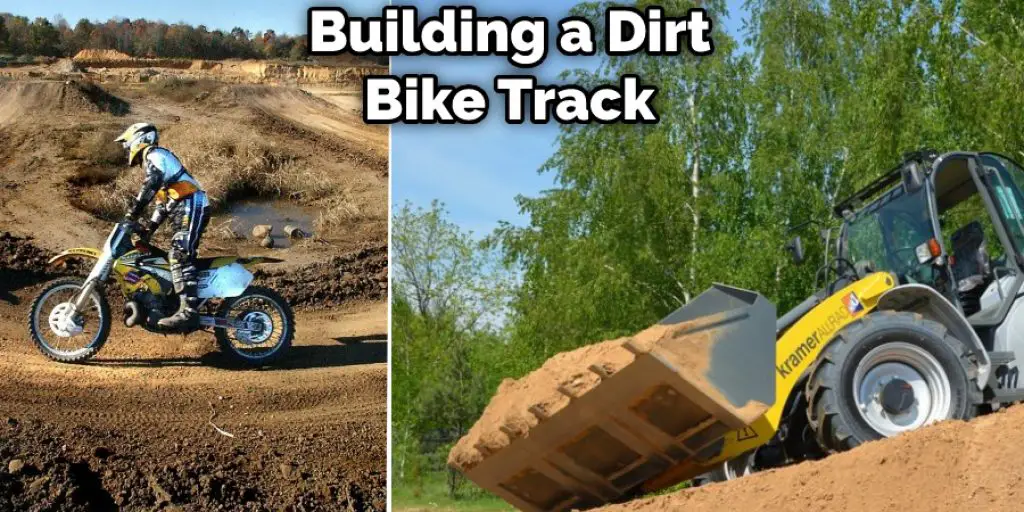
If you’re like most dirt bike enthusiasts, you probably enjoy riding your bike on various terrains. But wouldn’t it be great to have your own track where you can ride anytime you want? In this blog post, we’ll show you how to build a dirt bike track that’s perfect for riders of all levels. So get ready to start construction—your motocross dreams are about to come true. Keep reading to learn everything you need about building a dirt bike track.
Why You Should Build a Dirt Bike Track
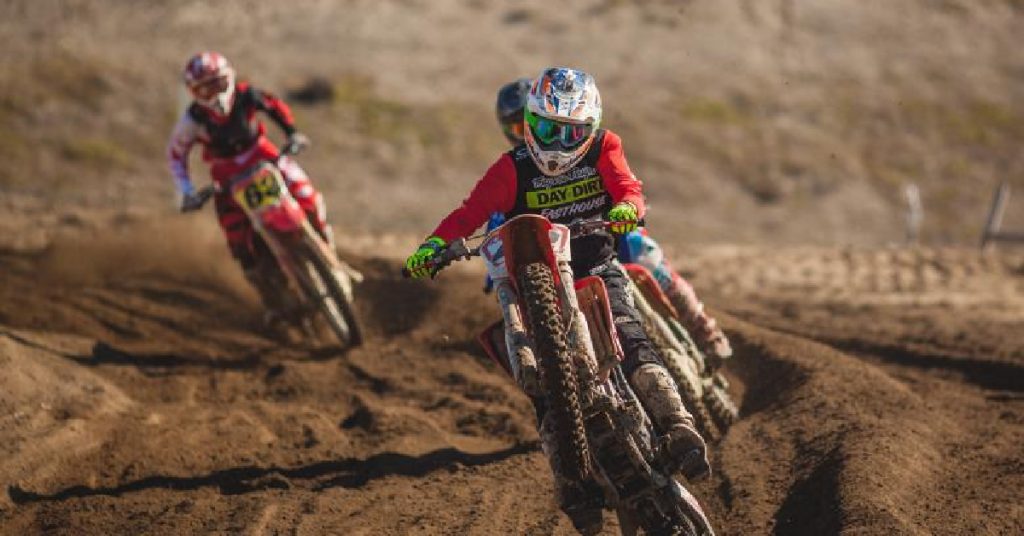
There are many reasons why you should build a dirt bike track. Of course, the most obvious reason is that you’ll have a place to ride whenever you want. But there are other benefits as well, such as you can customize the track to suit your riding ability, and you’ll be able to ride in all types of weather. Plus, if you have kids who ride dirt bikes, they’ll love having their own track to ride on.
Another great benefit of building a dirt bike track is saving you money in the long run. The costs can add up quickly if you’re constantly traveling to different motocross tracks to ride. But if you have your own track, you won’t have to worry about spending money on gas or admission fees. And if you’re worried about the initial investment of building a track, remember that you can always start small and add on to it as you go. Finally, by building your own track, you’re sure to make new friends who share your passion for dirt biking.
Tools and Materials Needed
- Shovels
- Wheelbarrows
- Rakes
- Hoses
- Sprinklers (if you want to water the track)
- Motocross dirt bikes
A Complete guide on How to Build a Dirt Bike Track
1. Choose a Location
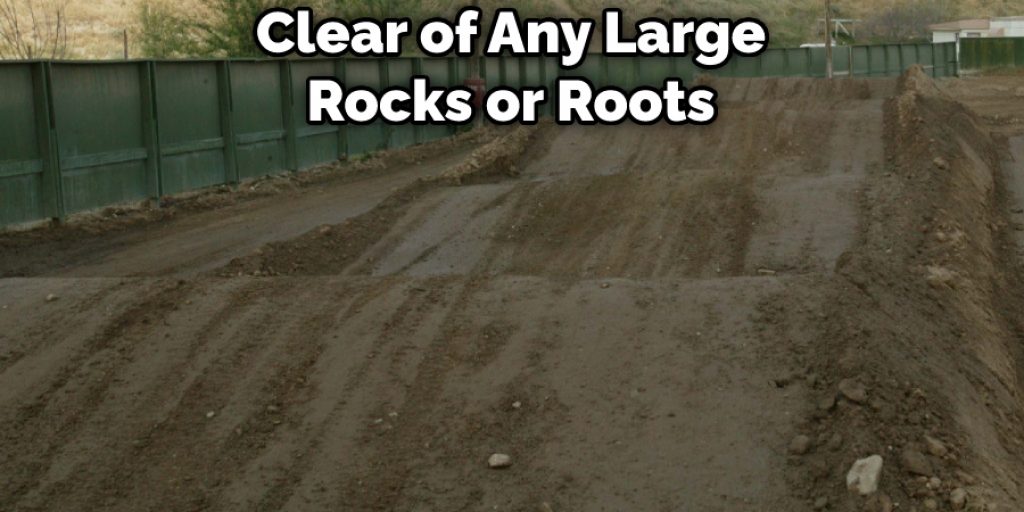
The first step in building a dirt bike track is to choose a location. When picking a spot, there are a few things you’ll need to take into account. First, the land should be flat and clear of any large rocks or roots. Second, you’ll need to ensure the land is large enough to accommodate the track you want to build. And lastly, you’ll need to make sure the location is easily accessible so you can get to it with your bike and all of your gear.
2. Mark Off the Track
Once you’ve found the perfect location, it’s time to mark off the track. You can use flags, cones, or any other type of marker. Just make sure the track is at least 10 feet wide, so you have enough room to ride. If you’re unsure how long you want the track to be, start with a basic loop about 1/4 mile long. You can always add on to it later.
3. Clear the Area
Now that you’ve marked off the track, it’s time to clear the area. This step is important because you need to remove any large rocks or roots that could potentially damage your bike. It would be best if you also cleared away any small sticks or leaves that could get caught in your bike’s tires. First, use a rake to remove any large debris. Then, use a shovel to dig up any small rocks or roots. Finally, use a leaf blower to remove any small sticks or leaves.
4. Digging the Track
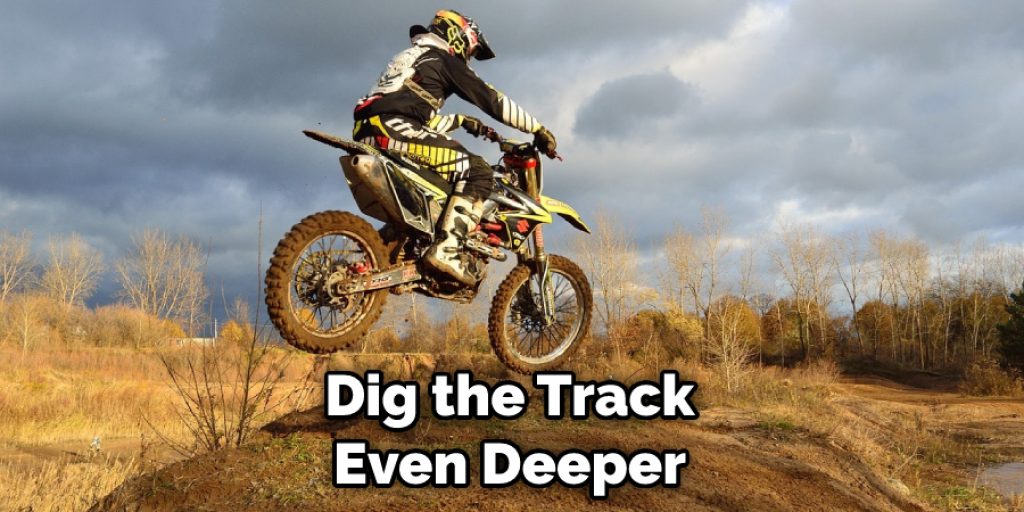
The next step is to start digging the track. You’ll need to dig out a 3-foot-wide path that’s about 8 inches deep. This will give you enough room to ride without hitting any large rocks or roots. To make digging easier, use a wheelbarrow to move the dirt from one side of the track to the other. You may need to dig the track even deeper if you have a lot of sand or clay in your soil.
5. Adding Obstacles
Once you’ve dug the track, you can start adding obstacles. Obstacles are an important part of any motocross track because they add excitement and challenge to the ride. Plus, they help you practice your skills. You can add many different types of obstacles, such as whoops, berms, jumps, and tabletops.
To add these features, you’ll need to use shovels, rakes, and hoses. First, use the shovels to dig out the shape of the obstacle. Next, use the rakes to smooth out the sides. Finally, use the hoses to pack down the dirt. Make sure you build them properly so they’re safe to ride.
6. Watering the Track
After you’ve added all the obstacles, you’ll need to water the track. This step is important because it will help the dirt pack down and form a firm base. Plus, it will help keep the dust down when you’re riding. You’ll need to use a hose or a sprinkler to water the track. First, wet the track down with a light spray.
Then, please turn on the sprinkler and let it run for 30 minutes. Finally, turn off the sprinkler and let the track dry for 30 minutes. Just ensure you don’t water it too much because it will cause the dirt to become muddy. If the track is too dry, it will cause the dirt to become loose and powdery.
7. Packing the Track
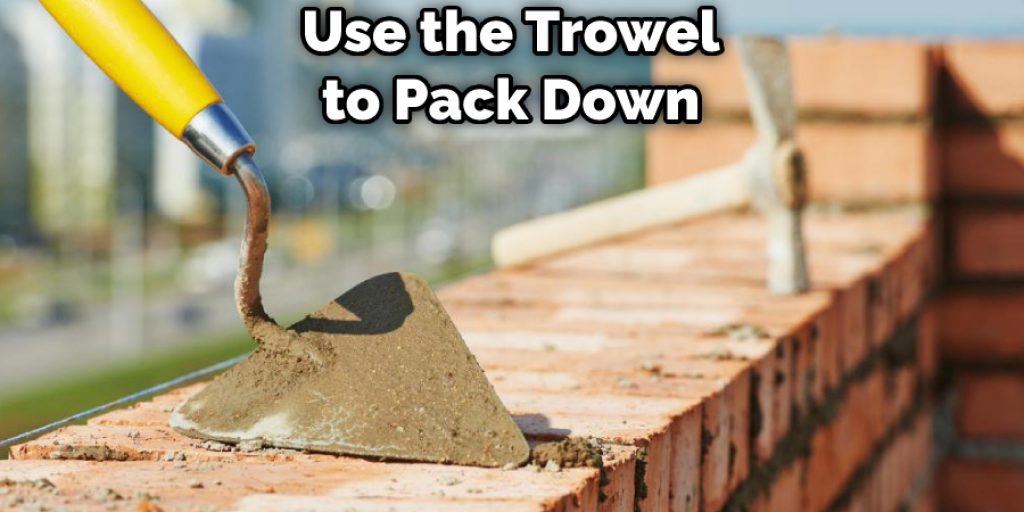
Once the track is wet, it’s time to pack it down. This step is important because it will help the track for long periods. You can pack the track by using a hand trowel or a lawn roller. First, use the trowel to pack down the sides of the track. Next, use the lawn roller to pack down the center of the track. Finally, use the trowel to pack down the edges of the track. Just make sure you pack it down firmly so it will hold up to the wear and tear of riding.
8. Adding the Finish Line
The next step is to add the finish line. This simple process requires you to use a shovel and some paint. First, use the shovel to dig a 2-foot-wide path across the track. Next, use the paint to create a finish line that’s about 10 feet long. Just make sure you use a bright color, so it’s easy to see. You can add some flags or cones to the finish line if you want.
9. Testing the Track
Now that the track is finished, it’s time to test it out. This is an important step because it will help you ensure the track is safe to ride. First, take a slow lap around the track to ensure there are no obstacles. Next, speed up and see how the track feels. Finally, make any necessary adjustments. Just make sure you’re happy with the track before you start riding on it regularly.
10. Enjoy the Track!
Now that the track is finished, it’s time to enjoy it! Just make sure you ride safely and always wear the proper safety gear. Then, have fun and enjoy the ride. If you follow these steps, you’ll have a great motocross track that you can enjoy for years to come.

How Much Does It Cost to Build a Dirt Bike Track?
The cost of building a dirt bike track will vary depending on the materials you use and the size of the track. However, you can expect to spend anywhere from $50 to $500 on the project. If you’re using high-quality materials, the cost will be on the higher end. If you’re using lower-quality materials, the cost will be on the lower end. Either way, building a dirt bike track is a relatively cheap project.
Tips and Warnings on How to Build a Dirt Bike Track
Tips:
- Be sure to clear the area of any obstacles that could cause you to lose control and crash.
- Choose a location with good drainage to prevent puddles from forming on the track.
- Build up berms (banks) around the outside of corners to help keep riders from going off the track.
- Use different materials to create different obstacles on the track.
Warnings:
- Do not build the track in an area that is prone to flooding.
- Check with your local authorities to see if you need a permit to build the track.
- Wear proper safety gear when riding on the track.
- Be sure to maintain the track regularly to keep it in good condition.
- Always ride with someone else so that you can get help if you crash or have mechanical problems.
- Never ride alone on the track.
Conclusion
So, there you have it. Now that you know how to build a dirt bike track. If you’re looking for a new and exciting way to spend your weekends, or if you’re looking for a great way to get some exercise, then building your own dirt bike track might be just what you’re looking for. With a little bit of hard work and some basic knowledge about building a dirt bike track, you can have the perfect place to ride your bike right in your backyard. So what are you waiting for? Get started today.

