How to Bleed Dirt Bike Front Brakes
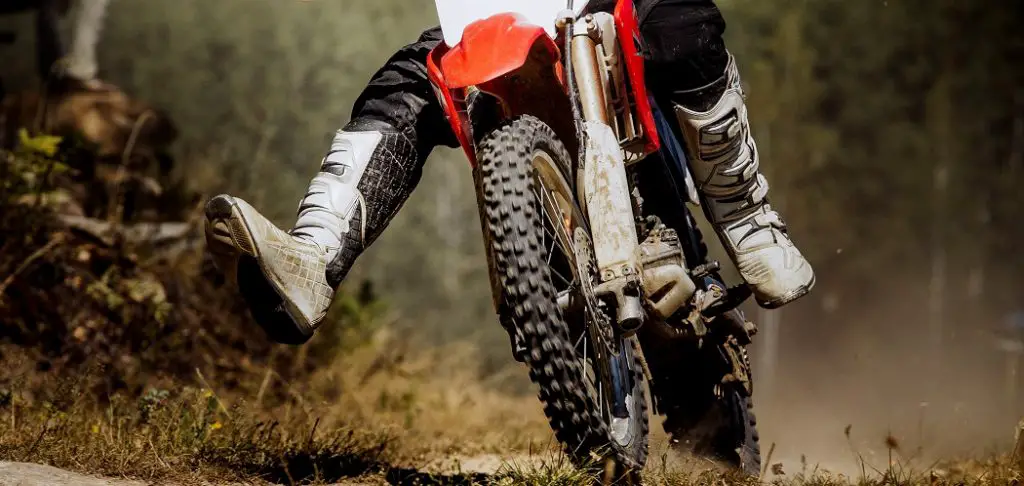
In this article, we will discuss how to bleed dirt bike front brakes in detail. The front brakes are the most important part of a dirt bike; they are what balances and stops the motorcycle. The brake lever is on the left handgrip, and it moves a cable that applies pressure to both sides of one or more calipers at the end of each disk rotor. This article will help you bleed dirt bike front brakes in case they get too much air in them.
What is Brakes Bleeding?
The term “bleeding” refers to the process of removing unwanted air bubbles from a hydraulic system and replacing it with new, clean fluid. The bleed procedure is performed by setting the bleeders on each caliper so that any remaining old fluid will be forced out through them while simultaneously filling up the reservoir tank with fresh brake fluid. It needs to be done regularly to maintain optimal performance.
Why Is It Important to Bleed the Brakes?
If the brakes are not bled, it will cause them to bind up, and when you apply pressure on the brake lever, they may release themselves. When this happens, your dirt bike will be hard to stop because of the extra air in those calipers.
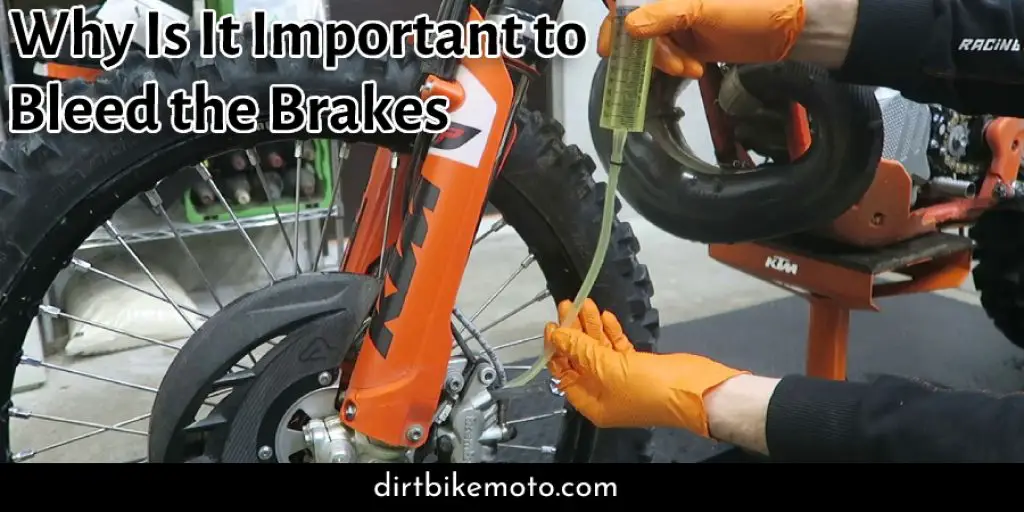
The other problem that can happen is if they are too full of fluid or a leak-they may seize, which means they no longer do anything. To avoid any problems with your front brakes, always remember to bleed before riding again after servicing!
Materials You’ll Need
- Brass bleed nipple wrench
- Brake fluid
- Pressure gauge or Digital Manifold Gauge
- Teflon tape, if necessary
- A can of compressed air
- Clean rags or paper towels
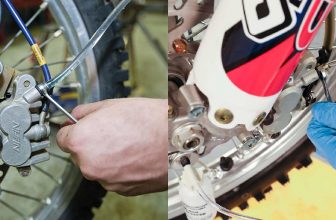
Steps To Follow – How to Bleed Dirt Bike Front Brakes
Step-1: Pour about one cup of brake fluid into a clean container and screw on the lid. Fill up your wrench with air so that it is at maximum pressure, then unscrew the bleed nipple from the caliper.
Step-2: Hold the other end of your wrench tightly against this fitting to apply steady pressure, wait for at least two minutes for any air bubbles to come out.
Step-3: Screw on the bleed nipple back in carefully, as tight as you can go without it being too hard to turn.
Step-4: Continue this process until the brake fluid in your container is clear.
Step-5: Remember to replace any rags or towels that you may have used as a wiping surface with clean ones before moving on to the next step.
Guides for Maintaining Dirt Bike Front Brakes
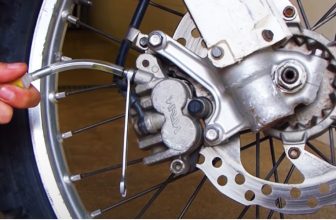
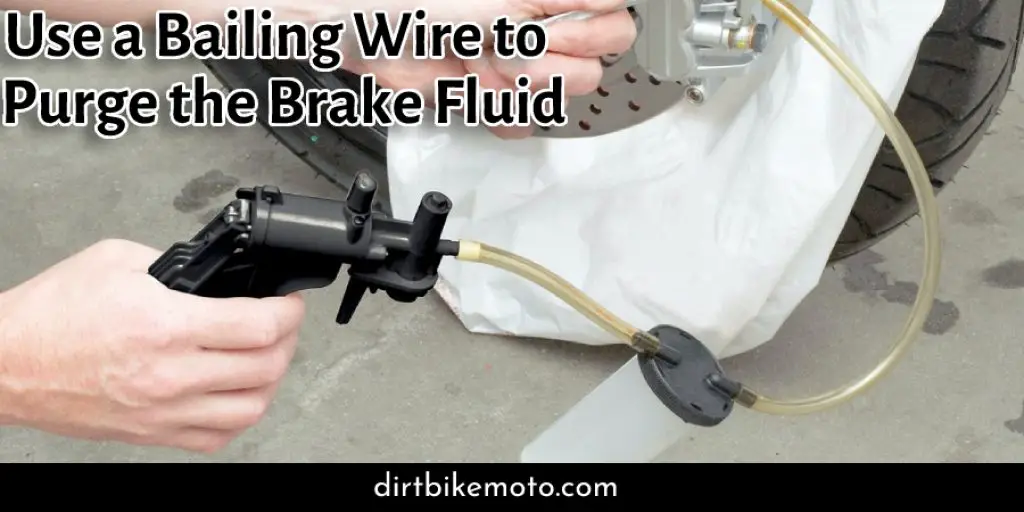
Use a Bailing Wire to Purge the Brake Fluid:
Cut off both ends of the wire with side cutters and wrap one end around each bleeder nipple on the front brake calipers. Turn just enough so that there is some tension against it, but not too tight for fear of stripping threads or bending bolts. Apply pressure to the brakes until you see a steady stream of brake fluid coming out from each end.
Thoroughly Clean Brake Pads and Rotors:
This is to remove any dirt, oil, grease, or other contaminants that may have built up on them since your last bleed. Simply spray both the brake pads and the rotor with a light coat of your preferred cleaner.
Using an oil canister, apply about five drops to each pad near where it meets both sides’ shoe or rotor surfaces. The amount will vary depending upon how often you want to change them out (every two to three months).
Squeeze the Brake Pedal and Hold it for a Minute:
This allows the brake fluid to circulate through your system, effectively cleaning out any built-up contaminants or old oil from past services. Be sure not to let go of the pedal until you have held it down for at least one minute.
Check for Leaks:
After you release the pedal, check around where your brake pads meet both sides’ shoe and rotor surfaces to ensure there are no leaks in these areas. If so, use a thin piece of material like an old rag or paper towel to clean up any residue that may have leaked onto other parts of the bike.
Check the Brake Fluid Level and Top Off if Necessary:
With a built-up reservoir, you can simply take off your brake fluid cap with one hand while squeezing the lever to break any vacuum seal that may be present to draw up more fluid into the system.
To get an accurate reading of your brake fluid level, remove the cap and insert a straightened paper clip into one of the holes in your reservoir. Remove it after you read how deep it goes to get an idea of what percentage is left.
Bleed air from your brakes with a vacuum pump:
If there are any bubbles present that didn’t disappear when you bleed the brake system, you likely have air bubbles in your lines. You’ll need to use a vacuum pump and hose to suck out these excess air bubbles for proper braking performance.
Add Anti-Seize Lubricant if Necessary:
If you’ve noticed any corrosion on your brake reservoir cap or the brake pistons, it’s a good idea to add some anti-seize lubricant.
Precautions When Bleeding Your Bike Front Brakes
- Ensure the air pressure in your bike tires is at an appropriate level and that you have enough brake fluid to finish bleeding. It’s important not to get stranded halfway through!
- As always, make sure there are no leaks before starting. This will prevent a big mess later on when it comes time for braking. Minor leaks can be fixed by pressing the leaky hoses with your fingers.
- Once you’re sure there are no leaks, start pumping hard on the front brake lever to push all of the air out. You’ll know when it’s time to release pressure because that long hissing sound will stop, and bubbles will form in the fluid from where you are squeezing the hose.
- You can also test your work by squeezing both levers on the brake handlebar. If you feel any resistance or pressure whatsoever, there is still air in the system, and you’ll need to bleed it again.
- When there is no more resistance, the brakes should feel firm but not too tight an easy squeeze will give a nice, responsive braking response from your bike. If they’re feeling stiff or spongy, something has gone wrong with this process, so go back over everything carefully and try again.
- Disconnect the hose from the valve and replace it on top of your brake fluid reservoir – this will help keep air bubbles out of your system for a while, but at some point, you’ll need to bleed them. Then, out all over again, so don’t forget!
- When you’re done bleeding, pump a few times to make sure that there are no air bubbles and your brakes work as intended before heading out on the road!
Frequently Asked Questions
How Do You Reverse Bleed on a Dirt Bike Brake?
Bleeding the reverse direction on a dirt bike brake is easy. The process is identical to bleeding brakes in the “normal” direction, except that you will be opening up both of your bleeders instead of closing them off and pushing fluid through.
Start by loosening the bleeder screws until they are almost completely open (turning them in a counter-clockwise motion). Be sure to open up the bleeder on the opposite side of your brake handle. Next, push fluid through by squeezing your brakes just enough so that they make contact.
You can also use compressed air if you have an available hose and pump. Let this fluid flow until it is no longer pushing back when you squeeze your brakes.
What Should You Use for Dirt Bike Brake Fluid?
We recommend using DOT-approved hydraulic fluid or mineral oil in your dirt bike brake system. These fluids are safe to use with any type of braking system you might have on your dirt bike, making them a great choice for riders looking to cut down on the number of products they need to keep in their garage.
How Do I Bleed My Dirt Bike Brakes Without a Kit?
If you don’t have a dirt bike brake bleed kit, there are some alternatives. You can use compressed air to push the fluid through by attaching an appropriate hose and pump to one of your brake calipers (squeezing them just enough so that they make contact).
What Happens if You Don’t Bleed Your Dirt Bike Brakes?
If you don’t bleed your dirt bike brakes, the system will build up air bubbles that can cause it to sputter and stop working. You might also experience a situation where the brake fluid in the lines gets so hot from constant braking that it breaks down over time, leading to leakage or other problems with your system.
Conclusion
It’s important to bleed your dirt bike front brakes regularly. This will help prevent any small air bubbles from building up and creating a problem, like a brake fade or the need for more frequent brake pad replacements. To do this, it is recommended that you disconnect the hose on one of the calipers so pressure can be released.
Then take an old rag (or some other absorbent material) and place it over the end of each bleeder valve with its opening facing upward towards a catch container below. Then pump away until all fluid has been pushed out through that tube.
This should take about 10-15 pumps in total per caliper, depending on how much liquid is still left inside them after you finish bleeding them completely dry. So after reading this blog, you know how to bleed dirt bike front brake, so get out there and try to apply it yourself!
You may read also: How to Change a Dirt Bike Tire Without Spoons
Darren Matlock
Hi, I'm Darren. I love dirt bikes and everything about the off-road lifestyle. I'm passionate about motorbikes, cars, racing sports and going on adventures. If you're like me and enjoy extreme sports, you've come to the right place! I like to write articles about dirt bikes to help beginners get started. Whether you're interested in buying a dirt bike, ATV, motorcycle or want to ride for hobby, I hope my articles will inspire you to learn more about how this machine can be used to ride.