How to Bleed Rear Brakes on a Dirt Bike
Introduction
A dirt bike is a perfect vehicle for off-road adventures and racing. Whether you’re riding on the street, in a desert, or through a forest, your brakes are an essential part of keeping yourself safe.

But just like any other part of your bike, they need to be maintained. If you are a dirt bike owner, then you know that bleeding your brakes is one of the most important things to do for safety.
Without proper brake function when riding, it can be dangerous and even deadly. In this article, I am going to discuss how to bleed rear brakes on a dirt bike. This will help you have a maintained bike with utmost safety.
Required Materials for Bleeding Rear Brakes on a Dirt Brake
There are certain things that you will need before performing the process. We have mentioned some of them below so that you can be prepared for any situation while bleeding the rear brakes on your dirt bike.
- A clean, level surface.
- Brake fluid and other necessary fluids.
- Rubber hose or clear plastic tube that is not kinking and will fit over the bleeder nipple. For motorcycles with hydraulic brake systems, you’ll need one size smaller than the cable’s outside diameter (i.e., for ¼” cables, use an ⅛” rubber hose; for ½” cables, use an ¼” rubber hose).
- A wrench or pliers to turn the bleeder valve.
- Some paper towels and a rag for cleaning up any spills.
- You will also need to wear some safety wears like gloves and glasses.
- You will need a bucket to hold the waste fluid.
Steps on How to Bleed Rear Brakes on a Dirt Bike
The elementary steps included in the bleeding rear brakes process are explained below chronologically.
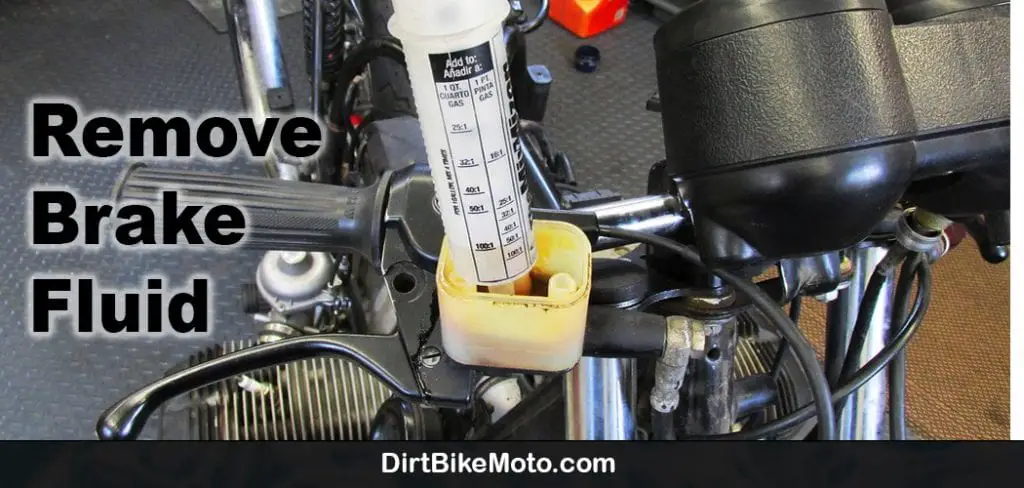
Step One: Remove Brake Fluid Reservoir Cap Underneath Bike’s Seat
The first step in bleeding front brakes on a dirt bike should be removing the cap from underneath the seat of your motorcycle so you can access the brake fluid reservoir there.
This will allow us to remove excess air from within our braking system; this helps prevent over-tightening of old, dirty or corroded caliper pistons when they are pushed back into their bores.
Step Two: Remove Brake Caliper Mounting Bolts
To remove the calipers, you’ll need to use a 15-millimeter wrench and loosen the brake mounting bolts in a diagonal pattern. You should only turn each bolt an inch or so; enough for it to come free of its threads without turning too much that you could damage them.
Once all four bolts have been loosened, pull back on both calipers (usually by hand) while lifting up on the handlebars at your chest level with one arm until they are completely off their mountings.
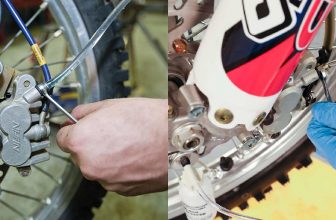
Step Three: Use Needle Nose Pliers To Pull Out Bleeding Hose Clamps
Some older dirt bikes will feature bleeders which have hose clamps that you can use a pair of needle-nose pliers to loosen and pull out. Other bikes will have piston plugs that need to be unscrewed with an Allen wrench or ratchet handle before the fluid is able to flow freely from the brakes.
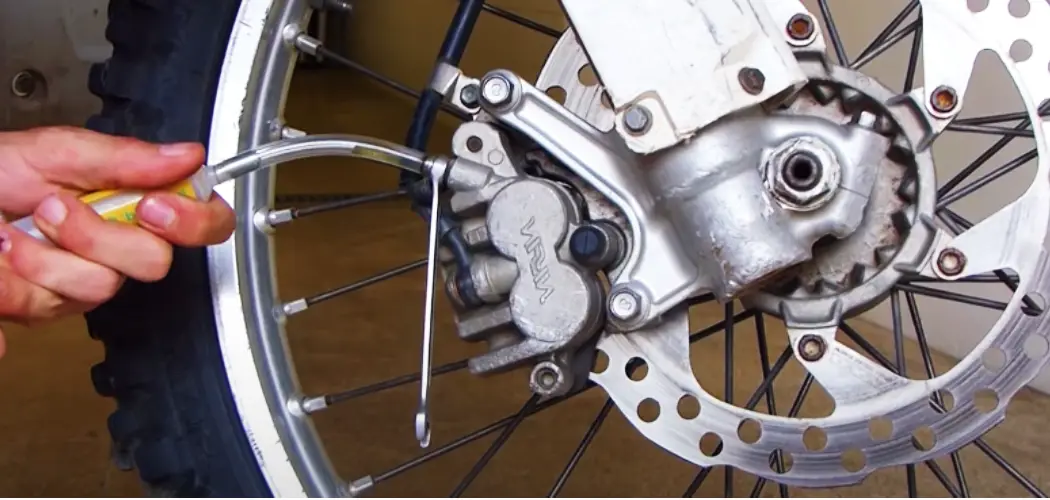
Step Four: Gently Push Brake Fluid Through Hose
Once the hose clamps are removed, find a container for your brake fluid (a tall glass jar works well), insert one end of your rubber tube into it, then push it through until air bubbles start coming up from inside the caliper bores.
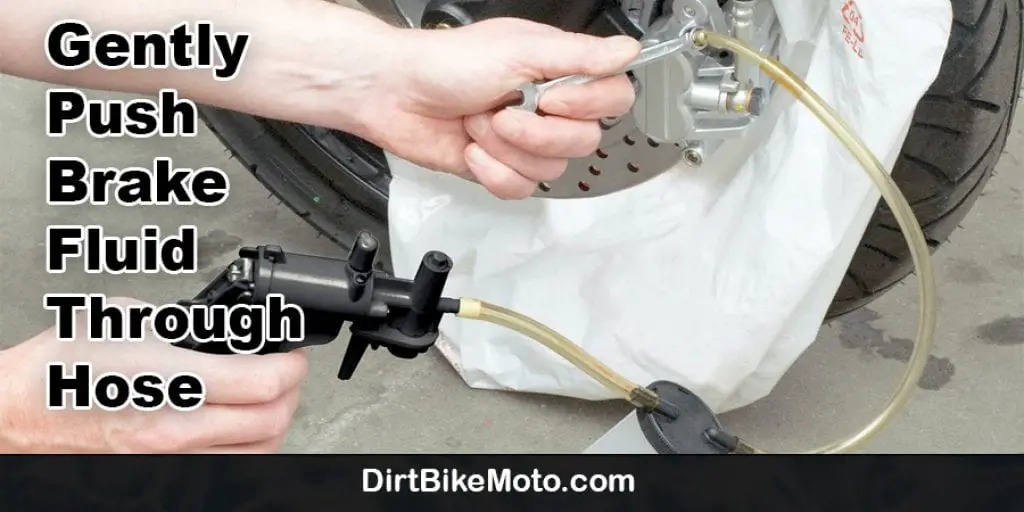
Once this starts happening, gently squeeze on the lever in order to add more pressure while simultaneously pushing down on top of both pistons at once with two fingers; this will force the remaining air and brake fluid back through the hose.
Step Five: Tighten Hose Clamps
Once all of your brakes are bled, tighten up both clamp screws before you start riding again; this is so that they don’t leak when pressure builds up from braking while you ride around with them. This can also save a lot of time in the future should bleed valves need to be opened because air got into the lines..
Step Six: Check for Air Leaks
After you are done bleeding, double-check to make sure there aren’t any air leaks by following the steps in reverse. If you find an air leak and it is a hose that’s damaged or close to wearing out, replace it immediately; this could compromise your safety when riding since one side of your brake will not work as well as the other.
You should also check all clamps before starting up again after bleeding so that they don’t leak while stopped at a light with pressure building from braking. This can save time later on if bleed valves need opening because air got into lines.
Things to Consider While Bleeding the Rear on a Dirt Bike:
In order to bleed rear brakes on dirt bikes, there are several things we need to consider:
- First, check that the brake fluid reservoir has enough brake fluid. If this is not checked properly, then you have to start the process from the top and that will be time-consuming and tedious.
- Second, we need to make sure that the master cylinder is empty and cleaned off before doing any work on it. This is highly necessary because any residual in the master cylinder will affect the bleeding process.
- Third, when bleeding out air from your brakes using a syringe or shop pressurized airline, always start at the furthest point in the system and slowly move closer each time you bleed until there are no more bubbles coming out of the rear caliper.
- And lastly, only use transport authority standard hydraulic oil for motorcycle disc brakes as anything else can cause corrosion which leads to overheating; this will shorten your life span considerably.
Precautions
There are certain precautions that are necessary for performing this process. These are discussed below with an appropriate explanation.
- Wear a face mask or respirator to protect your health and safety.
- Make sure the brake fluid is at room temperature before you start, as it will be easier for the chemicals in the rubber hoses to break down any rust or dirt buildup within them if they are not too cold.
- Use gloves when handling brake fluids because they can irritate skin and eyes. If you have sensitive skin, wear goggles instead of eye protection since some people find that their hands swell up after contact with brake fluids over long periods of time.
- Find an area where there is no wind (wind could blow away spilled fluid) and stand on the clean ground so that nothing gets dirty unnecessarily as work progresses – this means finding an area that is free of dirt, grease and other fluids.
- Make sure you have a heavy-duty funnel to get the fluid into the brake reservoir – do not use cans or bottles as they could explode if pressure builds up in them when used incorrectly.
- If needed, loosen (but don’t remove) any screws on top of the master cylinder in order to relieve any built-up air pressure inside it before starting work. Do this by turning counterclockwise with an Allen key or screwdriver until snug but not too tight (if possible). This will prevent released air from blowing out all your hard work without warning! You may need gloves for this step because some people find that their hands swell after contact with brake fluids over long periods of time.
- Attach the brake bleed kit to one end of the rubber hose and thread it through from below your dirt bike’s rear caliper (the metal part that squeezes against the wheel rim when you press on the pedal).
- Push with a twisting motion at both ends until air bubbles rise up insight. This will help release any built-up pressure inside so you can fill them with fluid without making an audible “pop” sound, which would indicate a lost vacuum if done incorrectly!
- Remove any debris or old fluid before adding new by using a clean cloth to wipe away anything caked onto surfaces. To avoid this, make sure you replace components like disks whenever they are worn out enough for oil.
Frequently Asked Questions
What is the Benefit of Bleeding Rear Brakes on a Dirt Bike?
The brake fluid on the bike is used to create a layer of resistance which eventually slows down the bike. Brake pads are what get in contact with this fluid and creates friction, stopping the bike from moving forward.
Whenever you experience an issue with your brakes, it’s important that they be bled because air bubbles have entered inside the system and need to be removed before any more damage can occur.
If Air Bubbles Come Out of Tube, but No Fluid Got in, What Do I Do Then?
If you are sure that your brakes are empty, then air may have been sucked in with it when you were bleeding them and thus creating an incomplete vacuum effect.
To fix this, reattach your hose to the caliper (or wheel) without disconnecting its other end from the reservoir or opening any reservoirs on other bikes/brakes. Now open up all reservoirs, including those for which there was no problem before like I said earlier).
When doing so, be careful not to let go of either tube until they’ve drained completely – again, if one has a small amount left after most others run dry, then this means there’s still some air present inside that tube even though it might not be leaking from the caliper, so bleeding this one more time will help.
Conclusion
In conclusion, I hope that the process mentioned here will be highly advantageous for bleeding the rear brakes. You should always maintain personal safety while performing the task. And you can also take help from a partner in this process. This will make the work less time-consuming. Thank you and have a nice day.
You may read also –
Darren Matlock
Hi, I'm Darren. I love dirt bikes and everything about the off-road lifestyle. I'm passionate about motorbikes, cars, racing sports and going on adventures. If you're like me and enjoy extreme sports, you've come to the right place! I like to write articles about dirt bikes to help beginners get started. Whether you're interested in buying a dirt bike, ATV, motorcycle or want to ride for hobby, I hope my articles will inspire you to learn more about how this machine can be used to ride.