How to Tighten Chain on Dirt Bike
If you’re like most dirt bike owners, you take pride in keeping your machine in top condition. A tight chain is one of the key elements of a well-running dirt bike. A loose chain not only adversely affects performance but also can lead to component failure. In this article, we’ll show you how to tighten chain on dirt bike quickly and easily. Let’s get started!

What Is a Dirt Bike Chain?
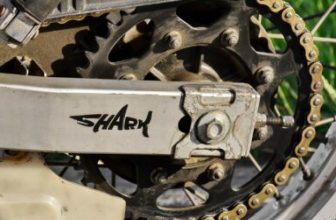
The chain on a dirt bike transmits power from the engine to the rear wheel. It is an essential component of the drivetrain and needs to be strong enough to withstand the high speeds and forces generated by off-road riding. There are two types of dirt bike chains: O-ring and non-O-ring. O-ring chains have rubber seals between the inner and outer links, which help to keep lubricant in and dirt out.
Non-ring chains do not have these seals, so they require more frequent cleaning and lubrication. Both types of chains are available in different sizes, so choosing one compatible with your bike’s sprockets is important. A properly maintained chain will last many hours of riding, but it will eventually need to be replaced. When this time comes, choosing a quality chain designed for off-road use is important.
Why Should You Tighten Chain on Dirt Bike?
A chain that’s too loose can come off the sprockets, and a chain that’s too tight will break. The ideal tension for a dirt bike chain is about 1/8″ of drag at the midpoint of the lower run. To check the tension, lift the chain off the rear sprocket about halfway up and release it. It should take around 1 second for the chain to settle back into place.
If it takes less time, the chain is too loose and needs to be tightened. If it takes longer than 1 second, the chain is too tight and needs to be loosened. Adjustments should be made in small increments until the desired amount of Drag is achieved.
The reason you want some drag on your dirt bike chain is that it helps keep the power transfer efficiency as well as reduces wear and tear on both the sprockets and chain. When a chain is allowed to flop around on the sprockets, it tends to get caught between the teeth more often, which leads to accelerated wear.
Not only does this decrease your drivetrain’s lifespan, but it also robs power from your engine and makes shifting gears less precise. Keeping your dirt bike’s chain properly tensioned is one of the simplest and most effective ways to prolong the life of your drivetrain and keep your bike running at its best.
How to Tighten Chain on Dirt Bike in 5 Easy Steps
A chain is only as good as how tight it is. It’ll come off if it’s too loose; if it’s too tight, it’ll wear out quickly. Here’s how to tighten your chain on your dirt bike:
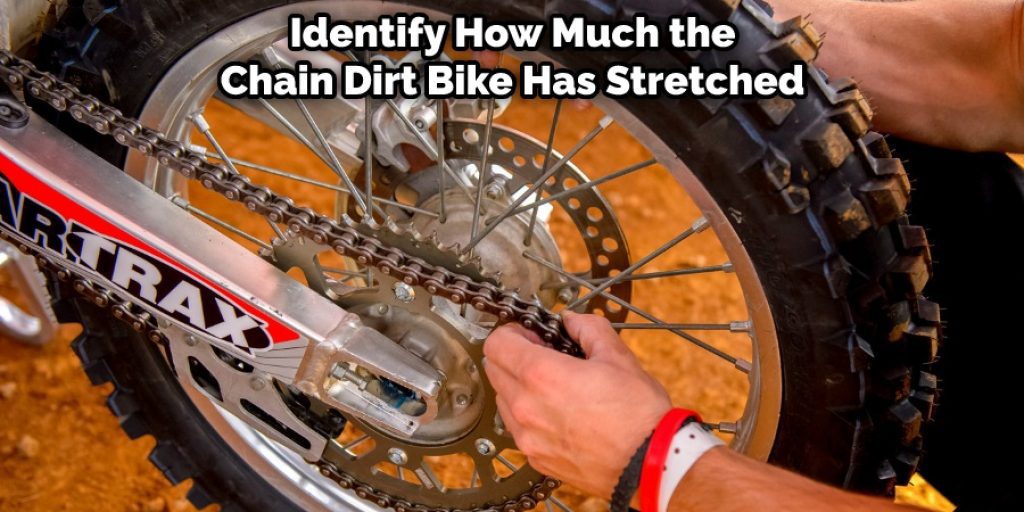
Step 1: Identify the Problem
If your dirt bike’s chain is sagging or loose, it needs to be tightened. But before you can do that, you need to identify how much the chain has stretched. This will help you determine how much tension to add when tightening the chain.
Step 2: Measure the Chain’s Length
You’ll need to use a ruler or tape measure to measure the chain’s length. Start at the center of the front sprocket and measure to the center of the rear sprocket. Then, add 2 inches (5 cm) to that number. This will give you the total length of your chain.
Step 3: Add Tension to the Chain
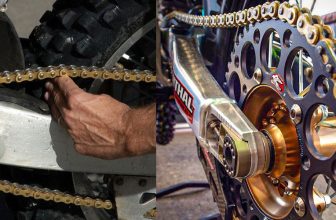
Once you know how much the chain has stretched, you can add tension to it. To do this, you’ll need a wrench and a pair of pliers. First, use the wrench to loosen the rear axle nut. Then, use the pliers to turn the adjuster bolts located on the swingarm. As you turn the bolts, the chain will start to tighten. Continue turning the bolts until the chain is tight, but not too tight.
Step 4: Check the Tension
After you’ve added tension to the chain, it’s important to check that it’s not too tight or too loose. To do this, lift up on the back of the bike and see if the chain is tight. If it is, then you’re all set. If not, you’ll need to add more tension.
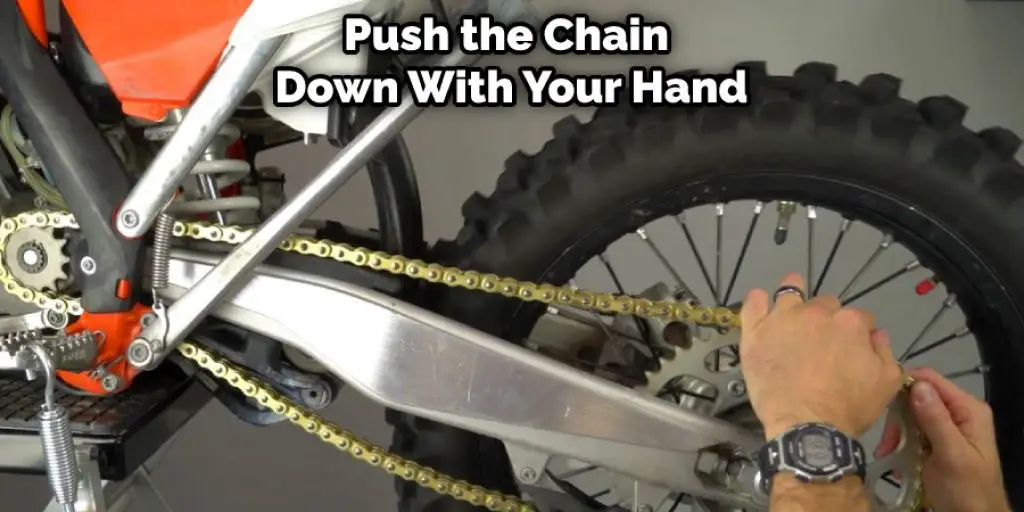
Try to push the chain down with your hand to test the tension. If it’s too loose, it will sag. But if it’s too tight, the chain will feel stiff and difficult to move.
Step 5: Re-Check the Chain Length
Once you’ve added tension to the chain, it’s important to check the chain length again. The chain should be tight but not too tight. There should be no slack in the chain, but you should still be able to pinch it between your fingers.
If the chain is too loose, it will come off the sprockets and could cause damage. On the other hand, if the chain is too tight, it will stress the sprockets unnecessarily and cause them to wear out prematurely.
That’s it! You’ve now learned how to tighten chain on dirt bike. By following these steps, you can keep your chain in good condition and prevent it from coming off or causing damage.
You Can Check It Out to Fix a Dirt Bike Engine
How to Identify if Chain Needs Tightening
Every few weeks, it’s important to check your bike chain for tightness. A loose chain will cause shifting problems and can eventually fall off and get caught in the wheel, which could cause an accident. To avoid these problems, here’s a quick guide to help you check if your chain needs tightening.
First, lift the bike’s back wheel off the ground and spin the pedals forwards. If the chain is too loose, you’ll see it start sag down towards the bottom of the wheel. In addition, you’ll hear a rattling sound as the chain moves back and forth on the sprockets. If you see or hear either of these signs, it’s time to tighten your chain.
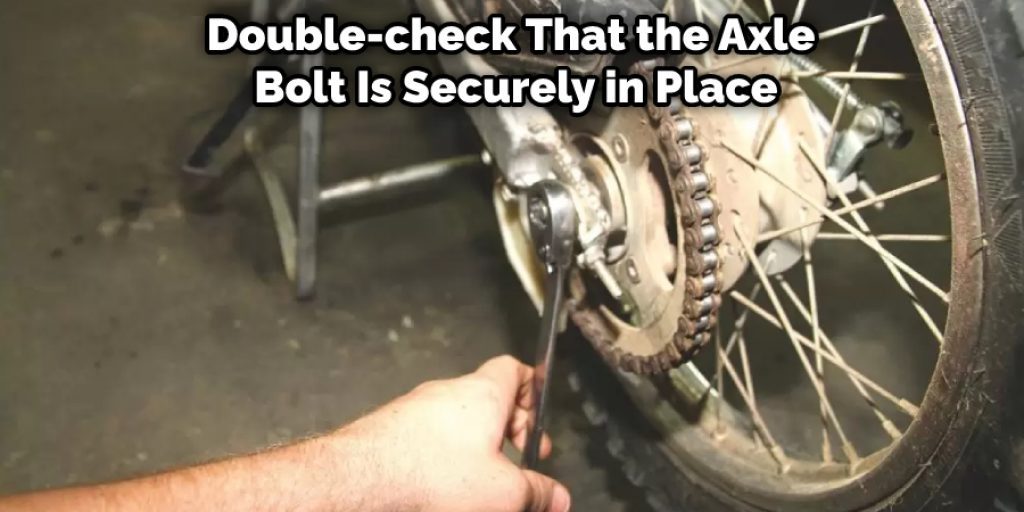
To do this, first, locate the bolt that secures the rear axle in place. This is usually located at the center of the wheel. Then, use a wrench to turn this bolt clockwise until the chain is tight. You may need to experiment a bit to find the perfect tension, but as a general rule, you should be able to fit about two fingers between the bottom of the chain and the top of the wheel when everything is properly tightened.
Once you’ve found the right tension, double-check that the axle bolt is securely in place, so your chain doesn’t come loose while you’re riding. With these tips in mind, you’ll be able to keep your bike in good condition and avoid any accidents caused by a loose chain.
Why It’s Important to Keep Your Dirt Bike’s Chain Properly Tightened
If you ride a dirt bike, keeping your chain properly tight is important. A loose chain can cause the sprockets to wear out prematurely and cause the chain to come off while you’re riding. Not only is this dangerous, but it can also be expensive to fix. By keeping your chain properly tightened, you can help to extend the life of your sprockets and avoid costly repairs.
In addition, a properly tensioned chain will provide smoother power transfer and less vibration, making for a more enjoyable ride. So next time you hit the trails, make sure to check your chain tension and keep your dirt bike running like new. Keep reading for more information about how to tighten chain on dirt bike.
How Can I Prevent My Dirt Bike Chain From Coming Loose?
From beginner to pro, everyone who rides a dirt bike knows that a loose chain is the number one way to ruin a good ride. Not only is it dangerous, but it can also cause damage to your bike. But don’t worry; there are a few easy things you can do to prevent your chain from coming loose. First, make sure your chain is the right size for your bike. It will likely come loose if it’s too big or too small.
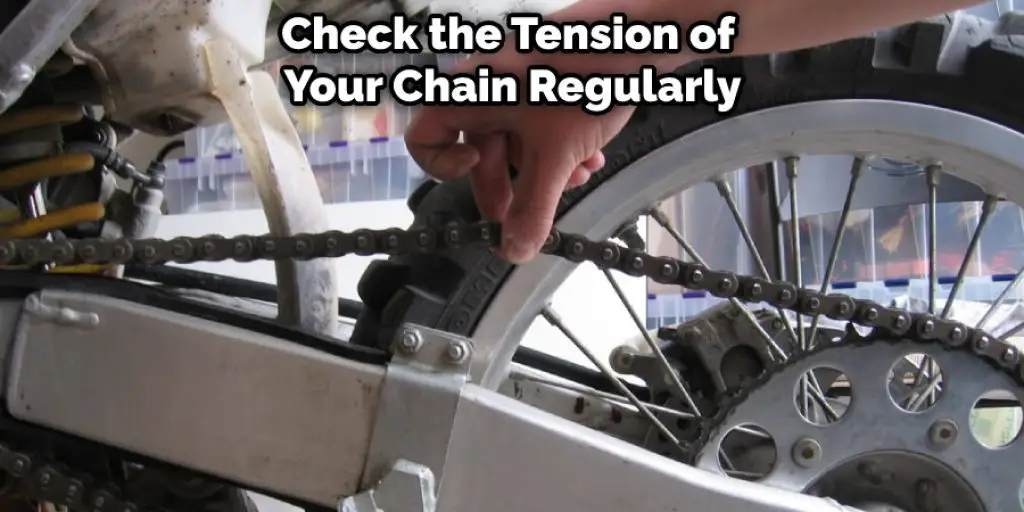
Second, check the tension of your chain regularly. The chain should be tight enough that you can’t pull it away from the sprocket but not so tight that it binds. Lastly, if you’re riding in mud or water, make sure to lubricate your chain before riding.
By following these simple tips, you can help keep your dirt bike in good condition and avoid any dangerous situations.
You Can Check It Out to Wire Headlights Directly to Battery
How Often Should You Tighten the Chain on Your Dirt Bike?
For most riders, the ideal tension for a dirt bike chain is about 1/8″ of sag. This can be checked by putting your foot on the swingarm and pushing down to see how far the chain stretches. If it’s too loose, it will start to slap the side of the engine case and cause premature wear. If it’s too tight, it will bind up and can break.
The best way to achieve the perfect tension is to check it often and make small adjustments. Depending on how much you ride, you may need to check and adjust your chain every few weeks. By keeping your chain properly tensioned, you’ll extend its life and help keep your bike running smoothly.
Conclusion
It is very important to keep your dirt bike in good condition if you want it to last longer and run smoothly. The chain is one of the most important but often neglected parts of a dirt bike. A loose chain can cause many problems, from decreased performance to complete engine failure.
In this article, we have shown you how to tighten chain on dirt bike quickly and easily. So what are you waiting for? Get out there and start riding!
Darren Matlock
Hi, I'm Darren. I love dirt bikes and everything about the off-road lifestyle. I'm passionate about motorbikes, cars, racing sports and going on adventures. If you're like me and enjoy extreme sports, you've come to the right place! I like to write articles about dirt bikes to help beginners get started. Whether you're interested in buying a dirt bike, ATV, motorcycle or want to ride for hobby, I hope my articles will inspire you to learn more about how this machine can be used to ride.