
How to Test a Stator with A Multimeter
A stator is an electrical component in a generator or alternator. It is usually a cylindrical coil of wire that creates the magnetic field needed to produce AC current. A multimeter is an electronic instrument that tests and measures voltage, current, and resistance. In this blog post, we will show you how to test a stator with a multimeter.

What Is a Stator?
A stator is an essential component of an electric motor. It consists of a stationary set of electromagnets that are arranged around the periphery of the motor’s rotor. When energized, the stator’s electromagnets create a magnetic field that interacts with the rotor to create torque, which turns the motor. The stator is also responsible for keeping the rotor in alignment as it spins.
Stators are typically made from a stack of laminated sheets of steel or other magnetic materials and are usually manufactured as a single assembly. As electric motors are found in many applications, stators come in various sizes and shapes. However, they all perform the same basic function: to create a torque that turns the rotor.
Why Should You Test a Stator with A Multimeter?
Before we test a stator with a multimeter, let’s first understand what a stator is. A stator is an electromagnet that remains stationary while the rotor, which contains permanent magnets, rotates. The stator is what produces the magnetic field that interacts with the rotor to create torque. Now that we know a stator let’s go over why you should test it with a multimeter.
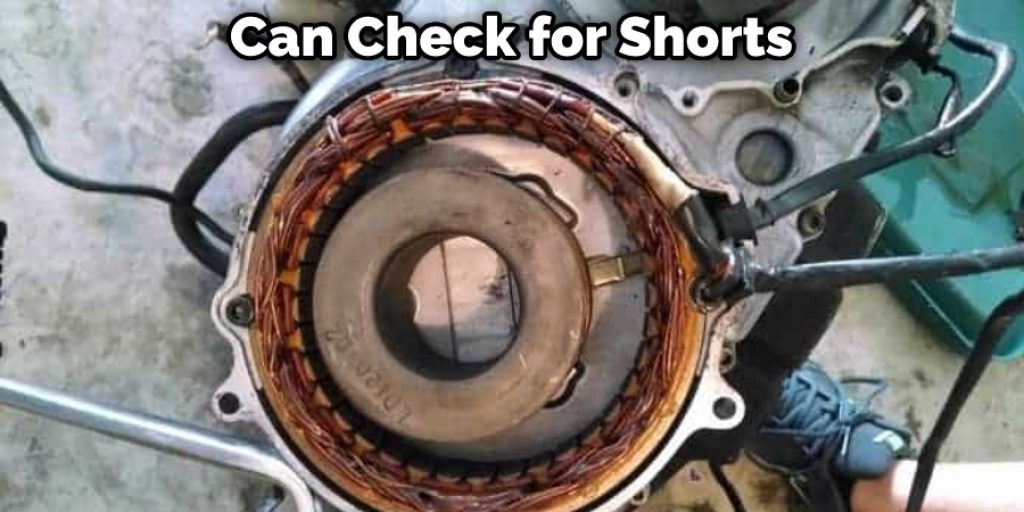
By testing the stator, you can check for shorts, bad connections, or other electrical issues that could prevent the engine from starting or running properly. Additionally, testing the stator can help you diagnose issues such as poor engine performance or excessive vibration. With a multimeter, you can quickly and easily test your stator to ensure it is in good working condition.
How to Test a Stator with A Multimeter Step-by-Step Guide
If you suspect your stator is failing, you can test it with a multimeter. This guide will show you how to test a stator with a multimeter.
1. Disconnect the Stator from The Power Source
First, disconnect the stator from the power source. If it is connected to an AC power source, simply unplug it from the wall outlet. If it is connected to a DC power source, such as a battery, you will need to disconnect the negative (-) lead first and then the positive (+) lead.
2. Set Your Multimeter to Ohms Mode
Next, set your multimeter to the ohms mode. You’ll typically do this by turning the knob on the front of the device until the ohms symbol (Ω), which looks like a horseshoe, is illuminated.

3. Test Each Stator Lead
Now, you will need to test each of the stator leads. To do this, simply touch the probes of your multimeter to the leads. The resistance readings should be as follows:
– Green lead: 4.5-5.5 Ω
– Yellow lead: 4.5-5.5 Ω
– Black lead: 0.5-1.0 Ω
If any readings are outside this range, the stator is defective and will need to be replaced.
4. Repeat the Test
Once you have tested all the leads, it is a good idea to repeat the test just to be sure. This time, however, you should swap the probes on your multimeter. So, if you touched the red probe to the green lead the first time, touch the red probe to the yellow lead this time. This will help to rule out any potential errors with your multimeter.
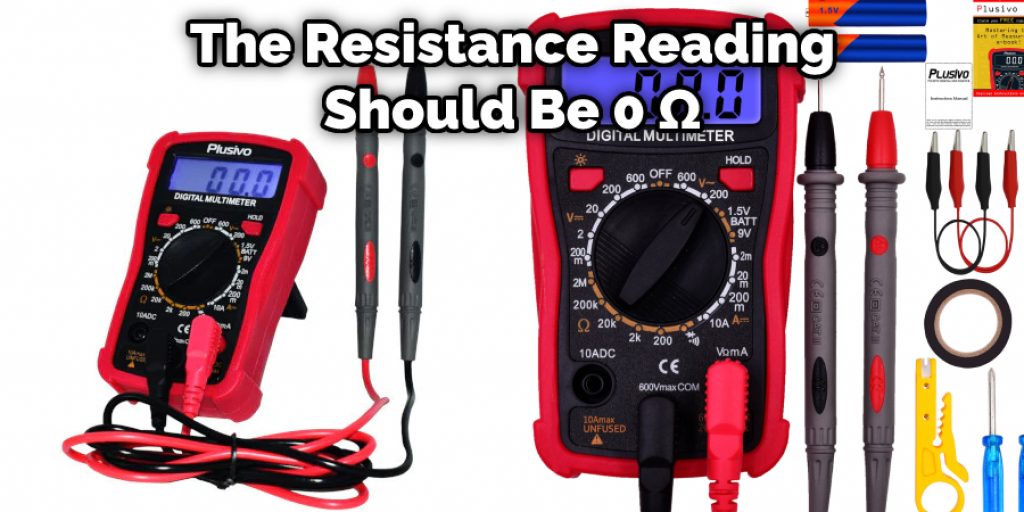
5. Check for Continuity
Finally, you will need to check for continuity between the stator leads. To do this, simply touch the probes of your multimeter to the leads. The resistance reading should be 0 Ω. If it is not, the stator is defective and will need to be replaced.
6. Replace the Stator
If your stator is defective, you will need to replace it. To do this, simply follow the instructions in your owner’s manual. If you don’t have your owner’s manual, you can find a replacement stator online or at your local auto parts store.
That’s it! You’ve now learned how to test a stator with a multimeter. By following this guide, you can quickly and easily diagnose issues with your stator. Additionally, if your stator is defective, you can easily replace it yourself.
What are the Symptoms of a Failing Stator?
A stator is a vital component of any electric motor and is responsible for converting electrical energy into mechanical energy. Unfortunately, stators can sometimes fail, leading to a loss of power and efficiency. Several symptoms can indicate a failing stator, and it is important to be aware of them to avoid costly repairs.
One of the most obvious signs of a failing stator is a drop in performance. For example, if an electric motor suddenly starts to run slower or less efficiently, it may be due to a problem with the stator. Additionally, a failing stator can cause the motor to produce strange noises or vibrations. In some cases, the stator may even emit sparks or smoke.
If you notice any of these symptoms, it is important to have the motor checked by a qualified technician as soon as possible.
How to Replace a Stator in Your Vehicle
Replacing a stator in your vehicle is not as difficult as it may sound. In fact, with the right tools and a little bit of know-how, it’s a relatively simple task that anyone can do. The first thing you’ll need to do is locate the stator. It’s typically located near the engine, so if you’re not sure where it is, consult your vehicle’s owner’s manual or ask a mechanic.
Once you’ve found the stator, you’ll need to remove it. This usually involves removing a few bolts or screws. Again, consult your vehicle’s owner’s manual for specific instructions. With the old stator removed, you can now install the new one. Be sure to line up the bolt holes and follow any other instructions with the new stator.
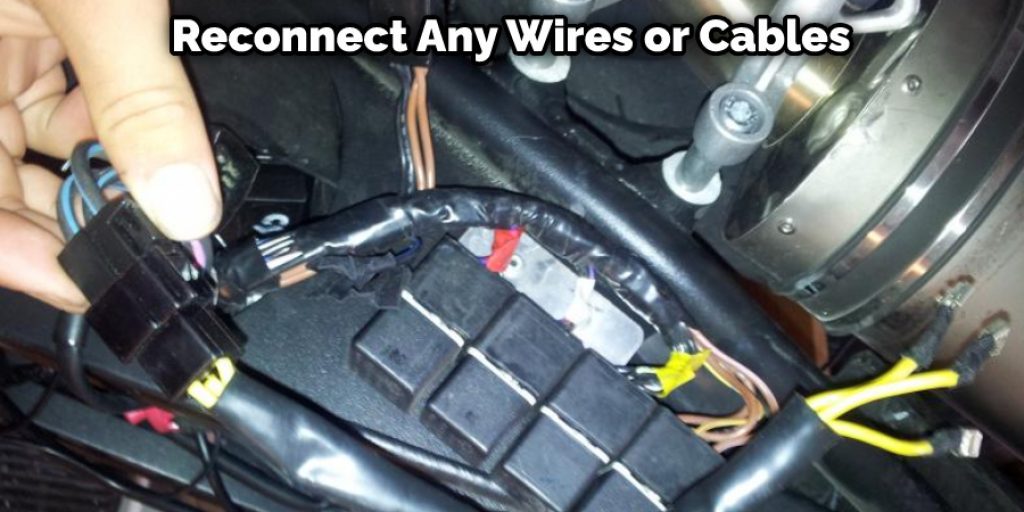
Once it’s in place, you can now bolt or screw it into place. Then, reconnect any wires or cables attached to the old stator, and you’re done! Replacing a stator in your vehicle is easy and takes only a few minutes.
Common Problems with Stators
If you’ve ever had your car break down on the side of the road, you know how frustrating it can be. But what if there was a way to prevent your car from breaking down in the first place? One common cause of car breakdowns is a faulty stator. The stator is responsible for generating power; if it isn’t working properly, it can cause all sorts of problems.
For one, it can drain the battery, making it difficult to start the car. Additionally, it can cause the engine to run rough or stall altogether. If you suspect that your stator is failing, it’s important to have it checked out by a qualified mechanic. With a little preventative maintenance, you can avoid a costly breakdown down the road.
How to Fix Common Stator Problems
Stators are an important part of an engine; when they go bad, they can cause serious problems. Fortunately, a few simple steps can be taken to fix common stator problems. First, check the stator for any obvious signs of damage. If the stator is damaged, it will need to be replaced.
Next, check the stator windings for any signs of wear or tear. If the windings are damaged, they will need to be replaced. Finally, check the stator bolts for any signs of corrosion or wear. Again, if the bolts are damaged, they will need to be replaced. By taking these simple steps, you can fix the most common stator problems.
Alternatives to Repairing a Stator
There are many different options available when it comes to repairing a stator. The most common method is simply replacing damaged components with new ones. However, this can be quite expensive and may not be necessary if the damage is not too severe. Another option is to repair the stator by winding new coils around the damaged ones.
This is a more labor-intensive process but can be much more cost-effective. Additionally, several companies offer stator repair services. These companies typically have extensive experience and can often provide a more reliable repair than an individual could achieve on their own.
Ultimately, the best option for repairing a stator will vary depending on the situation.
How Can I Prevent My Stator from Failing?
A stator is a vital component of any engine, and it is important to take steps to prevent it from falling. One of the most important things to do is maintain proper engine oil levels. The oil helps to lubricate the stator, and it also helps to cool it. The stator can overheat and fail if the oil level gets too low.
Another important thing to do is check the stator’s electrical connections. Loose or damaged wires can cause an electrical short, damaging the stator. Finally, it is important to inspect the stator regularly for wear and tear. If any damage is found, it should be repaired before it has a chance to cause further damage.
By taking these simple precautions, you can help to ensure that your stator will provide years of reliable service.
Conclusion
Always test a stator using a multimeter to ensure it is not shorted before installing it in your alternator. This will help avoid damage to your vehicle’s alternator and other electrical components. Thanks for reading our post about how to test a stator with a multimeter.
Darren Matlock
Hi, I'm Darren. I love dirt bikes and everything about the off-road lifestyle. I'm passionate about motorbikes, cars, racing sports and going on adventures. If you're like me and enjoy extreme sports, you've come to the right place! I like to write articles about dirt bikes to help beginners get started. Whether you're interested in buying a dirt bike, ATV, motorcycle or want to ride for hobby, I hope my articles will inspire you to learn more about how this machine can be used to ride.

