How to Replace a Shift Shaft on A Dirt Bike in 5 Easy Steps
Replacing a shift shaft on a dirt bike can be a daunting task, but it’s not as hard as it may seem. With the right tools and instructions, you can have your bike up and running in no time. In this article, we’ll show you how to replace a shift shaft on a dirt bike. So, whether you’re a seasoned mechanic or a beginner, read on for the steps needed to replace your shift shaft.
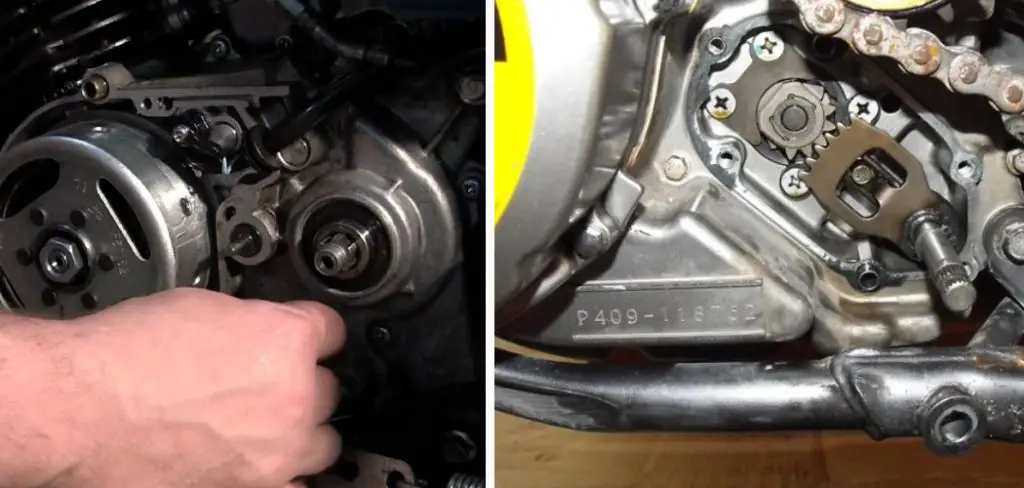
What Is a Shift Shaft on A Dirt Bike?
The average dirt bike has a relatively simple transmission consisting of a clutch, gearbox, and chain. However, one key component allows this system to function: the shift shaft. The shift shaft is a metal rod that extends from the gearbox to the clutch. Its purpose is to transfer the motion of the gearbox to the clutch, which then engages or disengages the engine.
Without a shift shaft, a dirt bike would be unable to change gears and stuck in one gear forever. For this reason, the shift shaft is an essential part of any dirt bike’s transmission. Yet, riders often overlook the shift shaft despite its importance.
However, it is important to keep an eye on this component and make sure it is properly lubricated and in good working order. By taking care of your shift shaft, you can help to ensure that your dirt bike’s transmission will always be in top condition.
Why It’s Important to Replace a Shift Shaft on A Dirt Bike?
Taking care of a dirt bike means paying attention to its parts, big and small. One often-overlooked part is the shift shaft. The shift shaft is responsible for connecting the gearshift lever to the transmission, allowing riders to change gears while on the move.
Over time, the shift shaft can become worn down, making it difficult to change gears smoothly. In addition, the shaft can break entirely in extreme cases, leaving riders stranded on the trail. For these reasons, it’s important to inspect the shift shaft regularly and replace it if necessary.
By keeping the shift shaft in good condition, riders can enjoy many years of trouble-free riding.
Why is my dirt bike shifter loose?
There are a few reasons why your dirt bike shifter might be loose:
- The shifter splines are worn or damaged. The shifter splines are the teeth on the shifter that engage with the splines on the shift shaft. Over time, the shifter splines can wear down or become damaged, which can cause the shifter to loosen.
- The shifter bolt is loose. The shifter bolt is the bolt that holds the shifter in place. If the shifter bolt is loose, the shifter can move around and become loose.
- The shifter lever is bent or damaged. If the shifter lever is bent or damaged, it can cause the shifter to become loose.
- The shifter linkage is worn or damaged. The shifter linkage is the linkage that connects the shifter lever to the shift shaft. If the shifter linkage is worn or damaged, it can cause the shifter to become loose.
How to Replace a Shift Shaft on A Dirt Bike Step by Step Guide
Here we discuss about the shift shaft replacement if your dirt bike shifter loose.
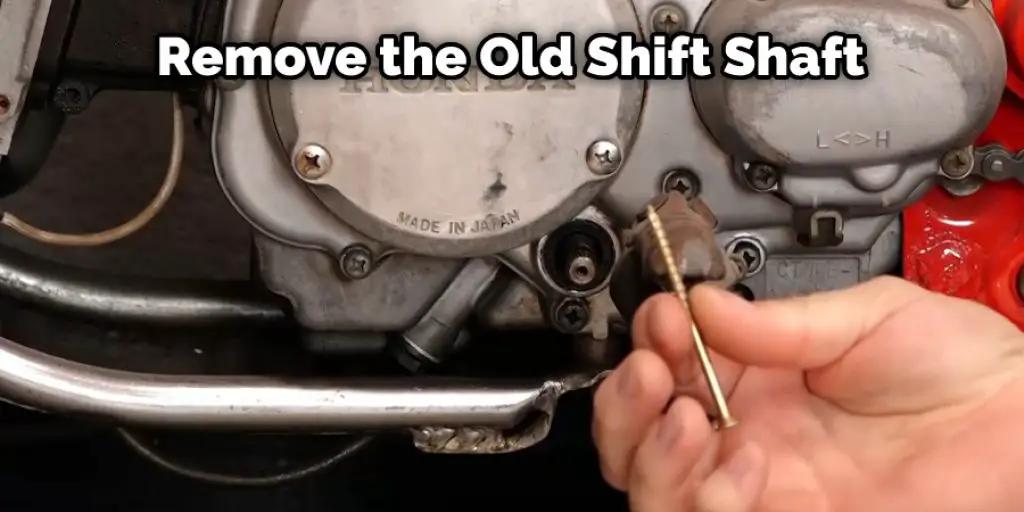
Step 1: Remove the Old Shift Shaft
Using a pair of pliers, remove the circlip that holds the shift shaft in place. Then, unscrew the jam nut that secures the shifter cable to the shaft using a wrench. With the circlip and jam nut removed, you should be able to pull the shift shaft out of its housing.
Step 2: Install the New Shift Shaft:
First, insert the shaft into the gearbox to install the new shift shaft. Make sure that the splines on the shaft are properly aligned with the splines in the gearbox. You may need to use a mallet or other tool to tap the shaft into place.
Install the circlip that retains it once the shift shaft is in place. The circlip is a metal ring that fits into a groove on the shaft. You can install the circlip with your fingers or with pliers.
Finally, install the shifter fork onto the shift shaft. The shifter fork has a slot that slides over the shaft. Once the fork is in place, install the retaining clip or screw that holds it in place.
Step 3: Reattach the Shifter Cable
With the new shift shaft in place, it’s time to reattach the shifter cable. Doing so is relatively simple, but there are a couple of things to keep in mind.
First, make sure that the shifter cable is routed correctly. If it’s not, the bike may not shift properly. Second, be sure to use plenty of grease on the shifter cable’s housing threads. This will ensure smooth shifting and prevent the shifter cable from seizing up.
To reattach the shifter cable, screw it back into place. Again, be sure to use plenty of grease on the threads. Once the shifter cable is in place, tighten it until it’s snug. You don’t want to overtighten it, as this could damage the shifter cable.
Step 4: Test the New Shift Shaft
It’s good to test the new shift shaft before putting your dirt bike back together. To do so, shift through all the gears and make sure that the bike shifts smoothly. If it doesn’t, double-check your work and make sure that everything is properly tightened down.
Step 5: Test Drive!
Now that you’ve replaced your dirt bike’s shift shaft, it’s time to go for a test drive. Take it easy at first to make sure that everything is working properly. If all goes well, you should be able to shift through the gears without any issues.
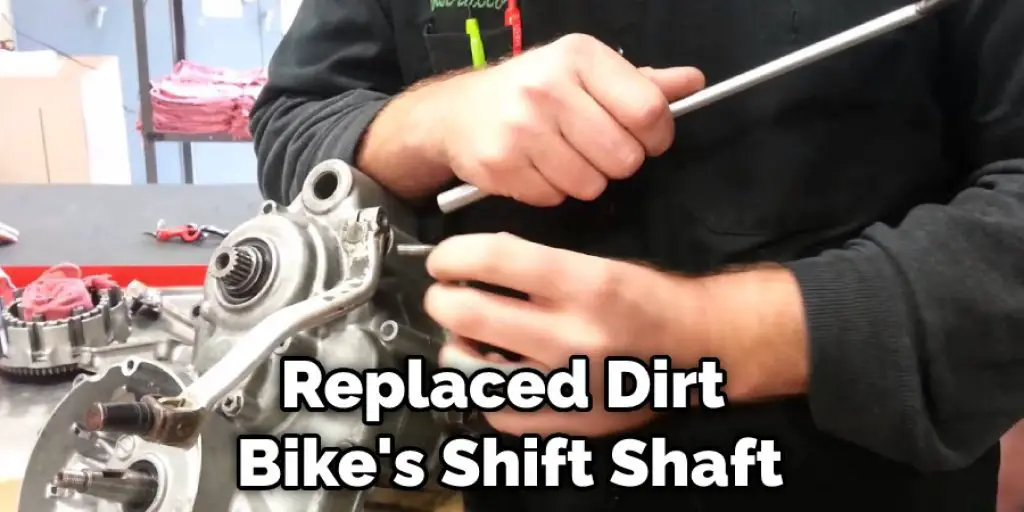
Replacing a shift shaft on a dirt bike is a relatively simple task. With a few tools and a little bit of know-how, you should be able to do it in no time. Just be sure to take your time and double-check your work before heading out for a ride. And, as always, ride safe! Keep reading for more information about how to replace a shift shaft on a dirt bike.
Tips and Tricks to Make the Process Easier
1. It is important first to understand how the shift shaft works before attempting to replace it. This will make the replacement process much more manageable.
2. The next step is to gather all of the necessary tools and parts. This includes a new shift shaft, a set of wrenches, and a set of pliers.
3. Once everything is gathered, the first step is to remove the old shift shaft. This is typically done by removing the retaining bolts that hold it in place.
4. With the old shift shaft removed, the next step is to install the new one. This is done by simply reversing the process used to remove the old shaft.
5. Once the new shift shaft is installed, it is important to test it to make sure everything is working properly. This can be done by simply shifting through the gears and making sure they engage properly.
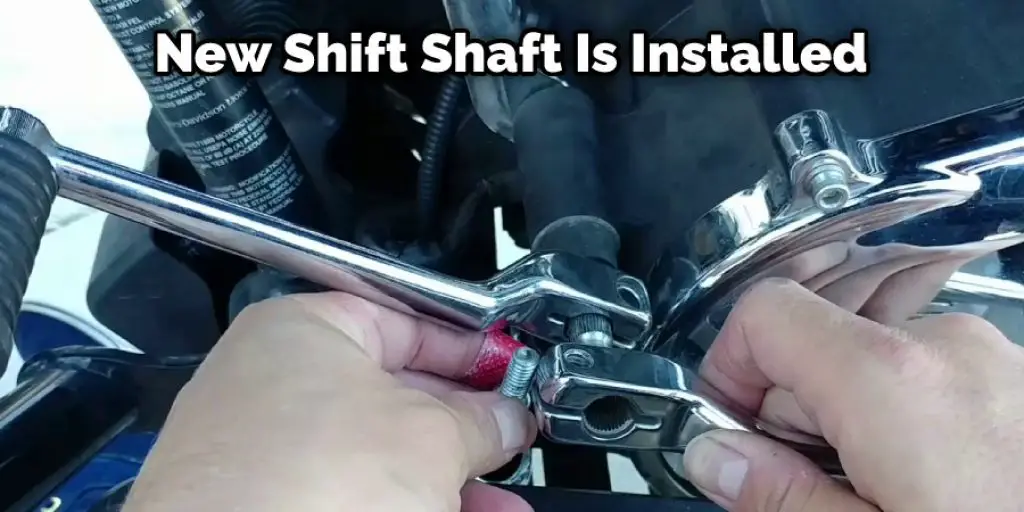
If you follow these tips, you should have no problem replacing the shift shaft on your dirt bike. However, if you want to know more about how to replace a shift shaft on a dirt bike, keep reading.
How Do You Change a Shaft Seal?
You’ll need a few tools and supplies to change a dirtbike shift shaft seal. First, you’ll need to remove the old seal. Next, use a rubber mallet to tap the seal until it pops out gently. Next, clean the area around the seal with a clean cloth. Then, apply a thin layer of grease to the area around the seal. This will help create a seal between the new seal and the metal shaft.
Finally, use a small screwdriver or other tools to press the new seal into place. Make sure that it is seated properly before reassembling the rest of the bike. You can easily change a dirtbike shift shaft seal with a little time and patience.
How Do You Fix a Shift Lever on A Dirt Bike?
Most dirt bikes have a shifter lever on the left handlebar to upshift and downshift through the gears. The shifter consists of the lever itself and the perch that it mounts to. The perch is held in place by two bolts, and the lever is attached to the perch with a pin. If your shifter is not working properly, one of these parts has likely come loose.
First, check that the perch is securely attached to the handlebar to fix a loose shifter. If it is loose, tighten the bolts that hold it in place. Next, check that the lever is secure on the perch. If it is loose, remove the pin and reinsert it through the lever and perch.
Once both parts are secure, test the shifter by sifting through all gears. If it still does not work properly, you may need to adjust the tension on the cable that runs from the shifter to the derailleur.
Frequently Asked Question
What Is a Countershaft Seal?
A countershaft seal is a part of the transmission that helps to keep the lubricating oil in and dirt and other contaminants out. It is a rubber or metal sealing ring between the countershaft and the transmission case.
What Is a Shift Shaft?
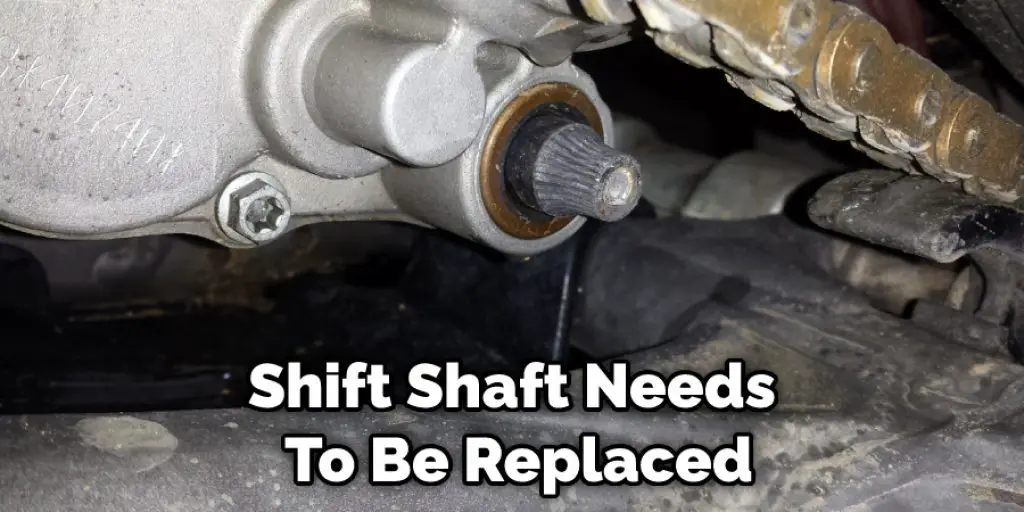
A shift shaft is a component of a dirt bike’s transmission responsible for shifting gears. Over time, the shift shaft can become worn or damaged, which can cause shifting problems. If you’re having shifting problems with your dirt bike, it’s possible that the shift shaft needs to be replaced.
What Is a Selector Shaft Seal?
A selector shaft seal is used in a manual transmission to keep the transmission fluid from leaking out. The selector shaft seal sits in between the input shaft and the selector shaft, and it helps keep the fluid inside the transmission while also preventing contaminants from getting in.
Where is the shifter on a dirt bike?
The shifter on a dirt bike is located on the left side of the bike, below the footpeg. It is a long, lever-shaped part that is used to shift gears. The shifter is connected to the shift shaft, which is located inside the engine. When the shifter is moved, it moves the shift shaft, which changes the gears in the transmission.
Conclusion
Replacing a shift shaft on your dirt bike is not as hard as it may seem. With the right tools and some patience, you can have your bike shifting like new in no time. Be sure to follow all the steps in this guide closely and take your time with each step to ensure a successful replacement.
Thanks for reading our post about how to replace a shift shaft on a dirt bike. Have any questions about the process? Drop us a line in the comments section below, and we’ll be happy to help out.


