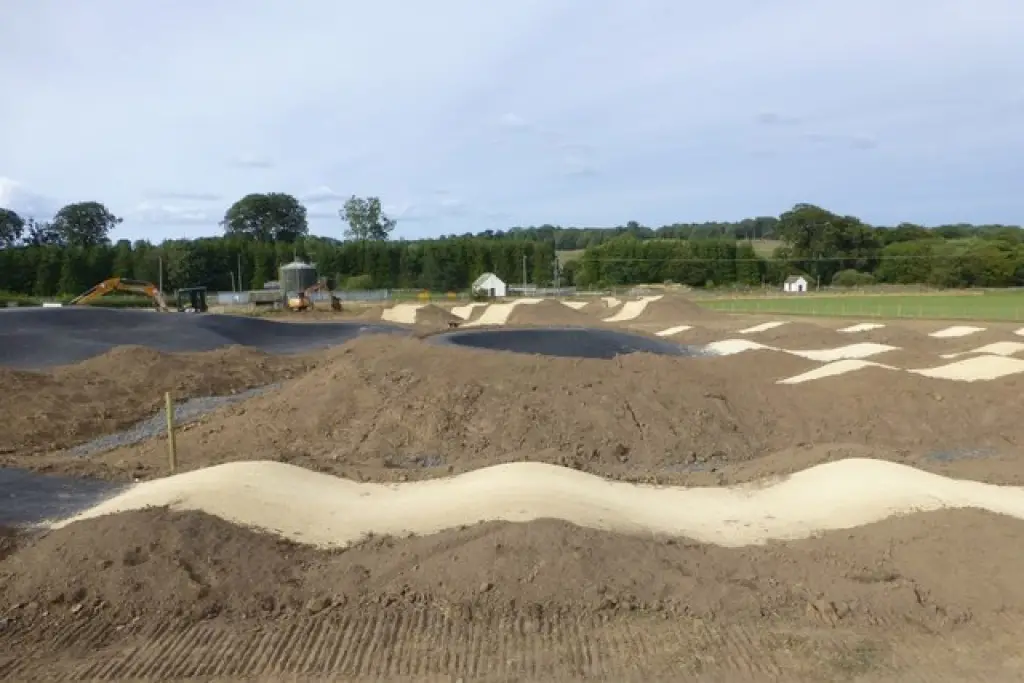
How to Draw a Dirt Bike Track
In this guide, we will give you step by step process on how to draw a dirt bike track. This is a very simple and easy tutorial that anyone can do. All you need are pencils or pens for drawing and paper for sketching the outline of your track. Follow these steps below and let’s get started!
Things You’ll Need
- Pencil
- Paper
- Eraser
- Colored pencils or markers
- Ruler
- Scissors
- Pencil sharpener
Step To Follow – How to Draw a Dirt Bike Track
This step-by-step guide will teach you how to draw a dirt bike track from scratch using only one sheet of blank paper! It’s not too hard; just follow these steps below:
Draw a Circle on Your Paper
The size of your circle is up to you, but it should be around 100 cm in diameter. This is the outline for your track, and it doesn’t have to be perfect.
Add another shape inside the original circle with an opening towards its bottom that’s just as wide as to how big you want your jumps – say, 35 cm long and 20-cm high (it can go up, though, depending on what kind of jump height you’re looking for).
In case you need help deciding if the space between these shapes is too small or too large, feel free to use some lines.
Draw a Line
Draw two lines that intersect at the center of your circle, going from one side to the other. These will be our sections for drawing in and shading each turn individually later on.
You can have as many or few sections as you want but make sure they are evenly spaced around the outside edge, which should help with these next steps down below when we start to fill them in with pencil shading.
Fill in Each Section
Now go back over each section you drew out earlier and put some black graphite marks inside it so there is an outline for where this particular turn begins and ends.
It’s up to you how dark or light you want these outlines; just keep in mind that this is a dirt bike track which means it is generally on the darker side of things.
Sketch Out Some Jumps (Optional)
If you want jumps, set them about halfway down the track so they don’t interfere with any turns. Be sure they are at least as high as where each turn starts because this could cause problems later on when we come back and fill in these sections for shading purposes.
Shade in Each Section
Now that you have an outline for where your turn begins and ends go back over it again with some graphite shading around the inside to really make these sections stand out from one another.
You can also start adding some lines or dots at random intervals along the outside edges if you’d like to give yourself something else to work off of when drawing your turns next time as well. Moving forward just keep adding more detail until all four (or however many) sections are looking awesome!
Sketch in the Details of Your Track
Sketch in trees, bushes, hills or any other details you want your scene to have. This will make it seem more real than just black pencil on white paper. Add shadows to add depth to the scene.
Create an Outline for Your Hills and Bumps
Draw a line for the bottom of your hills and bumps, then sketch in an outline. Add details and shadows to make it look more realistic. Keep in mind that hills are higher than bumps, so they will be taller when you draw them.
Add in the Finishing Touches to Your Track
Now that you have the outline of your course, it’s time to add in some finishing touches. Start by filling in those lines with a graphite pencil so they stand out against all the white space around them.
Then use an eraser to clean up any mistakes and erase everything else from outside of your track – this will give it more definition!
Add Textures or Shadows
When you are satisfied with your drawing, it is time to add some texture! You can achieve this by using an eraser on the paper and dragging it lightly over the area where there will be dirt.
When doing so, make sure that you have a firm grip on the pencil as well – if not, then those lines of the textured ground might start looking like they’re going off in different directions!
Draw in a Dirt Bike Course
Decide on the placement of your track. Draw it out with your pencil lightly, then go over it again and erase any unwanted lines to make sure you get everything right. You can also add hills or bumps inside this outline if desired.
When drawing the actual dirt bike path, be careful not to overlap onto other parts of the sketch we want each section distinct from one another so they stand apart when viewed together later!
Coloring Your Drawing (Optional)
Now, you can go ahead and color in your dirt to make it more detailed. You might want to use colors that correspond with the terrain – green over grassy areas of hills, brown for sandy parts of the track, or yellow if there are some rocks involved!
Set a Title for Your Drawing
It’s always a good idea to put some sort of title on your drawing. This way, if you draw similar pictures in the future, it will be easier to keep track of what they are and for people viewing them later.
Enhance With Arrows and Labels
Now that we have everything drawn out nice and neat, it would be helpful to add some extra details! For instance, adding road or trail markers so whoever is riding their bike can know where they’re going.
Arrows leading off into different directions could also help give riders an indication as to where best to go next. It might even make sense at this point to label each part of the dirt path – such as ‘hill,’ ‘turn,’ etc.
Bonus Tips & Tricks To Make Your Dirt Bike Track
- Include a gradual slope for your dirt bike track.
- Be sure to include some bumps and jumps in the right places as well!
- Keep it simple with only one line of obstacles (like gates) if you’re not an artist. You can always add more later on as you improve your skills, so take this time to practice drawing lines and curves that will help make up various shapes.
- Practice making hills by alternating between short, quick lines and longer ones.
- Don’t forget to include a start/finish line!
- In addition to drawing your dirt bike track in pencil first, you should also sketch it out with a pen on paper for accuracy before scanning or photograph. Just make sure that the physical map is large enough so all of the details will show up once scanned or photographed – we recommend 11×14 if possible.
- You can then print this off and use it as a template for creating tracks online using paint programs like MS Paint, Photoshop, GIMP (free), etc.
- When editing printed maps digitally, later on, be sure not to erase any pencil marks when tracing them onto digital canvas because these are what keep everything accurate where the tracks are.
- When finishing up your track, be sure to include a start/finish line!

Frequently Asked Question
Is It Hard to Draw a Dirt Bike Track?
Many people have attempted to draw a dirt bike track before and found it difficult. It is not as hard as you may think if you are willing to put in the time and effort, but it does take patience.
How Can I Make My Drawing of a Dirt Bike Track Stand Out?
You can make your drawing stand out by using different colors, shading techniques, and shapes to create contrast.
What Is the Best Way to Draw a Dirt Bike Track?
The best way to draw a dirt bike track is to use an actual outline of what you want it to look like or take reference images from Google Images so that you know what you are drawing.
How Long Does It Take to Draw a Dirt Bike Track?
It takes about three hours for someone with some experience in the art of sketching and drawing to complete an outline sketch of a dirt bike track, but this time length will vary depending on how detailed one wants their final product to be.
Can I Draw Dirt Bike Track Digitally?
Yes! You can use a number of different programs to create digital images. Programs include Adobe Photoshop, Sketchbook Pro, and Manga Studio.
How Do I Export a Digital Drawing Into a Vector Format?
You can use programs such as Inkscape to convert the image you want to vectorize. ImageMagic is another program that allows for exporting images into vectors. There are many other software packages that may be used depending on the user’s skill level in vector graphics.
Conclusion
Dirt bike tracks are a great way to get outside and enjoy the outdoors. You can now draw a dirt bike track with ease thanks to this guide: how to draw a dirt bike track.
Now you can get the perfect dirt bike track for your kids or yourself! Draw a line and watch as it magically becomes a fun, exhilarating experience that’s easy enough for anyone to do at home!
You may read also – How Old Do You Have to Be to Drive a Dirt Bike?
Darren Matlock
Hi, I'm Darren. I love dirt bikes and everything about the off-road lifestyle. I'm passionate about motorbikes, cars, racing sports and going on adventures. If you're like me and enjoy extreme sports, you've come to the right place! I like to write articles about dirt bikes to help beginners get started. Whether you're interested in buying a dirt bike, ATV, motorcycle or want to ride for hobby, I hope my articles will inspire you to learn more about how this machine can be used to ride.