How to Setup Dirt Bike Suspension for Enduro
Introduction
Enduro bikes are a type of mountain bike designed for off-road use. Sometimes these bikes are also used for road riding. Enduro is characterized by long climbs and descents, usually with sections of trail between the two, making it different from cross-country cycling. The most noticeable difference in enduro racing vs. other types of mountain biking is that there are no time restrictions on how long one must ride to complete an event.
This means that riders can take their time going up hills; they’re not rushed so much as they need to make it under a certain amount of time before the next section starts. The riding style of individuals is highly dependent on various aspects of the bike Motorcycle suspensions are always an indispensable part of enduro bikes. For this reason, today, I will discuss how to setup dirt bike suspension for enduro bikes.
Importance of Dirt Bike Suspension
Dirt bike suspension is something every dirt rider should know. This could save you time and money in the long run. It can be frustrating to ride a dirt bike when you constantly worry about whether your dirt bike will make it over that obstacle or not, especially if you are alone on an off-road trail. Stock suspension also help balance the bike properly.
Dirt bikes use a system of springs and shock absorbers, sometimes referred to as travel adjusters or shocked. These springs and/or shocks allow riders to fine-tune their dirt bikes for different riding conditions. Suspension designs also increases the efficiency of the bike.
Importance of Rear Shock in Enduro Bikes
Enduro bikes are considered to be the extreme version of off-road bikes. Unlike motocross bikes, they have a higher suspension journey and longer wheelbase than their racing counterpart. These features allow them to take on rough terrain and obstacles without any problem whatsoever.
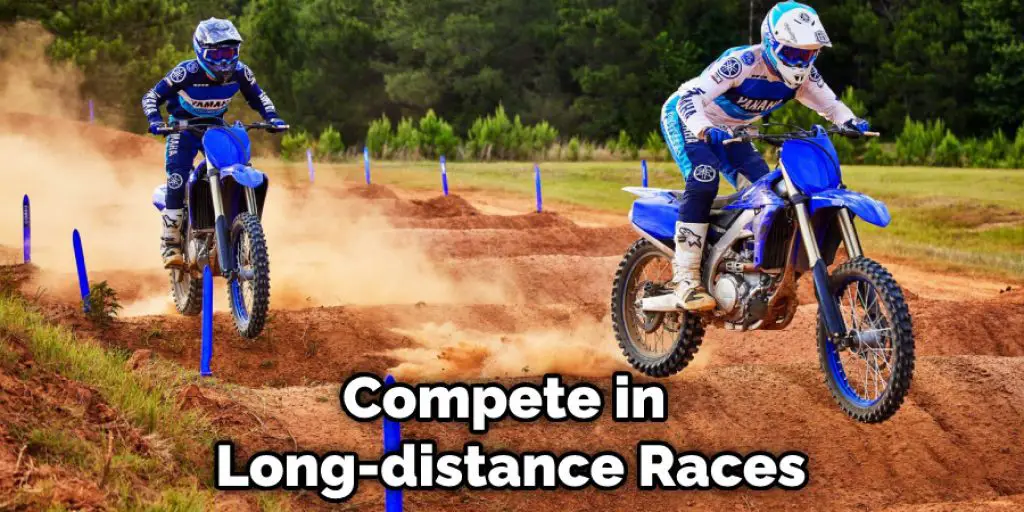
Enduro riders usually compete in long-distance races that require them to ride over rugged terrains for hours at a time. Consequently, they demand more performance from their dirt bike suspension as it must keep up with extended abuse and powerful braking maneuvers required in these competitions.
Key Features of Rear Shock:
Rear shock should provide optimum shock absorber action when riding over varied enduro terrains. For this reason, they must possess certain characteristics like rebound adjustability, supple traction, bottoming resistance, and performance in different riding conditions. Rear shocks are generally made out of either aluminum or steel.
Rear shock of dirt bikes serve two purposes:
to stabilize the bike and absorb impacts caused by uneven terrain. In addition, rear shocks should have a high compression and extension speed capability for better bottoming control. It is also suggested to choose one with preload adjustability, adjustable high/low-speed compression damping, selectable adjustment range, hydraulic bottom-out control, rebound adjustability, and external reservoir tanks.
Rear Shock Installation:
During shock installation, ensure that its preload setting is right for your weight; otherwise, you risk having an unstable rear suspension when riding on rough surfaces.
A Process on How to Setup Dirt Bike Suspension for Enduro
With enduro becoming such a popular discipline in motorcycle racing, it helps to have a little information on how to setup dirt bike suspension for enduro. Though it also depends on who you talk to regarding how they set up their suspension kits, this is what has personally worked best for me over the years.
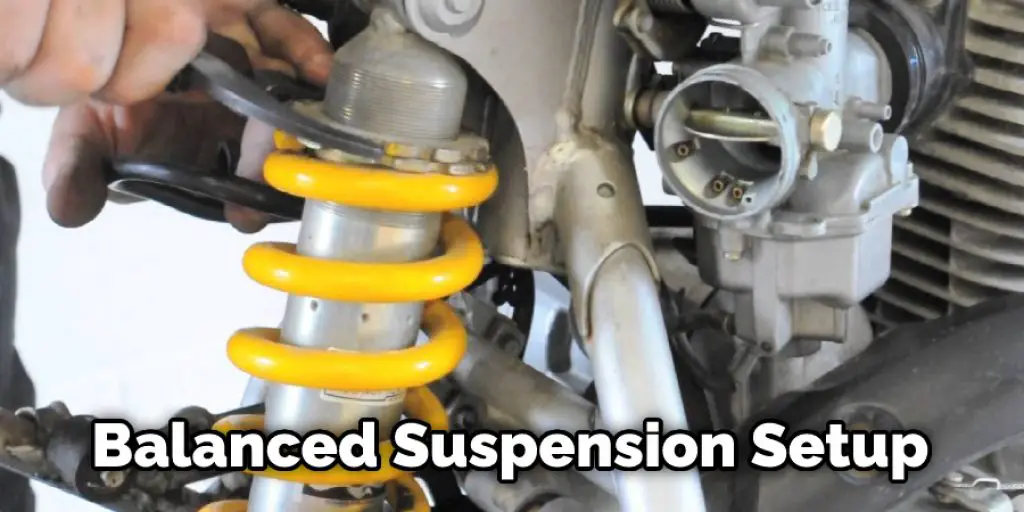
If your bike doesn’t already have them, install a set of scales. These are extremely helpful in analyzing how well the suspension is working and where weight needs to be redistributed on your bike. A balanced suspension setup will help the rider immensely.
Center of Gravity Height/Location
Locate this by having someone hold you while you get on the motorcycle or take measurements off the machine. When using a measuring tape, measure from the fork crown to wherever it meets with the rear slider rail (this varies depending on what brand suspension kit you have installed).
Weight / Balance
Weigh yourself and distribute your weight evenly over both feet upon standing next to the motorcycle. While riding, weigh the foot on the peg as hard as you can while keeping your weight shifted over onto your other side. Repeat this with the same force and shift of weight from both sides of the motorcycle until you feel confident enough about finding out what works best for you.
Vertical Sag
Use one hand to hold up the bottom half of your bike by grabbing onto either side of the fork slider or top triple clamp. Then, use a scale to measure how much sag/weight is in this position. Subtract 10% (this will be used later).
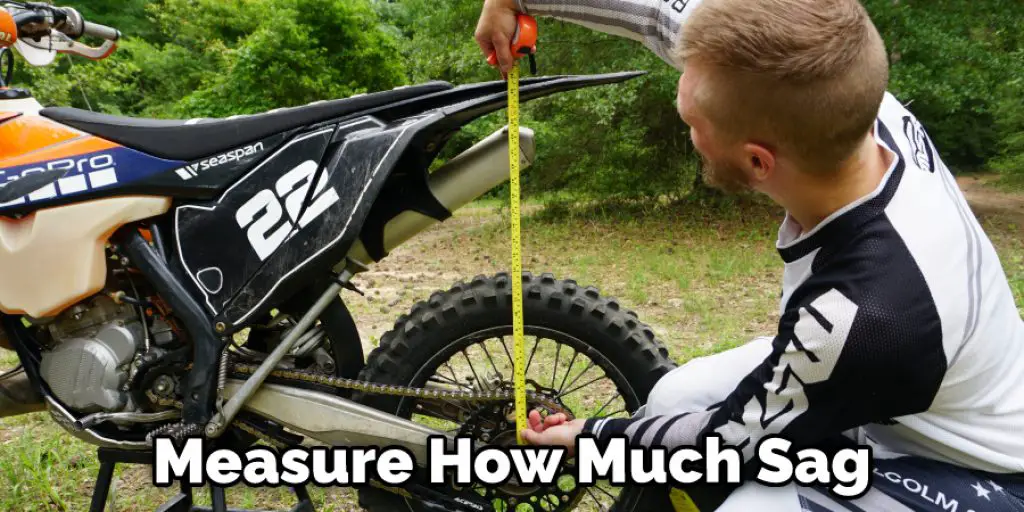
Working Sag
Stand next to your motorcycle, holding it upright with both hands underneath where they would normally grab onto the handlebars. Measure how much sag there is for this position using a scale. Then, subtract from working sag the same percentage that you subtracted from your vertical sag to determine what is needed for your bike’s suspension setup.
Suspension Travel
Measure how much travel is available in both compression and rebound with this setup. Remember that as you add weight to your motorcycle, it will decrease overall travel (i.e., more weight = less travel). You should also check for the correct spring rate.
Adjustments
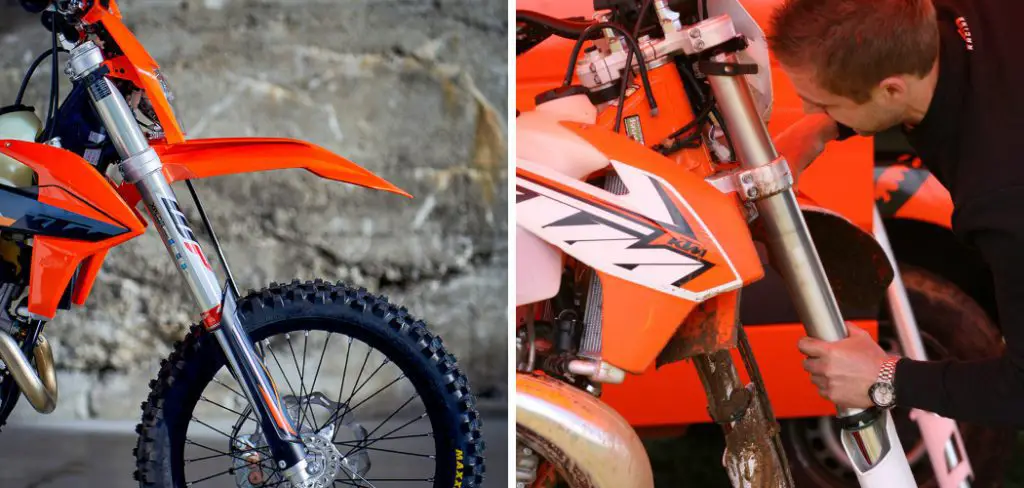
Fork Leg / Shock:
You must have a good eye for the suspension forks. For any help adjusting the suspension forks, you should take help from the professionals.
Sag
Increase/decrease based on 5%. For example, if I measured 25% sag for my vertical setting, then increase or decrease it by 2.5%. If having too much sag, reduce the amount of preload applied to the spring rate and locate a more suitable setting.
Compression
Increase/decrease using the preload adjusters on your forks or shock. I have found that for enduro racing, too much compression is detrimental not only to my riding style but also to the longevity of my fork valving and components.
Preload
Adjust compression in 5% increments by adding or subtracting from the amount of preload (spring tension) applied to your fork or shock spring. Remember that you will be slightly changing your suspension travel with each adjustment based on how far off center it is when adjusted. Do not make more than 2 adjustments to this if possible (it takes time for these changes to set in fully, and many racers do not have this luxury).
Things to Consider While Learning How to Setup Dirt Bike Suspension for Endure
When adjusting dirt bike suspension for off-road conditions, there are two things we need to consider: Sag and Compression Damping. These are very important for a balanced suspension setup.
Sag:
Sag is the amount of travel that your dirt bike has in its suspension. When it comes to dirt bike suspension, too much or too little sag can drastically affect how well you can ride over obstacles on dirt trails.
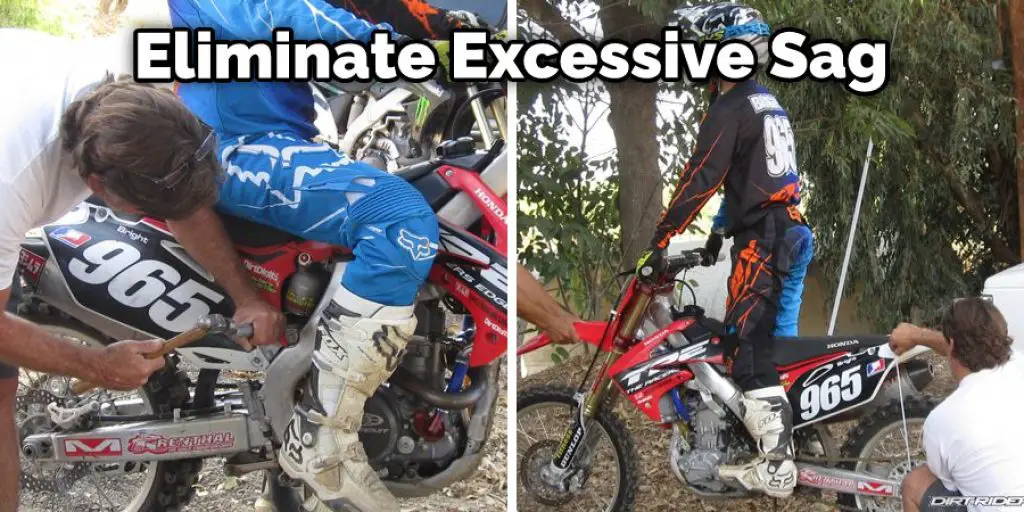
Eliminating Sag:
To eliminate excessive sag, the first thing we need to do is take a look at the spring and see how much tension there really is on the spring. If you have used the dirt bike in the past and then find that the spring has lost a lot of tension, dirt bikes springs are relatively easy to adjust.
First, remove the small bolt on top of the dirt bike fork and then slide off the dirt bike damper. Replace them with working parts from another dirt bike if need be. Now, loosen up the bottom bolt a little bit at a time until your dirt bikes sag is where you want it to be; this should eliminate excessive sag in your dirt bike suspension system.
Compression Damping:
Compression Damping is how dirt bike suspension works with the springs to absorb impacts. Suspension damping is adjusted by turning your dirt bikes knob on top of the dirt bike fork. The way that compression damping works is that as you are riding over bumps in the dirt, the dirt bike’s spring will compress, and then it will be pushed down by an oil shock absorber, which gives a cushioned feeling while you ride.
Choosing settings for compression damping can take some time and might require you to do some experimenting. Like with sag adjusting your dirt bike suspension can really help eliminate any unwanted bounciness in your dirtbike.
Difference Between Trail Bike Suspension and Dirt Bike Suspension
There are several key differences between trail bike suspension and dirt bike suspension, but the biggest one is what you will be riding your motorcycle on. Most dirt bikes are made for off-road use, while most street bikes can handle both on or off-road conditions.
You can ride a trail bike almost anywhere to drive or park a vehicle like parking lots, fire trails, forest roads, etc. Dirt bikes, however, should not be ridden in city areas at all as they do not have mechanisms within them to keep them from getting damaged if an obstacle were to make contact with the wheels and much more likely to get damaged due to how hard you will be pushing yourself down the trail when riding compared to a rider that is just out for the day cruising.
In terms of suspension, trail bikes will have more travel, often between 12-16 inches, while dirt bikes are usually around 8-10 inches, is to keep the front end from sinking too low when riding through deep mud and water where there may be hidden rocks/roots/stumps that could come through the soft surface you will be sitting on as well as the need for much better control over whoops that you in your local races would encounter. Stock suspension of both of these bikes are high quality.
The rear suspension units of each bike also differ, with a majority of dirt bikes having single shock setups instead of a dual shock setup like most trail bikes which are normally either inverted or forward-mounted shocks. The main difference here is that there will only be one spring on a dirt bike adjusted differently to suit the weight and riding you are doing. For an average rider it is also essential to have proper knowledge about suspensions.
Considerations for Dirt Bikes on Muddy Conditions
1. Tire Choice
With the recent advances in tire technology, modern tires are made to excel in various conditions. Different types of tires will perform better than others for specific styles of riding and track conditions. If you want to get into enduro racing, you may want to consider changing your front and rear tire combo.
We recommend using a radially played rear tire (on the back wheel) while keeping an aggressive tread on the front wheel (the bike must be able to cut through the mud after all). Using dual-compound rubber is also good for muddy conditions.
It provides two different rubber compounds that interact differently when wet or dry so that one does not wear out before the other does. Motorcross suspensions are highly dependent on the tire category.
2. Pressure
In general, the lower the pressure you can run, the better. Remember, when descending off of a jump or into a corner, it is best to get your weight forward and compress the suspension as much as possible so you do not bottom out on an obstacle. If you have too much air in your tire while doing this, then all of that force will be transferred back onto your frame and not absorbed by the bump stop giving you a harsh impact on landing.
3.Stiffer Suspension
The stiffer your suspension, the better it will respond to sharp bumps on landing from jumps. This is extremely important for fast technical terrain as you do not want your suspension soaking up all of the small impacts that occur in these situations. In addition, the stiffer your suspension is, the more energy you can transfer to rotating your bike back upright with less loss of speed and control.

4.Lighter Components
It’s always good to reduce weight where possible because it does make a difference in how the bike feels and performs on the track or trail. However, lighter components also tend to be higher quality, so you may end up paying more but gaining performance from these lighter, higher quality parts down the road. you should also keep an eye for the spring preload.
5. Low-Speed Rebound Adjuster
Some low-speed rebound adjuster have a whole thread of their own, and they’re an important aspect of the bike’s suspension. Technically low-speed rebound is the action that occurs as you travel slowly through deep bumps or compressions, which typically happens in high-speed situations when hitting jumps or drops or even trail features like roots and rocks.
You Can Check It Out to Winterize a Dirt Bike
Conclusion
Lastly, I hope the aforementioned information will help you learn how to setup dirt bike suspension for Enduro bikes. Ensure the steps properly. This will surely help you win any enduro race. For heavier riders and motocross riders having a well-balanced suspension is imperative. This will also complement your style of riding Thank you, and have a good day.
Darren Matlock
Hi, I'm Darren. I love dirt bikes and everything about the off-road lifestyle. I'm passionate about motorbikes, cars, racing sports and going on adventures. If you're like me and enjoy extreme sports, you've come to the right place! I like to write articles about dirt bikes to help beginners get started. Whether you're interested in buying a dirt bike, ATV, motorcycle or want to ride for hobby, I hope my articles will inspire you to learn more about how this machine can be used to ride.