How to Paint a Dirt Bike Helmet
If you want to give your dirt bike helmet a new look, you can paint it. This is a great way to customize your helmet and make it unique. You need to follow several steps to paint a dirt bike helmet successfully.
In this article, we will provide you with information on how to paint a dirt bike helmet. By following these tips, you can create a fantastic paint job on your dirt bike helmet. Let’s get started!
Helmets are made of different materials these days, so you must choose the right type of paint for your helmet. We recommend using acrylic paint, specifically designed for use on plastics. You can find this type of paint at most hardware stores. In addition to the paint, you will also need some other supplies. These include painter’s tape, newspaper, and fine-grit sandpaper. Make sure that you have everything that you need before you begin painting.
Supplies You’ll Need
- Dirt bike helmet
- Masking tape
- Newspaper or drop cloth
- Fine-grit sandpaper
- Primer made for plastic
- Painters Tape
- Paint made for plastic
- Clearcoat paint
- Disposable gloves
A Stepwise Guide on How to Paint a Dirt Bike Helmet
Step 1: Determine the Material of the Helmet
The majority of dirt bike helmets are made out of thermoplastic or fiberglass. Look for the ASTM sticker to know what kind of helmet you have. This will be located on the back or bottom of the helmet. The American Society for Testing and Materials has different standards for each type of material.
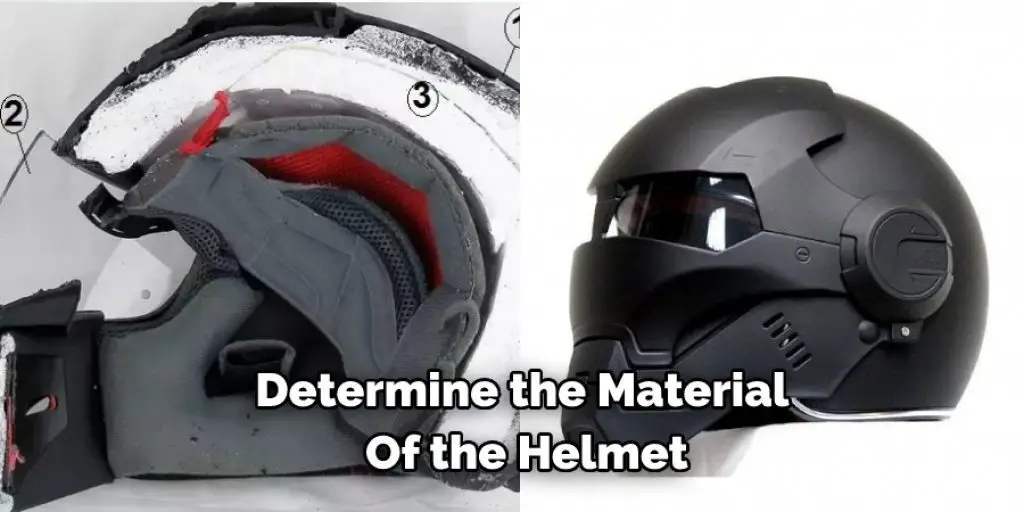
If your helmet is made out of thermoplastic, you can use any paint designed for plastic surfaces. If your helmet is made out of fiberglass, you’ll need to use paint specifically made for that material. You can find this type of paint at most hardware stores. Ensure that you cover all of the vents and openings on the helmet so that paint doesn’t get inside them.
Step 2: Clean the Helmet
You will need to clean the helmet before you start painting it. This will help the paint adhere to the surface better and give you a more even finish. Use mild soap and water to clean the helmet. You can also use a degreaser if any build-up on the helmet. Rinse the helmet off with water and let it dry completely before you begin painting.
Step 3: Design Your Paintjob
You need to decide what kind of design you want to paint on your helmet. You can either freehand the design or use stencils. If you freehand the design, use a pencil to sketch it out on the helmet first. This will help you to get the proportions right. Using stencils, tape them down onto the helmet with masking tape.
Step 4: Tape Off the Areas That You Don’t Want Painting Using the Painters Tape
Now that you have your design sketched out or your stencils in place, it’s time to start painting. But first, you need to tape off the areas you don’t want to be painted. Use the painter’s tape to create a border around the design. This will help keep the paint from bleeding onto other areas of the helmet.
Step 5: Prime the Helmet
Once you have the area taped off, you can start priming the helmet. Primer will help the paint adhere to the surface better and give you a more even finish. Use a primer made specifically for plastic covers. Apply a thin layer of primer over the entire area you’re going to be painting. Let the primer dry completely before you start painting.
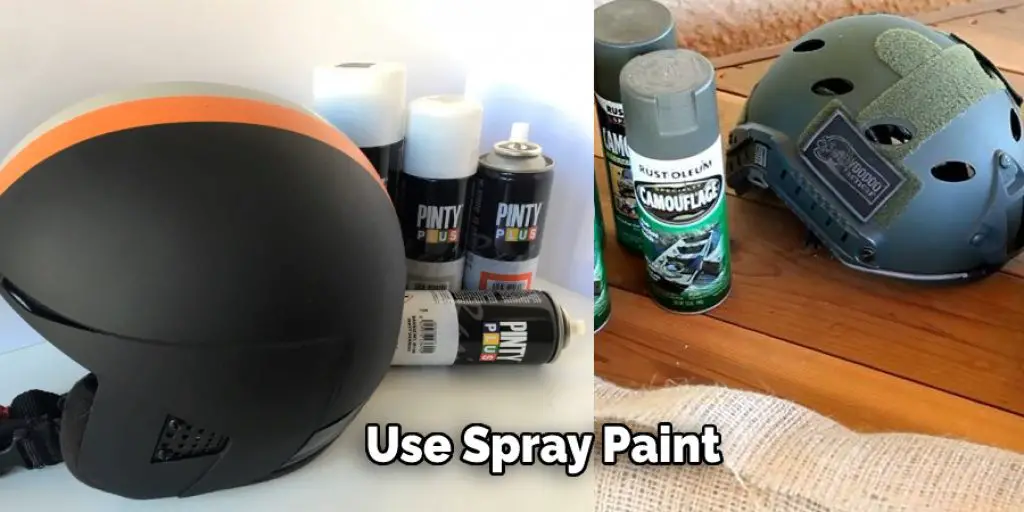
Step 6: Paint the Helmet
Now you can start painting the helmet. Use paint made specifically for plastic surfaces. Apply a thin layer of paint over the entire area you’re painting. Let the paint dry completely before you apply another coat. Repeat this process until you have the desired coverage.
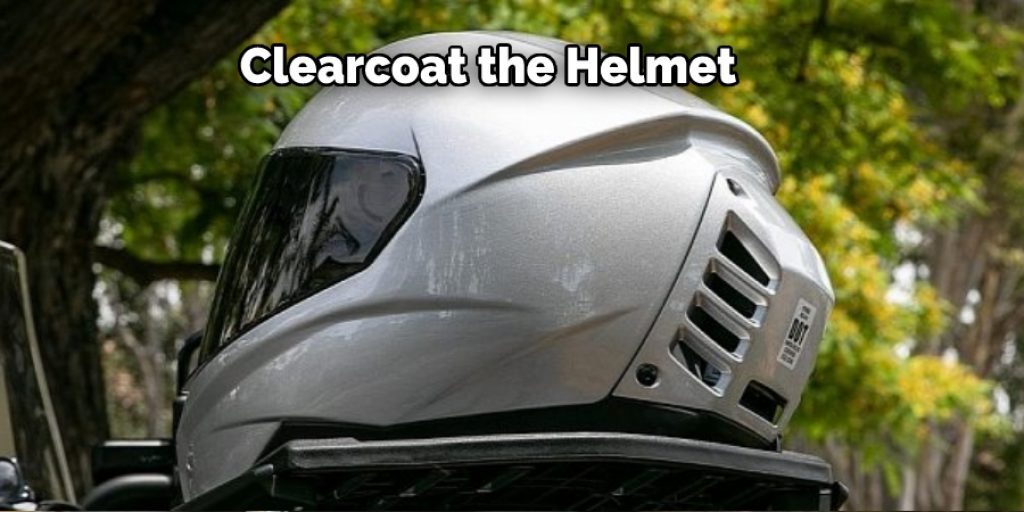
Step 7: Clearcoat the Helmet
Once you’re happy with the paint job, you can apply a clear coat to protect it. Clearcoat will also give the paint a glossy finish. Use a clearcoat explicitly made for plastic surfaces. Apply a thin layer of clear coat over the entire area you painted. Let the clearcoat dry completely before you use the helmet.

Step 8: Let the Helmet Dry for 24 Hours Before Removing the Painter’s Tape
Let the paint dry for at least 24 hours before removing the painter’s tape. This will ensure that the paint is fully cured and will not be damaged when the tape is removed. If you are in a hurry, you can use a hairdryer to speed up the drying process. Just be sure not to hold the hairdryer too close to the helmet, or you could damage the paint.
Once the paint has dried, carefully remove the painter’s tape from around the edges of the design. If any color comes off with the tape, you can touch up those areas with a small brush. Allow the touch-ups to dry for 24 hours before proceeding to the next step.
Step 9: Enjoy Your New Paintjob!
Now you have a beautiful new paint job on your helmet! Be sure to show it off the next time you hit the trails. And don’t forget to take care of your helmet to last for years to come.
With these simple steps, you’ll be able to give your dirt bike helmet a whole new look! Remember to use paint made specifically for the type of material your helmet is made out of. And be sure to let the paint dry completely before removing the painter’s tape. With a bit of effort, you can create a one-of-a-kind design that will make your helmet stand out from the rest. These steps will help in how to paint a dirt bike helmet.
You Can Check It Out To Do Dirt Bike Helmets Have Visors
Tips and Warnings
Tips:
- Always start with a clean helmet. Any dirt, grease, or grime will prevent the paint from properly adhering to the surface.
- If you’re painting over an existing paint job, make sure to sand the surface first to rough it up and provide a good key for the new paint.
- When choosing your paint, make sure to get something specifically designed for use on plastics. For example, regular enamel or lacquer paints won’t bond well and will flake off easily.
- Apply several thin coats of paint rather than one thick coat. This will help prevent runs and sagging.
- Once the final coat of paint is dry, you can clear coat it for extra protection. Just make sure to use a clearcoat designed for use over plastic.
Warnings:
- Be sure to wear proper respiratory protection when painting, especially if you’re using spray paint.
- Make sure to work in a well-ventilated area.
- Take your time and be patient! A rushed job will likely not turn out well.
How Do You Prepare a Helmet for Painting?
Before painting a helmet, it is essential to take the time to prepare the surface properly. This will ensure that the paint adheres properly and creates a smooth, even finish. The first step is to remove any existing paint or primer from the helmet. This can be done with a paint stripper or sandpaper.
Next, the helmet should be cleaned with soap and water to remove dirt or grime.
Once the helmet is clean and dry, it is time to apply primer. Primer provides a smooth surface for the paint to adhere to and also helps to prevent rusting.
After the primer has dried, the helmet is finally ready to be painted. When painting, it is essential to use several thin coats of paint rather than one thick coat. This will help to prevent runs and ensure a smooth, even finish. Once the paint has dried, the helmet is ready to be worn!
What Kind of Paint Do You Use on a Helmet?
There are a few factors to consider when choosing paint for a helmet. First, you need to decide what type of paint you want to use. There are water-based and oil-based paints, and each has its advantages and disadvantages.
Water-based paint is easier to clean up and is less likely to damage the helmet, but it isn’t as durable as oil-based paint. Oil-based paint will provide a more durable finish, but it is more challenging to work with and can damage the helmet if not used correctly.
Once you’ve decided on the type of paint, you need to choose a color. For example, if you’re painting a white helmet, you can use any color of paint you want. However, if you’re painting a colored helmet, you’ll need to use paint compatible with the helmet’s material. For example, if you’re painting a carbon fiber helmet, you’ll need to use paint designed for carbon fiber use.
If you’re unsure what type of paint to use or what color to choose, you can always consult with a professional. A professional painter will be able to help you select the right paint and color for your helmet and ensure that it is applied correctly.
Now that you know what kind of paint to use, it’s time to start painting!
Conclusion
If you want to paint your dirt bike helmet, we’ve got the perfect guide. In this article, we outlined how to paint a dirt bike helmet, from preparing the surface to adding the final touches. So whether you’re looking to give your helmet a new look or want to customize it for a special event, read on and let us show you how it’s done!
You can check it out to Polish Aluminum Bike Frame
Darren Matlock
Hi, I'm Darren. I love dirt bikes and everything about the off-road lifestyle. I'm passionate about motorbikes, cars, racing sports and going on adventures. If you're like me and enjoy extreme sports, you've come to the right place! I like to write articles about dirt bikes to help beginners get started. Whether you're interested in buying a dirt bike, ATV, motorcycle or want to ride for hobby, I hope my articles will inspire you to learn more about how this machine can be used to ride.