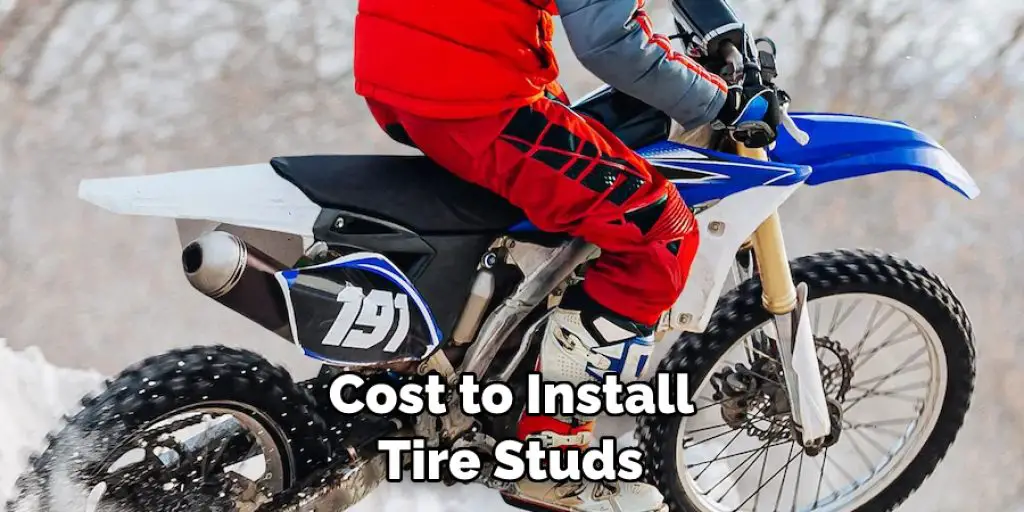
How to Install Tire Studs
Installing tire studs is a great way to improve your traction on icy or snowy roads. While they can be a bit of a hassle to install, they’re well worth it for their added safety and security. This article will show you how to install tire studs on your car. We’ll also give you some tips on choosing the right type of studs for your needs. So read on to learn more!
What Causes Tires to Slip on Ice?
There are a few different reasons why your tires may slip on ice. The most common reason is simply that your tires don’t have enough traction. This can be caused by several factors, including worn-out tread, improper inflation, or the wrong type of tires for the conditions. Another common reason for slipping is that your vehicle’s weight is not evenly distributed. This can be caused by things like carrying too much cargo or having too many passengers.
Additionally, if your vehicle is not properly maintained, it may have build-up on the undercarriage that can cause it to slip. The other main reason tires slip on ice is the road itself icy. This can be caused by several things, including poor weather conditions or a lack of pavement maintenance. Lastly, your tires may slip if they are not the right size for your vehicle. This is most common with off-road vehicles or those with very large tires.
Why Are Tire Studs Important?
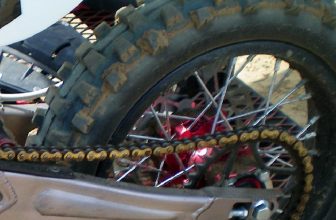
Tire studs are important because they provide extra traction on icy or snowy roads. They are typically made from metal or carbide and are installed in the tread of your tires. They can greatly improve your traction, especially when starting from a stop or turning. This can help you avoid accidents and, in some cases, even get out of a sticky situation.
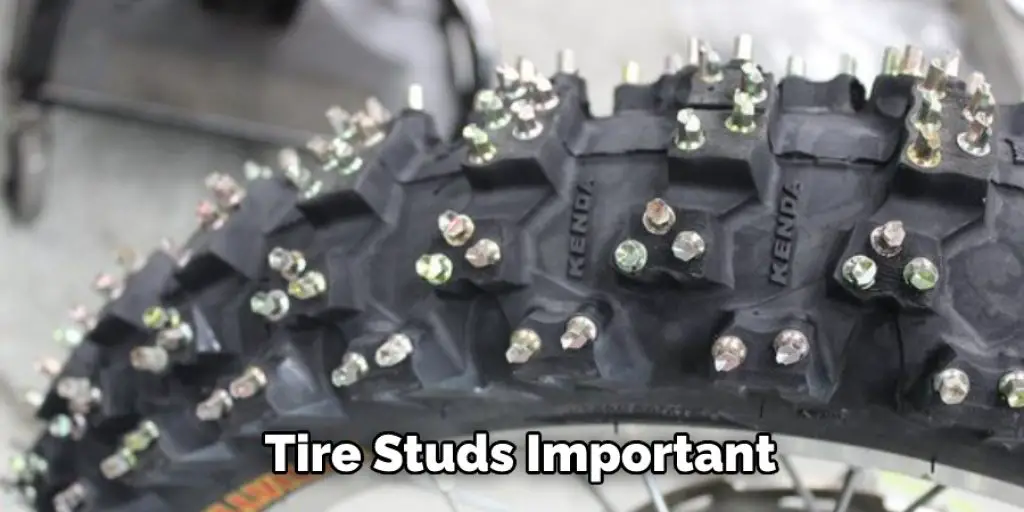
Another benefit of tire studs is that they help to clear the snow from your tires. This can improve your traction even further and help you avoid getting stuck. They also help to protect your tires from wear and tear, which can extend their lifespan. Finally, tire studs can add a bit of style to your ride. They’re a great way to do it if you’re looking to add a bit of personality to your vehicle.
Types of Tire Studs
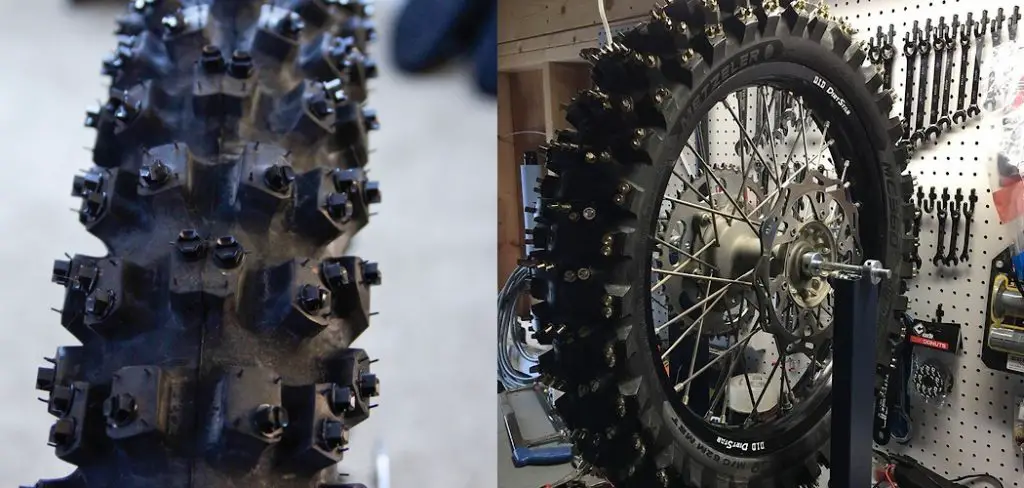
There are a few different types of tire studs to choose from. The most common are metal studs, which are typically made from steel or carbide. These studs are very strong and provide good traction. They’re also the most affordable option. Carbide studs are a bit more expensive but offer even better traction. They’re also less likely to break or fall out.
If you’re looking for the best traction possible, you may want to consider studded tires. These are tires that have the studs already installed. They’re more expensive than regular tires but offer the best traction on icy or snowy roads.
Step by Step How to Install Tire Studs:
1. Gather the Tools
You’ll first need to gather the tools needed to install the studs. This includes a drill, a stud installation tool, and a torque wrench. You’ll also need a clean work space and a few rags. Gather all of your materials before you begin to avoid having to stop in the middle of the job.
2. Park Your Vehicle
Next, you’ll need to find a level place to park your vehicle. You don’t want it to be too high off the ground, as you’ll be working underneath it. You should also make sure there’s plenty of room around the vehicle so that you can move around freely. Once you’ve found a good spot, engage the parking brake and put your vehicle in park. Avoid working on a hill, as this could be dangerous.
2. Remove the Wheel
The next step is to remove the wheel from your vehicle. You’ll need to do this so that you can access the tread. To do this, first, loosen the lug nuts with a wrench. Then, jack up the car and remove the wheel. Before you begin, place it on a clean, level surface. If you’re uncomfortable doing this, you can take it to a mechanic or tire shop.
3. Clean the Surface
Now that you have access to the tread, you’ll need to clean it. This will help the studs adhere better and ensure a stronger hold. You can do this with a rag and some rubbing alcohol. First, remove any dirt or debris from the surface. Then, wet a rag with rubbing alcohol and wipe down the tread. Allow it to dry completely before moving on. Make sure to get rid of any grease, oil, or dirt that may be on the surface.

4. Measure the Tread
Now, you’ll need to measure the tread so that you know where to install the studs. To do this, find the center of the tire and make a mark. Then, measure out from that mark to find the outermost edge of the tire. Once you know the edge, you can start measuring the tread. You’ll want to make sure that the studs are evenly spaced out. Typically, they’re installed every half-inch or so.
5. Place the Studs
Once you know where to place the studs, it’s time to start installing them. To do this, you’ll need to use the stud installation tool. This tool will help to ensure that the studs are installed correctly. First, place the tool over the area where you want to install the stud. Then push down on the handle to drive the stud into place. Repeat this process until all of the studs are in place.
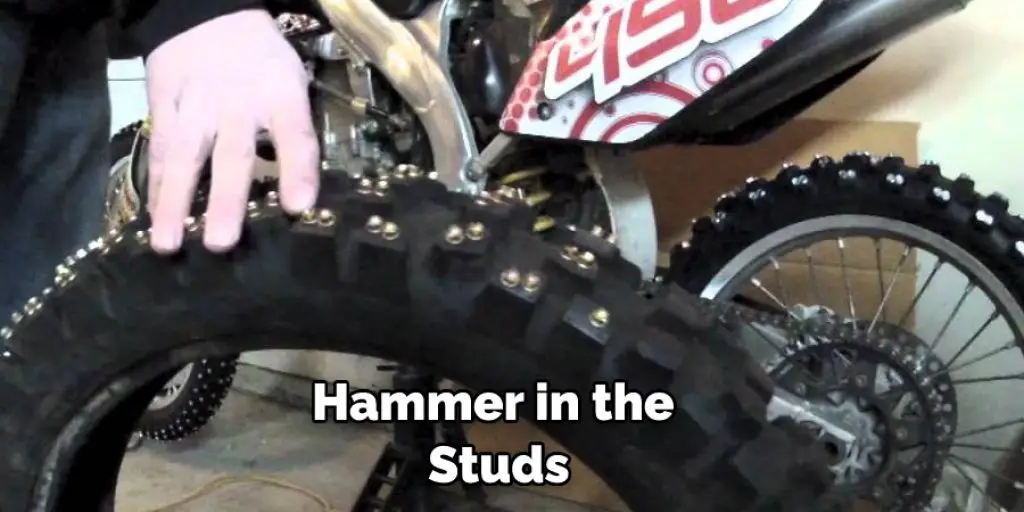
6. Hammer in the Studs
If you don’t have a stud installation tool, you can hammer the studs into place. Hammering them in by hand can be more difficult, so you’ll need to be careful. First, place the stud over the area where you want to install it. Then, take a small hammer and tap the stud until it’s flush with the tire surface. Be careful not to hit the stud too hard, or you could damage it.
7. Check the Depth
Once you’ve installed all of the studs, you’ll need to check the depth. This is important because you don’t want the studs to be too high or too low. If they’re too high, they could come out of the tire when you’re driving. If they’re too low, they may not provide sufficient traction. To check the depth, use a depth gauge or a ruler. The studs should be flush with the tire’s surface or slightly recessed.
8. Trim the Studs
If the studs are too long, you’ll need to trim them. It’s important to ensure they’re the correct length, so they don’t protrude from the tire. To trim the studs, use a stud trimmer or a sharp knife. First, find the spot where you want to trim the stud. Then, cut it off at that point. Repeat this process until all of the studs are the correct length. If necessary, you can file down any sharp edges.
9. Torque the Lug Nuts
Now, it’s time to put the wheel back on and torque the lug nuts. To do this, first, place the wheel back on and thread the lug nuts by hand. Then, use a torque wrench to tighten the nuts. Be sure to follow the manufacturer’s instructions, so you don’t damage the studs. Once the lug nuts are tight, double-check them to make sure they’re secure.
10. Test the Studs
Before you put the car back on the ground, it’s a good idea to test the studs. To do this, spin the tire and see if it catches on anything. If it does, you’ll need to adjust the studs. If not, you’re all set. Try driving around on different surfaces to see how the studs perform.
11. Inspect the Studs
Inspecting the studs is important to ensure they’re in good condition. Look for any studs that are missing or damaged. If you find any, you’ll need to replace them. Please inspect the condition of the studs after each use to ensure they’re still in good condition.
How Much Does it Cost to Install Tire Studs?
The cost of installing tire studs can vary depending on a few factors. First, the type of stud you choose will affect the price. Second, the labor cost will vary depending on the shop you take your car to. Third, the number of studs you need will also affect the price. Typically, you can expect to pay between $50 and $100 to install tire studs. Of course, if you’re doing it yourself, the cost will be lower.
Conclusion
So there you have it, a complete guide on how to install tire studs. Follow these steps, and you’ll be sure to do it correctly. Remember that you’ll need to regularly inspect the studs to ensure they’re in good condition. With proper care, your studded tires will last for many winters to come.
We hope this guide was helpful. If you have any questions, feel free to leave a comment below. Happy studding!
Darren Matlock
Hi, I'm Darren. I love dirt bikes and everything about the off-road lifestyle. I'm passionate about motorbikes, cars, racing sports and going on adventures. If you're like me and enjoy extreme sports, you've come to the right place! I like to write articles about dirt bikes to help beginners get started. Whether you're interested in buying a dirt bike, ATV, motorcycle or want to ride for hobby, I hope my articles will inspire you to learn more about how this machine can be used to ride.