How to Cerakote Dirt Bike Parts
Cerakote is a ceramic-based finish that can be applied to many surfaces. This includes metals, wood, stone, and even glass (see link below). It does not peel or flake like paint would in most cases. However, sometimes dirt bikes can require this coating. For this reason, today, I am going to discuss an easy process on how to Cerakote dirt bike parts.
Why Dirt Bike Parts Require Cerakote?
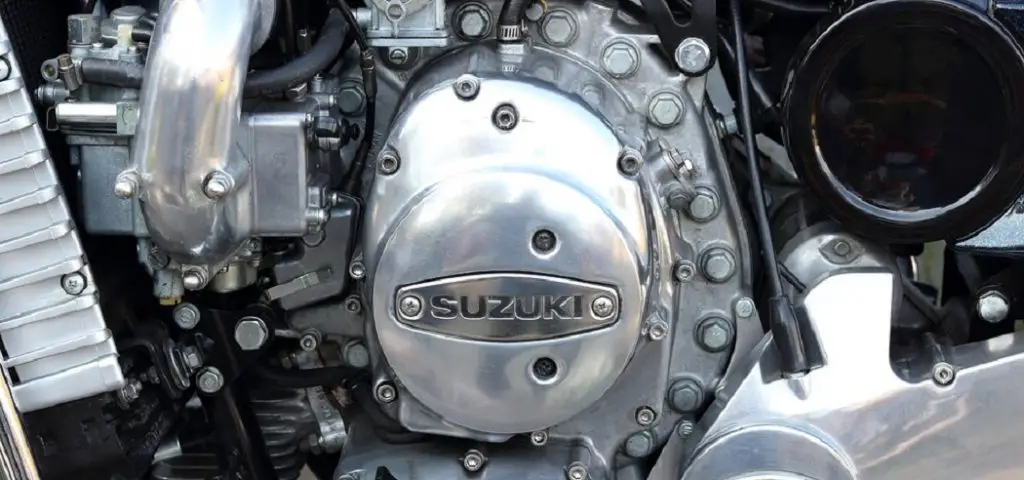
Dirt bikes are driven on off-road terrain and subject to the rigor of a very harsh environment. Dirt is thrown at all angles in every direction, making it necessary for dirt bike parts, including but not limited to frames, forks, chain covers, and engine cases, to have some form of protection, whether that be from paint or even anodization, which will wear over time.
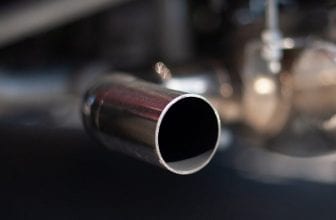
The constant contact between the dirt bike machine and its surroundings could cause corrosion if left exposed, especially those near the exhaust pipe. Protecting your motorcycle with cerakote UV spray coating gives you an extra layer of defense against rust formation. Ceramics and ceramic hybrids provide abrasion resistance, chemical inertness (resistance), hardness, and toughness.
Cerakote is a metal coating that, when applied on all surfaces of the bike, including the aluminum part, will provide enough abrasion resistance to protect your dirt bike from corrosion. It’s essential to note here that ceramics and ceramic hybrids are hard in nature and can scratch easily. Cerakote ceramics coating will not peel off or show any sign of damage even after many years but do not expect it to be as resistant against impact as anodized surface.
A Process on How to Cerakote Dirt Bike Parts
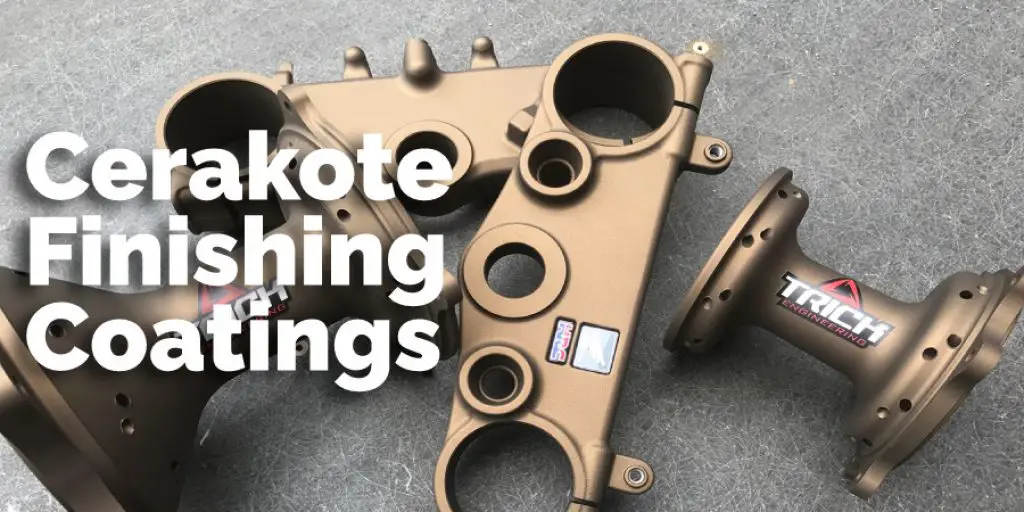
Cerakote finishing coatings are among the best in the industry, providing durable protection against corrosion and wear. It is aptly named for its ceramic content, which provides uniform hardness and extreme resistance to abrasive wear, and increased toughness compared to some other finishes. Cerakote was originally designed specifically for firearms applications but has since been adopted by many industries, including aerospace and bike companies alike.
Prep Work
Wear old clothes and plan to clean up with acetone or lacquer thinner after the project is completed. Protect surfaces that will be exposed to overspray when spraying Cerakote because it sticks pretty hard! It also helps to use gloves when handling the ceramic finish because it’s mildly abrasive and somewhat caustic. Here are the basic steps:
Step 1
Research Your Pieces. All parts you want to Cerakote should be thoroughly cleaned. This means washing with soap and water and sanding with coarse-grit paper (150-180 ish microns). Be sure to wear eye protection when doing this! Ensure all parts fit together nicely before you touch them up with a finishing product or paint job. Use these test fitting operations as an opportunity to inspect your pieces for any issues that might cause problems down the road.
It’s worth noting that I used a 2 part chemical solvent-based paint stripper in combination with 150 grit paper to remove the old paint from my handlebars and riser clamps, which gave me clean bases to work with.
Step 2
Process the Parts. I used Rust-Oleum’s High Heat paint in a spray can prime my finished ceramic coated pieces, giving them an extra boost and adding additional protection against corrosion. Make sure to carefully read the instructions on your parts to find out whether or not they require priming! This is not necessary for all Cerakote applications.
Now you’re ready to apply your new color coat! Before doing this, make sure all your parts are dry and free of dirt or oils (including fingerprints!). I always try my best to adequately cover every part with one, even spray from the top down to look its best in the result. If any fan wires or electrical connections are visible through the areas you’re painting, be sure to cover them with tape. Steps 3 and 4 are for DIY enthusiasts applying Cerakote by hand using common household tools.
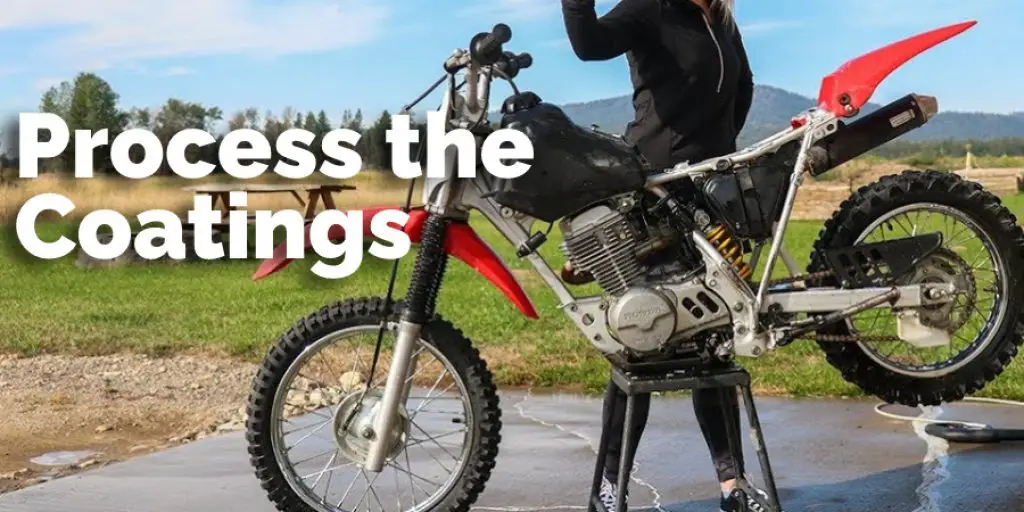
Step 3
Process the coatings. The number of coats depends on what look you’re going for! I decided to put three thin coats of sealer down, letting each coat dry thoroughly before adding another. This technique prevents “orange peel,” glossy spots, or other imperfections in the finished product. Allow these layers to cure for 60 minutes before applying your first color layer of Cerakote over the top! You can see this process illustrated well in this video:
Step 4
Choosing the color. Most companies that apply Cerakote for you will have a color chart for reference. I’d recommend choosing from their list, but the great thing about Cerakote is that it’s possible to mix colors directly on your pieces! To do this, just use a toothpick or a sponge and some denatured alcohol to prep your surface.
Then dip the item in paint, blot off any excess back onto the can, and dry overnight (or longer). This process works best with two-part epoxy-based paints, although you can try mixing regular solvent-based paints too!
Step 5
Touch up. If there are any bare spots after stripping away the original finish, touch them up with whatever paint or primer matches your new Cerakote finish. You can find stencils or designs online to make your parts look like they’re covered in camo, flames, or whatever you desire for your dirt bike.
You Can Check It Out To Electric Dirt Bike Street Legal
Things to Consider While Applying Cerakote on Dirt Bike Parts
Removal of dirt, grease, and oils from parts using a degreaser. Proper cleaning and dry time after removing all grease, oil, and other stuff to achieve the desired results.
Cerakote only bonds to the metal. To ensure we have a good bond, the surface to apply Cerakote must be free of any non-metal contaminants like paint or powder coat. It is also recommended that if your metal parts were painted previously, they should most likely be stripped before the application of Cerakote for the best result.
Conclusion
In this article, we have discussed the important factors on how to Cerakote Dirt Bike parts. I hope you learned about these things, and it helps you achieve desired results after Cerakoting your dirt bike parts. Thank you, and have a good day!
You may read also: How to Tighten Dirt Bike Spokes
Darren Matlock
Hi, I'm Darren. I love dirt bikes and everything about the off-road lifestyle. I'm passionate about motorbikes, cars, racing sports and going on adventures. If you're like me and enjoy extreme sports, you've come to the right place! I like to write articles about dirt bikes to help beginners get started. Whether you're interested in buying a dirt bike, ATV, motorcycle or want to ride for hobby, I hope my articles will inspire you to learn more about how this machine can be used to ride.